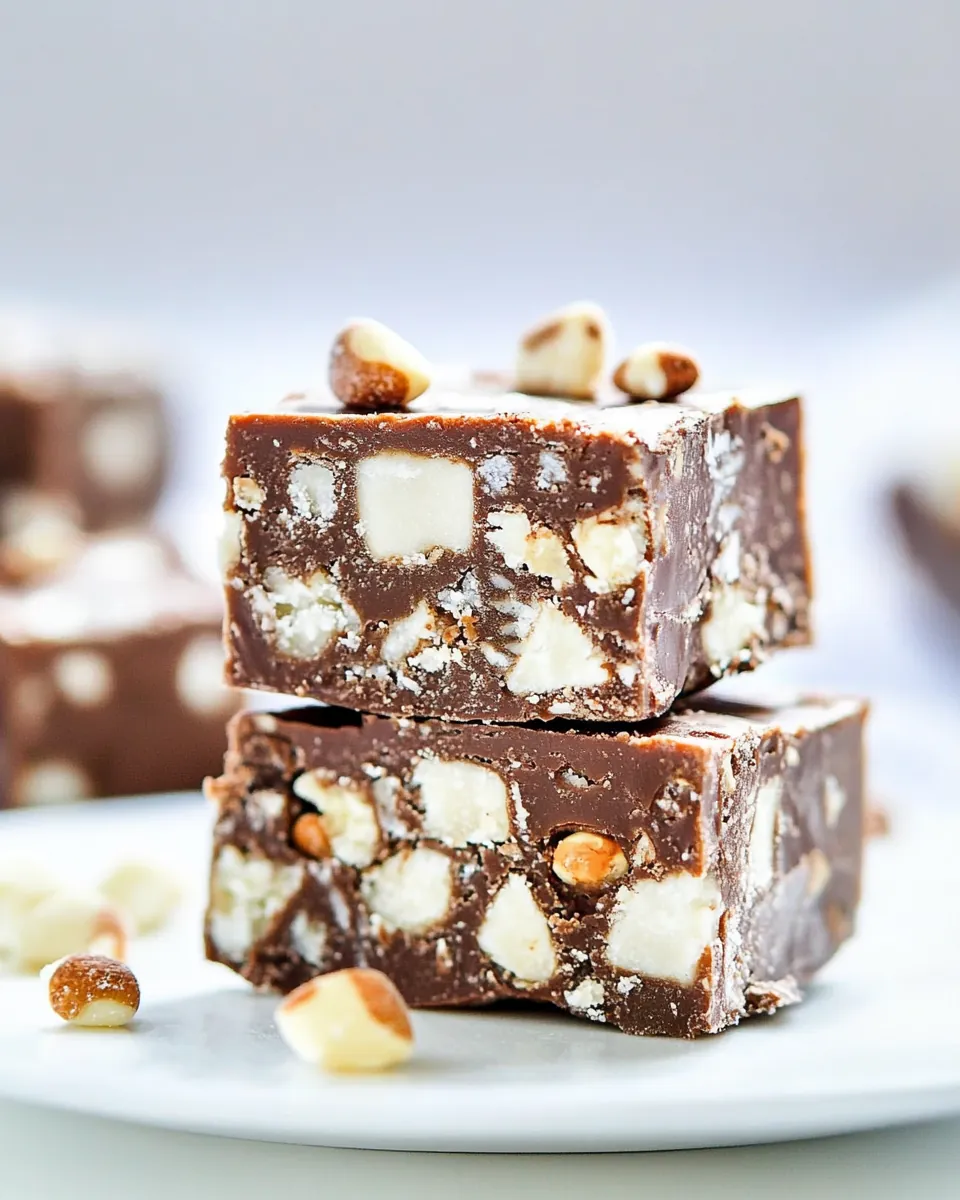
Rocky Road Fudge
When I think of indulgent treats, the first thing that comes to mind is Rocky Road Fudge. This delightful concoction is a true testament to the power of chocolate and nuts coming together in perfect harmony. I remember the first time I made this fudge; it was a chilly winter afternoon, and I was craving something sweet and comforting. The moment I melted the rich semisweet and unsweetened chocolates, my kitchen transformed into a warm, inviting haven. As I folded in the mini marshmallows and chopped peanuts, I couldn’t help but feel giddy with anticipation. Would it set perfectly? Would my family enjoy it? Spoiler alert: they devoured it in no time! Perfect for sharing with friends and family, Rocky Road Fudge is a classic treat that brings a smile to everyone’s face.
Recipe Snapshot
20 mins
15 mins
5 mins
Easy
200 kcal
2 g
Keto, Gluten-Free, Low FODMAP
10 g
Saucepan, Frying Pan, Peeler, Wooden Spoon, Chef’s Knife, Mixing Bowl
The Best Thing About This Rocky Road Fudge
A Sweet Nostalgia
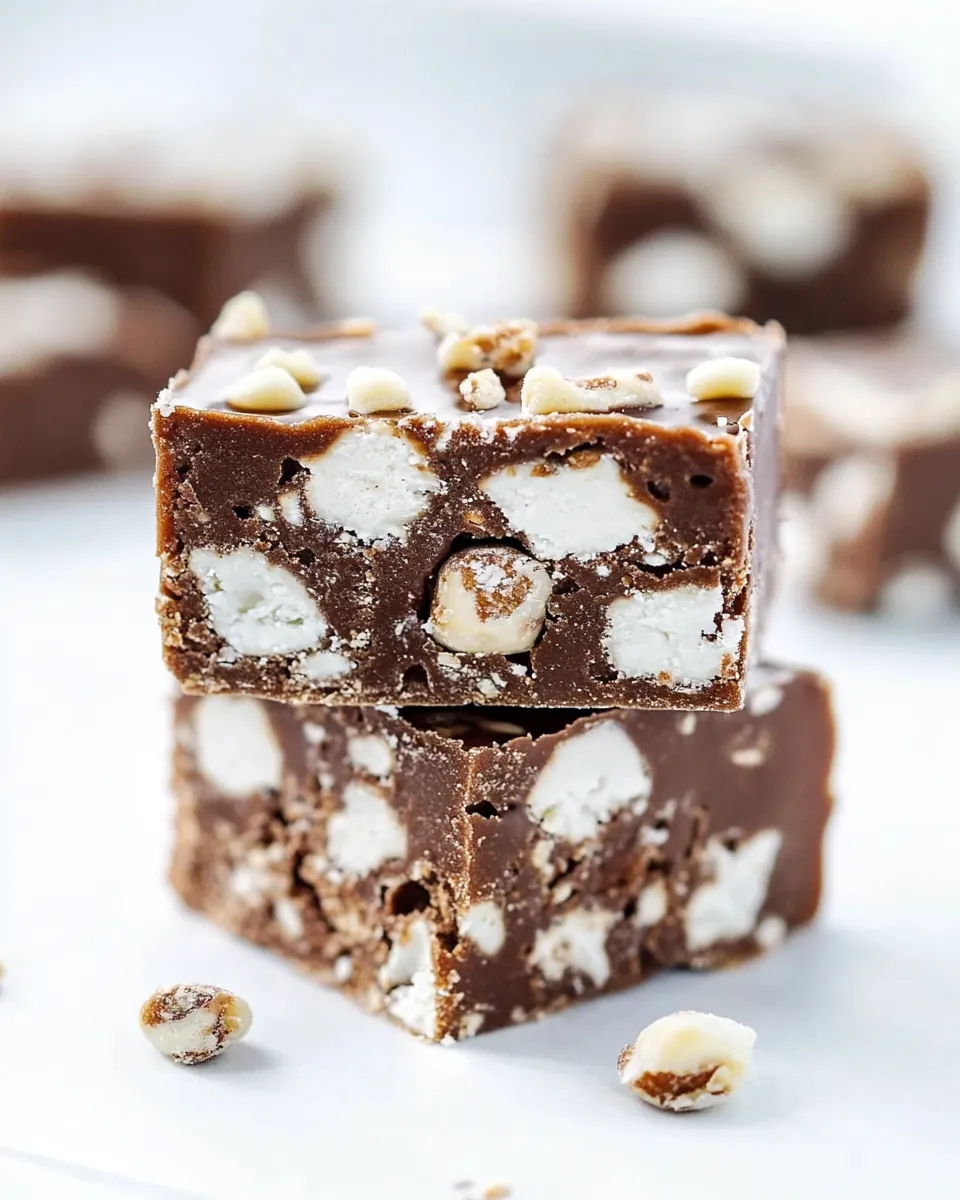
Every bite of Rocky Road Fudge takes me back to my childhood. It’s a dessert that invokes memories of family gatherings and holiday celebrations. The combination of chocolate, nuts, and marshmallows is irresistible, making it a favorite among both young and old. The way the flavors meld together creates a delightful texture that keeps you coming back for more.
Perfect for Any Occasion
This fudge is incredibly versatile. Whether it’s a cozy night in, a birthday party, or a festive gathering, Rocky Road Fudge fits right in. It’s easy to make, and you can whip it up in a flash, allowing you to focus on enjoying the moment with loved ones.
Customizable Delight
One of the best things about this recipe is its adaptability. You can play around with different types of nuts or even add some dried fruits to elevate the flavor. It’s an opportunity to get creative in the kitchen while still producing that classic fudge taste.
Kid-Friendly Fun
If you have kids, making Rocky Road Fudge is a fun activity to share. They’ll love helping to mix in the ingredients and, of course, taste-testing along the way. It’s a fantastic way to introduce them to the joys of baking.
A Comforting Treat
Nothing beats enjoying a piece of Rocky Road Fudge on a cold winter evening. The rich chocolate flavor paired with the crunch of peanuts and the gooeyness of marshmallows creates such a comforting experience. It’s that hug-in-a-mug feeling, but in dessert form!
Recipe Ingredients for Rocky Road Fudge
To create the perfect Rocky Road Fudge, you need a handful of ingredients that work together in delicious harmony. Each component plays a vital role in building the rich flavor and texture of this dessert. From the smooth and creamy chocolates to the crunchy peanuts, these ingredients are what make this fudge a standout.
- 16 ounces semisweet chocolate, chopped finely
- 2 ounces unsweetened chocolate, chopped finely
- ½ teaspoon baking soda
- ⅛ teaspoon salt
- One 14-ounce can sweetened condensed milk
- 1 tablespoon vanilla
- 1 cup mini marshmallows
- 1 cup roughly chopped peanuts
- ½ cup semisweet chocolate chips
The Method for Rocky Road Fudge
Making Rocky Road Fudge is a simple yet rewarding process. The steps are straightforward, and the end result is incredibly satisfying. Let’s get started!
- Begin by lining an 8×8-inch baking pan with foil or parchment paper. Lightly spray it with nonstick spray to ensure easy removal later. This simple step will help you lift the fudge out of the pan once it’s set.
- In a medium, heatproof bowl, combine the semisweet chocolate and unsweetened chocolate with baking soda and salt. Mixing these ingredients before melting will help distribute the flavors evenly.
- Stir in the sweetened condensed milk and vanilla. The sweetened condensed milk will add richness and creaminess to the fudge.
- Set the bowl over a saucepan containing 2 cups of simmering water. This double boiler method will gently heat the chocolate without burning it. Stir with a rubber spatula until the chocolate is almost fully melted, about 2 to 4 minutes.
- Remove the bowl from the heat and continue stirring until the chocolate is completely melted and the mixture is smooth. The consistency should be glossy and rich, signaling that it’s ready for the next step.
- Fold in the mini marshmallows, chopped peanuts, and additional semisweet chocolate chips. The marshmallows will add a delightful fluffiness, while the peanuts bring a satisfying crunch.
- Scrape the fudge mixture into the prepared pan, spreading it evenly with the rubber spatula. This will ensure that every piece is uniform in size when you cut it later.
- Refrigerate the fudge until set, which usually takes about 2 hours or longer. Make sure it’s completely firm before trying to cut it.
- Once set, remove the fudge from the pan using the edges of the foil or parchment paper. Peel off the foil and cut into squares. This is the moment you’ve been waiting for!
Things Worth Knowing
- Chocolate Quality: The quality of your chocolate makes a significant difference in the taste of your fudge. Use high-quality chocolate for the best results.
- Storage: Keep any leftover fudge in an airtight container at room temperature. It stays fresh for about a week.
- Melting Method: Using a double boiler prevents the chocolate from burning. If you don’t have one, you can create your own by placing a heatproof bowl over a pot of boiling water.
- Cooling Time: Allowing the fudge to cool completely before cutting is crucial. Otherwise, it might crumble and fall apart.
Variations to Try

If you’re feeling adventurous, there are several ways to put your spin on Rocky Road Fudge. Variations can add exciting new flavors and textures to this classic treat.
- Add Dried Fruits: Consider folding in some dried cherries or cranberries for an extra burst of flavor.
- Nut Options: Substitute the peanuts for other nuts like walnuts or almonds for a different crunch.
- Flavor Infusions: Experiment with different flavored chocolates, such as dark or milk chocolate, to find your favorite version.
- Sprinkle Sea Salt: For a sweet and salty contrast, sprinkle a little coarse sea salt on top of the fudge before it sets.
- Layered Fudge: Try making a layered version by adding a layer of caramel or another flavor between two layers of fudge.
Serving Options for Rocky Road Fudge
Serving Rocky Road Fudge can be as fun as making it! Here are some delightful ideas to enhance your experience.
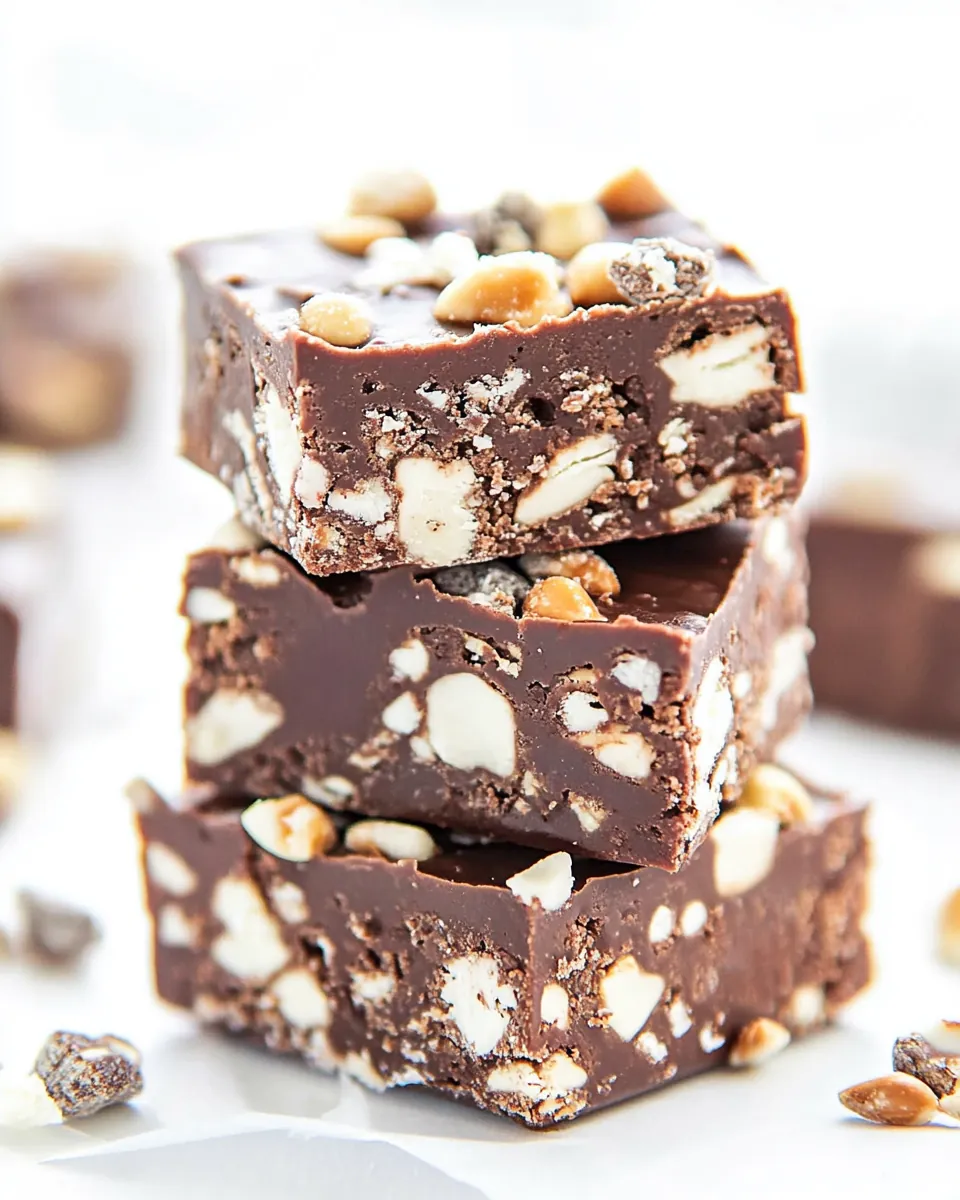
- On a Platter: Arrange the fudge squares beautifully on a serving platter for gatherings. It makes for an eye-catching centerpiece.
- Gift Packaging: Wrap pieces in decorative cellophane bags or boxes to give as gifts during the holidays. It’s a heartfelt gesture!
- With Coffee: Pair the fudge with a hot cup of coffee or tea. The rich flavors complement each other beautifully.
- As Party Favors: Cut the fudge into bite-sized pieces and serve them as party favors for birthdays or celebrations.
- Seasonal Occasions: This fudge is great for winter festivities. Serve it alongside other holiday treats to create a festive spread.
- Storage Tips: If you have leftovers, store them in an airtight container. They can last up to one week at room temperature, making them a perfect snack for later.
FAQ
Conclusion
In summary, Rocky Road Fudge is a delightful combination of rich chocolate, crunchy nuts, and sweet marshmallows that creates a truly irresistible treat. Whether you’re making it for a special occasion or simply craving something sweet, this fudge is sure to satisfy. So why not gather your ingredients and whip up a batch today? Your taste buds will thank you for it!
Rocky Road Fudge
Ingredients
Equipment
Method
- Line an 8x8-inch baking pan with foil or parchment paper and spray lightly with nonstick spray.
- In a medium, heatproof bowl, toss the first two chocolates with baking soda and salt. Stir in the sweetened condensed milk and vanilla. Set the bowl over a 4-quart saucepan containing 2 cups simmering water. Stir with a rubber spatula until the chocolate is almost fully melted and few small pieces remain, about 2 to 4 minutes.
- Remove the bowl from heat and continue to stir until the chocolate is fully melted and the mixture is smooth.
- Stir in the marshmallows, peanuts, and additional chips. Scrape the fudge into the prepared pan and spread in an even layer with a rubber spatula.
- Refrigerate until set, about 2 hours or longer. Remove the fudge from the pan using foil. Peel off the foil and cut into squares.
Notes
- If you're preparing this as a Gluten Free recipe: Just make sure the brands you use are gluten free for chocolate, vanilla extract, and marshmallows.
- Make ahead/FREEZING instructions: This fudge freezes well; simply wrap and package the pieces, then place the container in your freezer. Your fudge should last for several months. When you're ready to bring your fudge out, take the wrapped pieces from the freezer and leave them at room temperature until defrosted. A layer of moisture may form on the surface of the fudge as it 'sweats.' You can dab it with a paper towel to get rid of it.