Sourdough Starter Recipe
Creating your own sourdough starter is like embarking on a delightful baking adventure. The Sourdough Starter Recipe has become one of my favorite projects, transforming simple ingredients into a bubbling culture that can elevate your baking game. Each time I feed my starter, I feel a connection to the age-old tradition of sourdough bread-making, where patience and attention lead to remarkable results. It’s fascinating to witness the transformation, and there’s something incredibly satisfying about nurturing something from scratch. Whether you’re a seasoned baker or just starting your culinary journey, this recipe opens up a whole world of baking possibilities. With just a few ingredients and some love, you can create your very own sourdough starter that will yield delicious loaves and pastries for years to come.
Recipe Snapshot
60 mins
0 mins
0 mins
Medium
100 kcal
3 g
Vegan
1 g
Baking Sheet, Wooden Spoon
Why You Need This Sourdough Starter Recipe
It’s a Living Culture
One of the most compelling reasons to try the Sourdough Starter Recipe is that you’re not just making a mixture; you’re cultivating a living culture. This yeast and bacteria blend will not only rise your bread but will also impart a rich, tangy flavor that’s simply unmatched. Unlike store-bought yeast, your homemade starter develops its unique character over time, influenced by the environment and the ingredients you use.
Cost-Effective Baking
Making your own sourdough starter is not only fun but also cost-effective. Instead of purchasing commercial yeast every time you want to bake, you can use a small portion of your starter. By regularly feeding it, you ensure that it’s always ready for your baking projects. This means you can enjoy fresh sourdough bread without the recurring expense of buying yeast.
Healthy and Nutritious
Sourdough fermentation is known to enhance the nutritional profile of bread. The natural fermentation process breaks down gluten and phytic acid, making the nutrients in the flour more accessible. By using your Sourdough Starter Recipe, you’re not just baking; you’re creating a healthier alternative to conventional bread that is easier to digest.
Endless Baking Potential
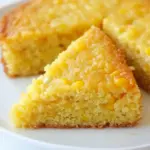
Once you have your starter, the possibilities are endless. You can use it to bake delicious breads, pancakes, waffles, and even doughnuts! The Sourdough Starter Recipe serves as a gateway to experimenting with different flavors and textures in your baked goods, making it a versatile addition to your kitchen.
A Sense of Accomplishment
There’s an undeniable sense of achievement in nurturing your sourdough starter. Watching it bubble and grow instills a sense of pride and accomplishment that you can savor with every loaf you bake. It’s a rewarding experience that connects you to the art of baking and gives you a delicious payoff!
Community and Sharing
Lastly, making sourdough is often a shared experience, bringing friends and family together. Whether you’re sharing your starter, giving tips, or enjoying a loaf fresh from the oven with loved ones, the Sourdough Starter Recipe fosters connections. It’s not just about baking; it’s about creating memories around the table.
Key Ingredients for Sourdough Starter Recipe
Understanding the key ingredients in the Sourdough Starter Recipe is essential for creating a successful starter. Each plays a vital role in developing the right environment for fermentation. The combination of various flours and water creates a nurturing environment for wild yeast and bacteria to thrive.
- Whole Grain Rye Flour: This flour is rich in nutrients and helps to kickstart the fermentation process. It’s often recommended to use whole grain flour initially, as it contains more food for the yeast.
- All-Purpose Flour: This flour is needed to maintain and feed your starter after its initial growth. It provides the necessary gluten structure for the bubbles and texture in your sourdough.
- Filtered Water: Using non-chlorinated water is crucial. Chlorine can inhibit the growth of your wild yeast and spoil your starter. Filtered or spring water is best!
How to Prepare Sourdough Starter Recipe
Preparing your sourdough starter is a simple yet rewarding process. Let’s walk through the steps together. Each step is crucial, so pay close attention to what your starter looks and smells like at each stage.
Begin by weighing your jar in grams and labeling it with the date. This will help you track the growth of your starter. It’s essential to start with a clean jar to avoid any contamination.
Add 100 grams of whole grain rye flour and 100 grams of filtered water to the jar. Use a fork to stir the mixture thoroughly until it’s well combined and thick. Scrape down the sides to ensure all the flour is incorporated.
Cover the jar loosely with a lid or cloth to allow air circulation. Place it at room temperature for 24 hours. During this time, you may not see much happening, and that’s perfectly normal!
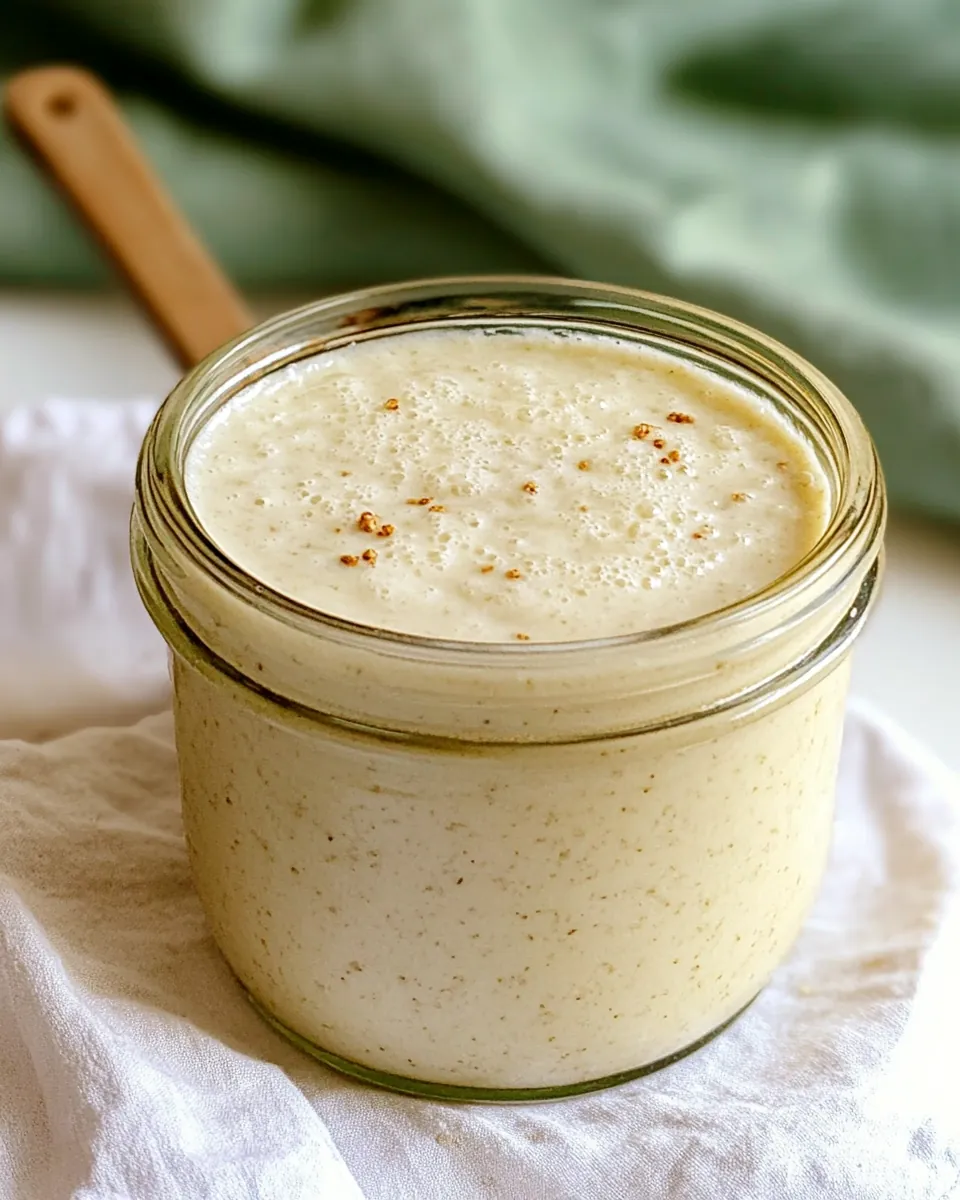
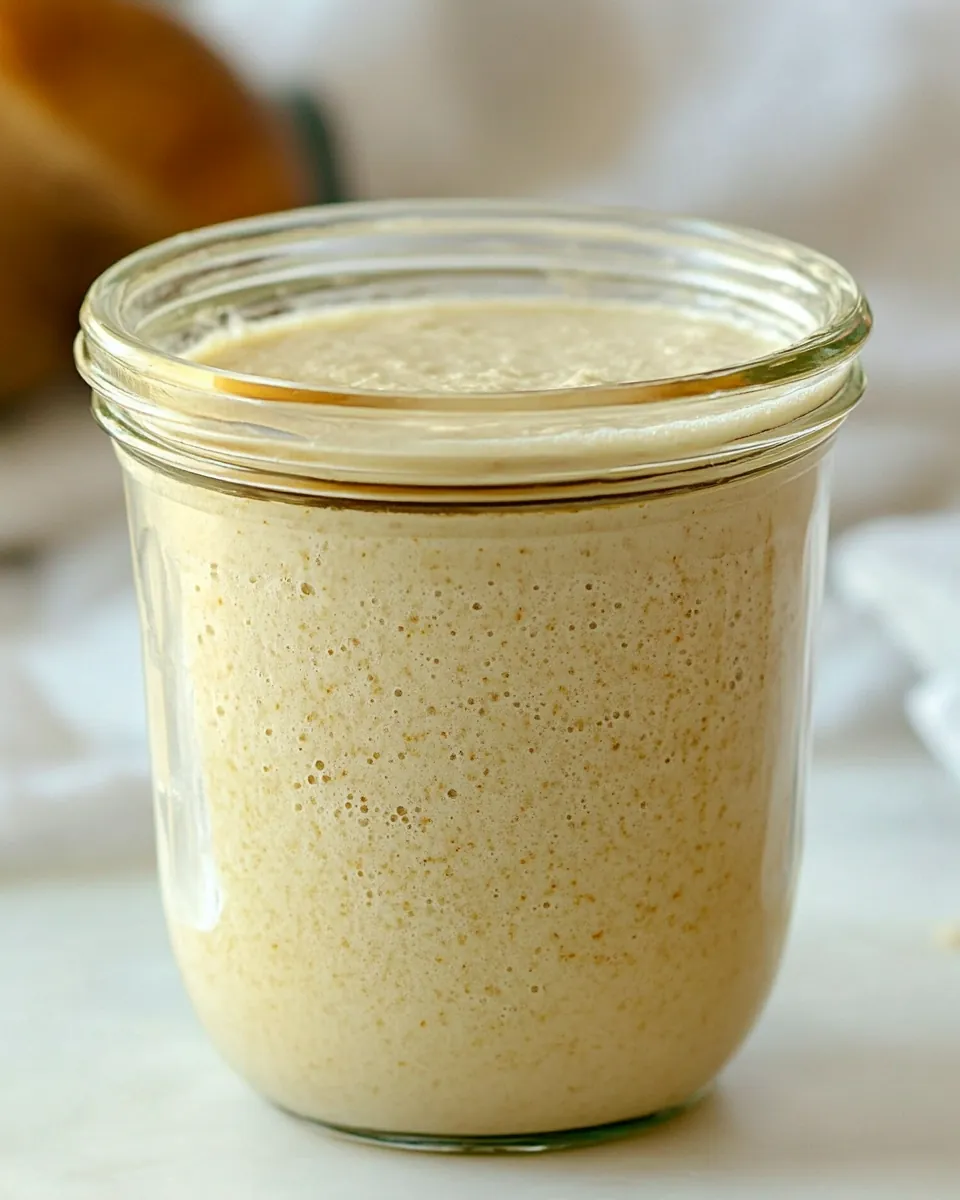
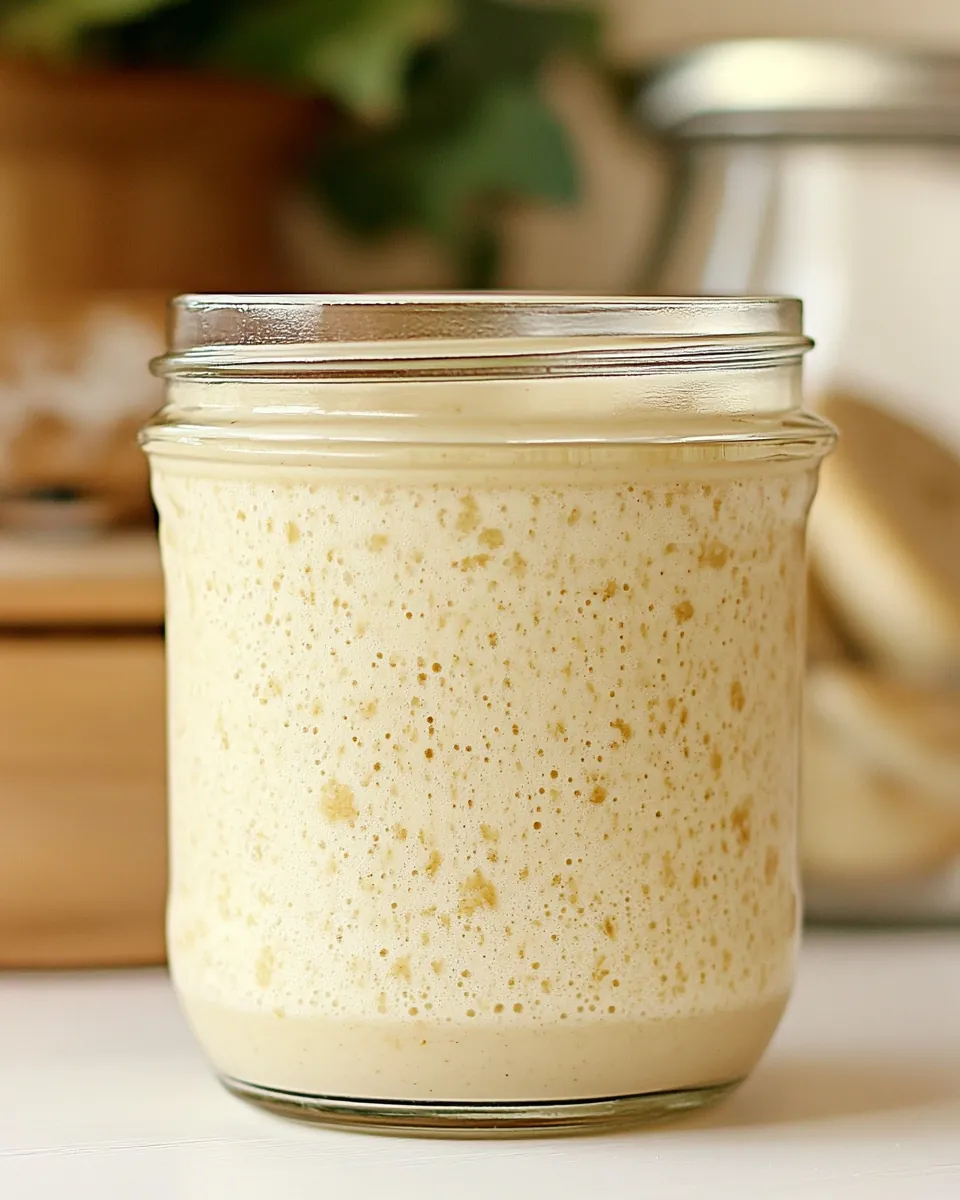
After the first day, check for tiny bubbles, which indicate the fermentation process is beginning. If there’s no activity, don’t worry; some starters take longer to show signs of life. Let it rest for another 24 hours.
Next, remove and discard half of the starter. This prevents it from growing too large and helps maintain the balance of ingredients. You should have about 100 grams left in the jar.
Add 100 grams of all-purpose flour and 100 grams of filtered water. Stir well and cover loosely again. Let it rest for another 24 hours.
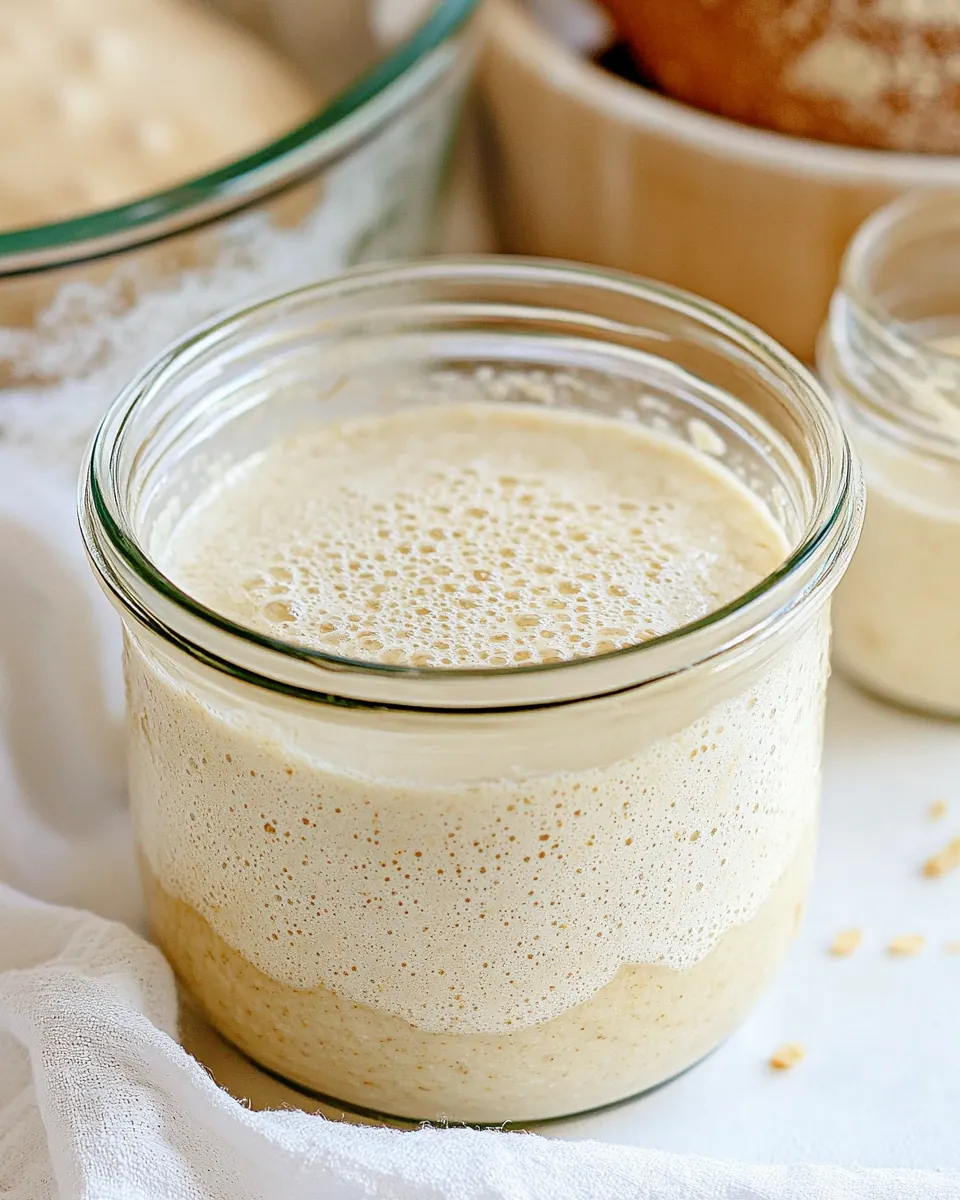
Continue this feeding process every day, keeping the same ratios. Your starter should be bubbly and have a pleasant sour smell after a few days. If it slows down, don’t be discouraged; just keep feeding it!
Eventually, you’ll notice it peaking within 4 to 6 hours after feeding and then starting to recede. It’s a good sign that your starter is developing well.
When it’s ready, perform the float test: drop a small dollop into a glass of water—if it floats, your starter is strong enough to use!
Things Worth Knowing
- Room Temperature Matters: The ideal temperature for your starter is between 68 and 75 degrees. A colder environment can slow down fermentation.
- Water Quality is Key: Always use non-chlorinated water. Chlorine can hinder the growth of yeast and bacteria.
- Consistency is Crucial: Try to feed your starter at the same time each day for the best results.
- Be Patient: Starters can vary in how quickly they develop. Don’t rush the process; give it time to thrive.
Helpful Notes about Sourdough Starter Recipe
As you embark on your sourdough starter journey, here are some helpful tips to keep in mind. These insights will ensure you have the best experience possible.
- Storage: For frequent bakers, keep your starter at room temperature and feed it every 24 hours. For casual bakers, store it in the fridge and feed it weekly.
- Feeding Schedule: Consistency is important. Try to feed your starter at the same time each day, even if it’s just a small amount.
- Using Your Starter: Always wait until your starter reaches its peak before using it in recipes for the best results.
- Discarding: Don’t be afraid to discard some of your starter. This keeps the balance and promotes a healthy culture.
- Variations: You can experiment with different types of flour to change the flavor profile of your starter.
How to Enjoy Sourdough Starter Recipe
Enjoying your sourdough starter can be an exciting adventure filled with possibilities. Here are some ways to make the most of your starter:
- Fresh Bread: Use your starter to bake a crusty sourdough loaf, perfect for sandwiches or toast.
- Pancakes or Waffles: Incorporate your starter into a pancake or waffle batter for a tangy twist to your breakfast.
- Flatbreads: Create delicious flatbreads or pizza crusts using your starter for a unique flavor.
- Storage Options: If you’re not baking often, store your starter in the fridge and feed it weekly. This keeps it healthy without constant attention.
- Sharing the Love: Gift some of your starter to friends or family. It’s a wonderful way to share the joy of baking!
FAQ
Conclusion
The Sourdough Starter Recipe is not just a baking project, it’s a culinary journey filled with tradition and flavor. By creating your own starter, you’ll be connected to the age-old art of bread making, and you’ll have a reliable ingredient that enhances your baked goods. I encourage you to give it a try; the rewards are deliciously gratifying!
Sourdough Starter Recipe
Ingredients
Equipment
Method
- 1. Begin by weighing your jar in grams and labeling it with the date.
- 2. Add 100 grams of whole grain rye flour and 100 grams of filtered water to the jar. Stir together thoroughly with a fork until it’s well combined and thick.
- 3. Cover the jar loosely with a lid or cloth and place it at room temperature for 24 hours.
- 4. Check for tiny bubbles which indicate fermentation is beginning. If nothing is happening, let it rest for another 24 hours.
- 5. After the second day, remove and discard half of the starter.
- 6. Add 100 grams of all-purpose flour and 100 grams of filtered water. Stir well and cover loosely again.
- 7. Repeat this feeding process every day.
- 8. Your starter should peak within 4 to 6 hours. Perform the float test to check its readiness.
Notes
- Room Temperature Matters: The ideal temperature for your starter is between 68 and 75 degrees.
- Water Quality is Key: Always use non-chlorinated water.
- Consistency is Crucial: Feed your starter at the same time each day.
- Be Patient: Don’t rush the process; give it time to thrive.