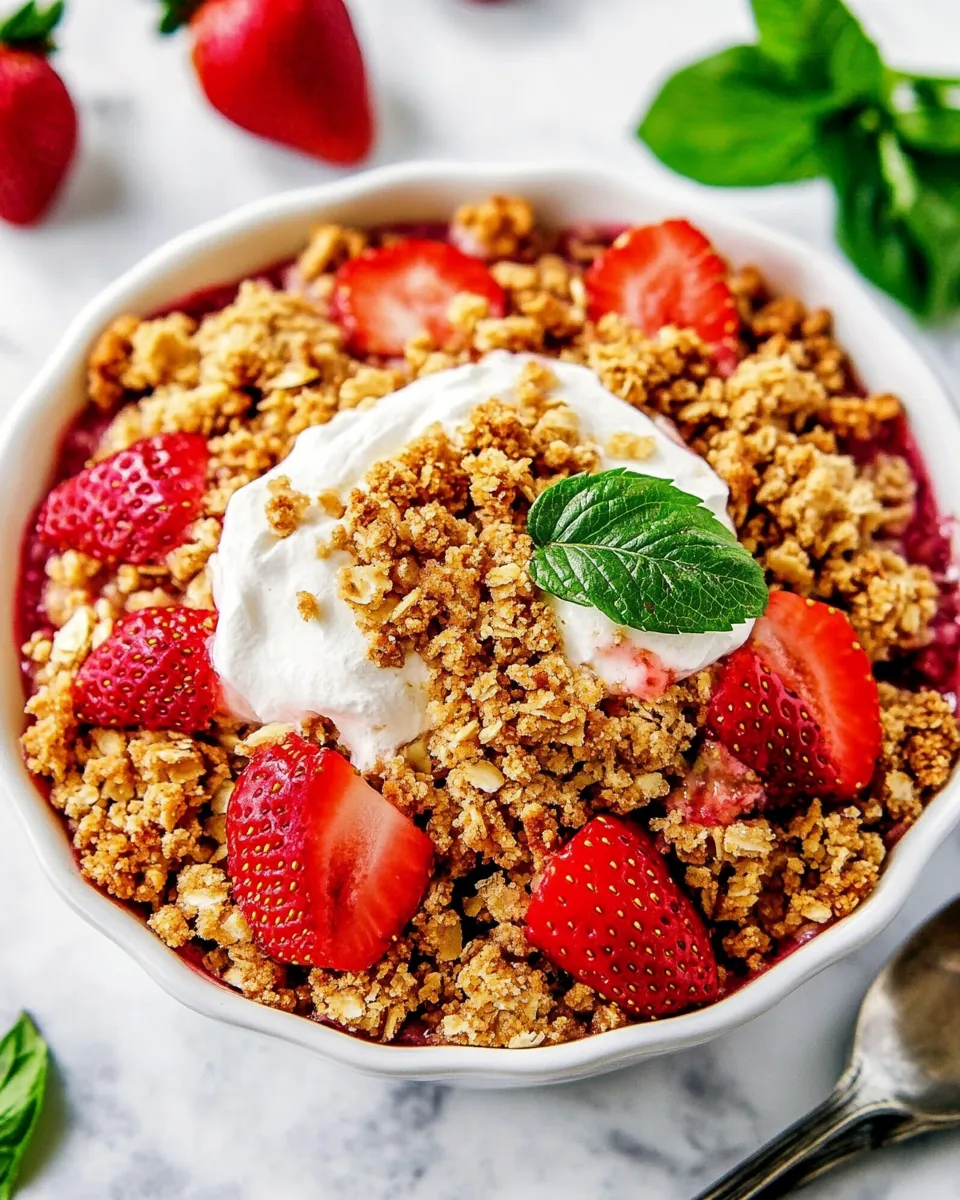
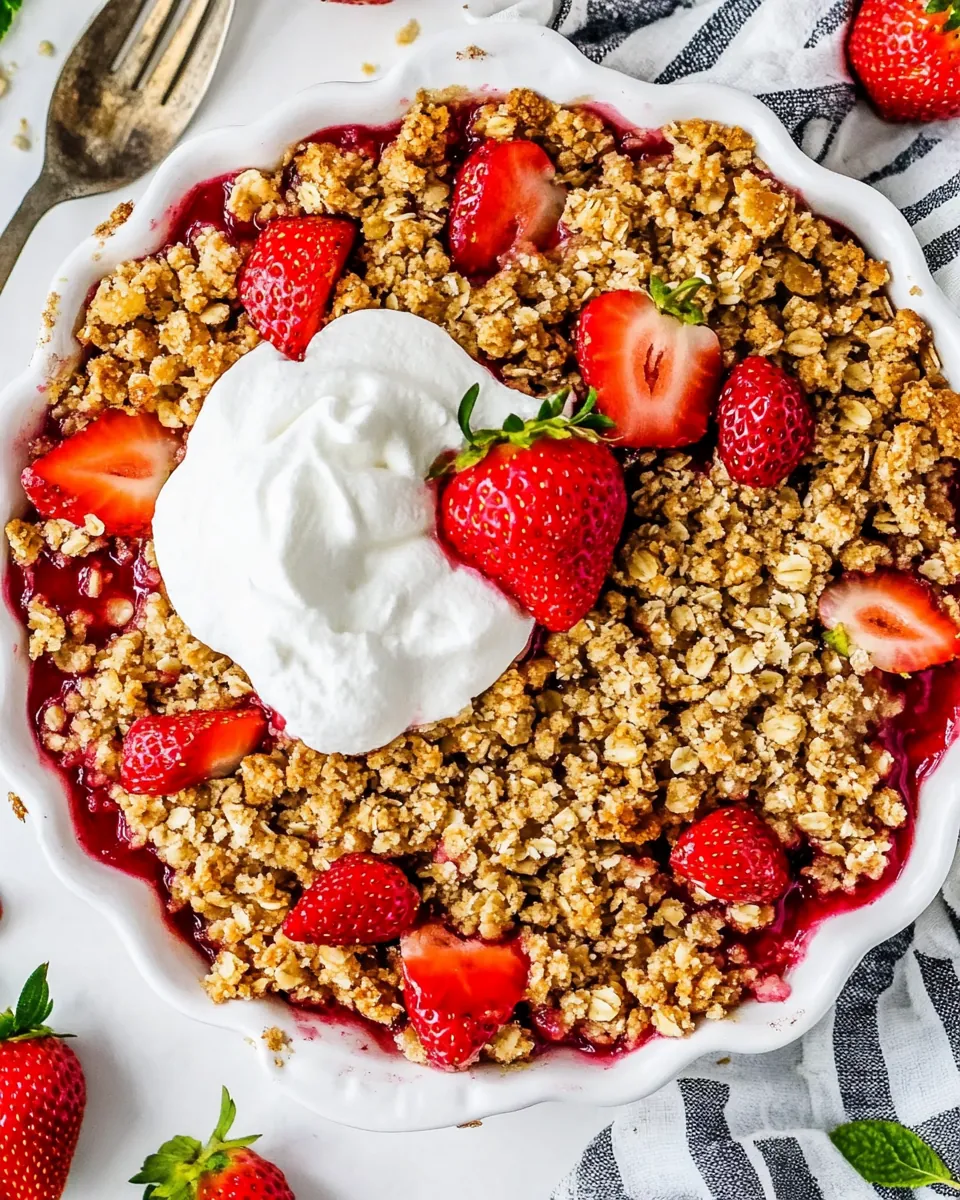
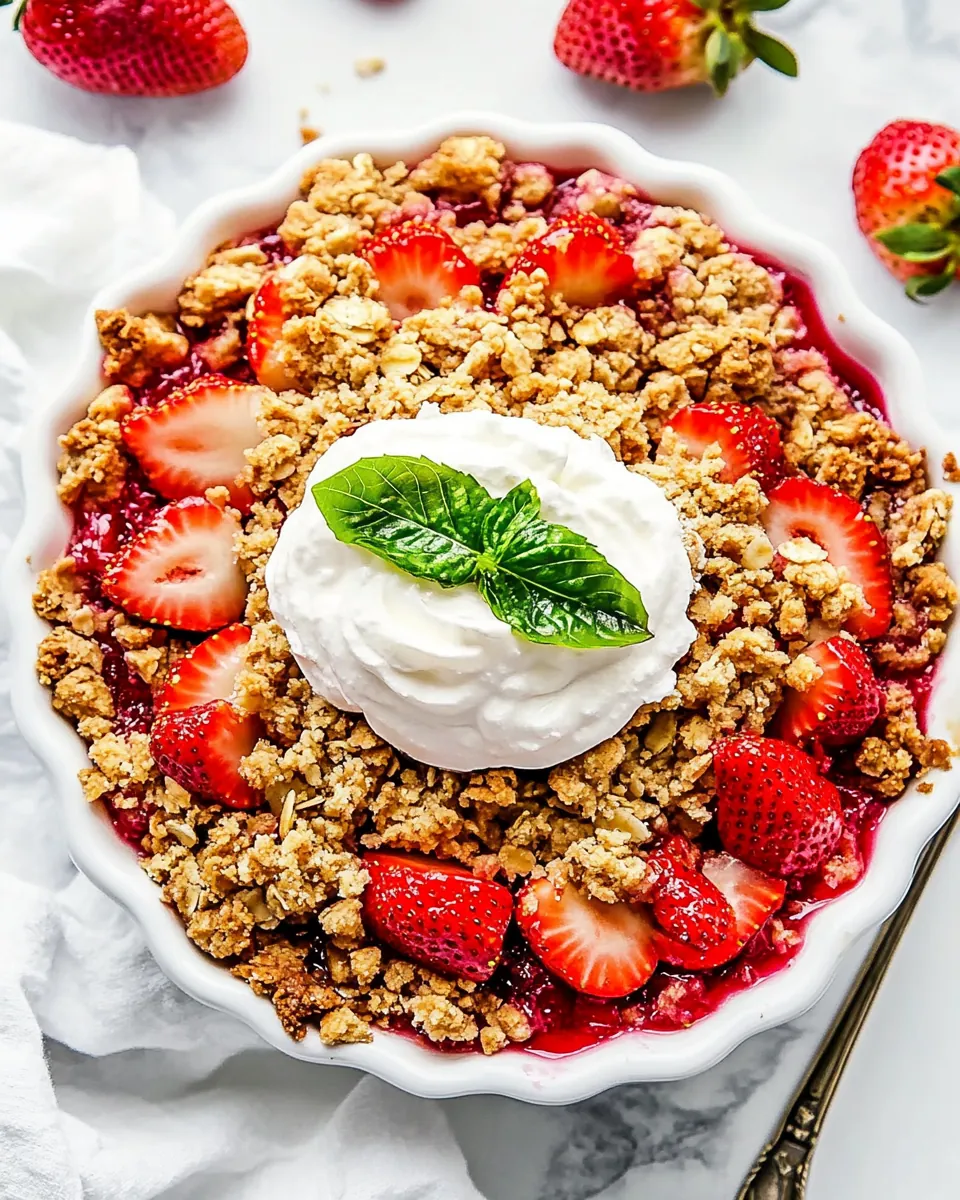
Strawberry Crisp
When I think of comfort food, the first thing that comes to my mind is Strawberry Crisp. This dish has a way of bringing back warm memories of summer days spent in my grandmother’s kitchen, where the aroma of baked strawberries mingled with the freshness of the season. Each time I take a bite, I’m transported back to her home, surrounded by laughter and love. The sweet, juicy strawberries, coupled with the crunchy topping, create a delightful harmony that’s simply irresistible. It’s not just a dessert; it’s a celebration of every strawberry season!
Recipe Snapshot
50 mins
10 mins
40 mins
Medium
250 kcal
3g g
Gluten-Free, Low FODMAP
12g g
Oven, Baking Sheet, Blender, Skillet, Wooden Spoon, Mixing Bowl
The Best Thing About This Strawberry Crisp
1. A Sweet Escape
There’s something magical about Strawberry Crisp that can transport you to a serene place, even on the busiest days. With every spoonful, you taste the essence of summer, reminding you of sun-kissed afternoons and lazy picnics. This dish is more than just a dessert; it’s a joyful escape.
2. Seasonal Joy
Spring brings an abundance of fresh strawberries, and using the ripest ones available elevates this dish to new heights. It’s a seasonal treat that not only satisfies your sweet tooth but also makes the most of nature’s bounty. The vibrant color of the berries not only looks stunning in your baking dish but also brings life to your table.
3. Perfectly Balanced Flavors
The combination of sweet and tart in Strawberry Crisp is divine. The natural sugars of the fresh strawberries balance beautifully with the slight crunch of the topping, creating a perfect contrast in each bite. Add a scoop of vanilla ice cream, and you’ve got a dessert that’s simply heavenly.
4. Quick and Easy to Make
If you’re looking for a dessert that’s simple yet impressive, this is it! With just a handful of ingredients, you can whip up a delightful treat. It’s a great way to involve the kids in the kitchen, making it not just a cooking experience but also a bonding activity.
5. Versatile Serving Options
You can serve Strawberry Crisp in various ways. While I love it warm with a scoop of ice cream, it’s also delightful served cold or at room temperature. Pair it with whipped cream or yogurt for a breakfast twist. It’s versatile enough to be enjoyed any time of the day!
6. A Family Favorite
This recipe has become a staple in my family gatherings. Everyone looks forward to the sweet, crunchy topping and juicy strawberry filling. It’s a dish that brings everyone together and always gets rave reviews. Trust me, once you try it, you’ll want to make it a regular!
Ingredients Overview for Strawberry Crisp
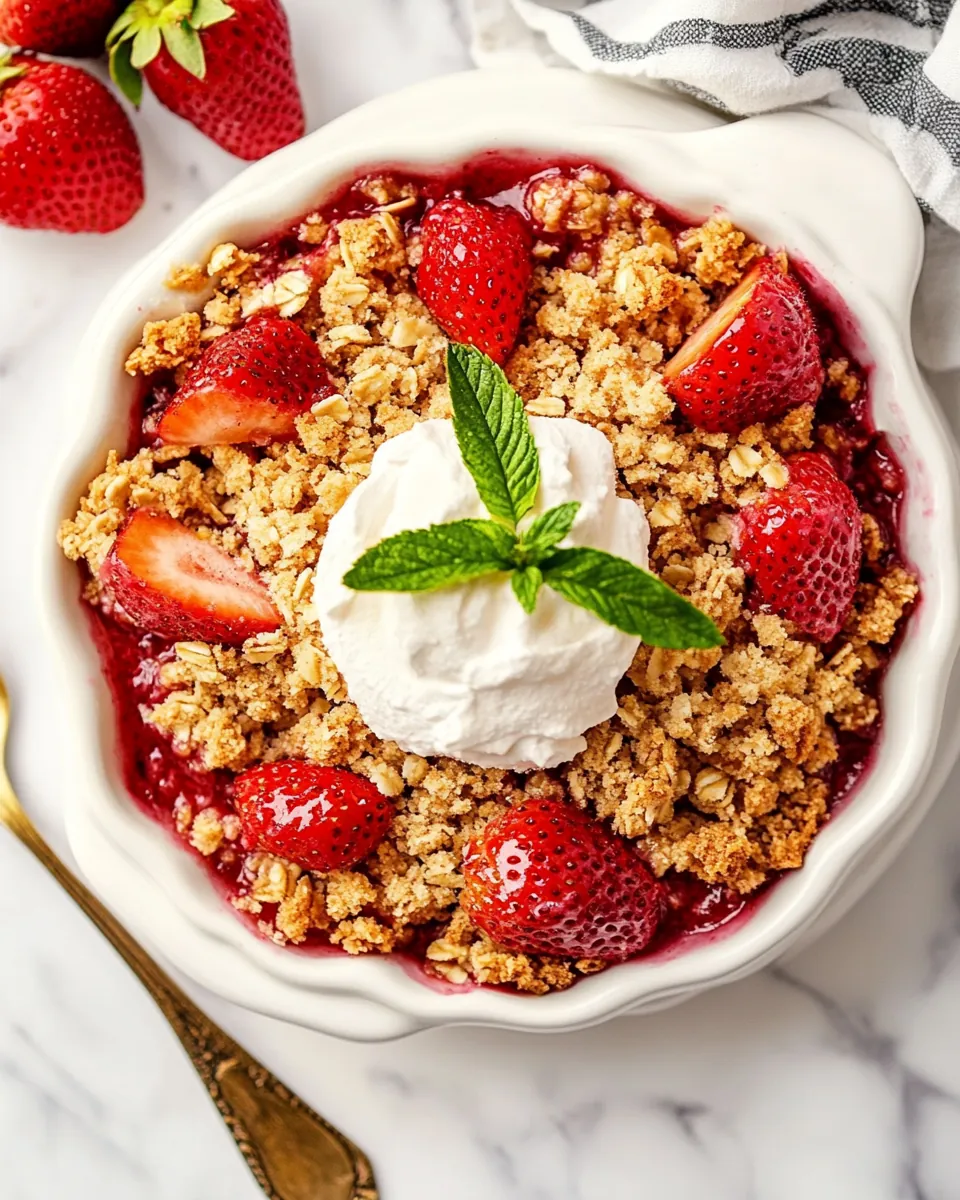
The ingredients in Strawberry Crisp are simple but essential. Fresh, ripe strawberries are the star of the show, bringing brightness and sweetness to the dish. The combination of granulated sugar and lemon juice enhances the berries’ flavor, while the cornstarch helps thicken their juices during baking. The topping made from flour, brown sugar, oats, and butter adds that delicious crunch we all love.
- 2 lbs fresh strawberries, hulled and halved or quartered: These juicy fruits are the backbone of the dish, offering a burst of natural sweetness and color.
- 1/3 cup granulated white sugar: This sweetener helps draw out the natural juices of the strawberries, enhancing their flavor.
- 1 tablespoon fresh lemon juice: A splash of acidity that brightens the sweetness of the strawberries.
- 1 1/2 teaspoons pure vanilla extract: Adds a warm, aromatic flavor that complements the fruit.
- 2 tablespoons cornstarch: This thickener helps create a syrupy filling as the strawberries bake.
- 3/4 cup all-purpose flour: A key component of the topping that gives structure and texture.
- 3/4 cup packed light brown sugar: Adds a rich, caramel flavor to the topping.
- 3/4 cup old-fashioned rolled oats: These provide a hearty and chewy texture to the crisp topping.
- 1/2 teaspoon ground cinnamon: A warm spice that enhances the flavors of the dish.
- 1/4 teaspoon salt: Balances the sweetness.
- 1/2 cup cold unsalted butter, cubed: This fat is crucial for achieving a flaky topping that’s both crunchy and buttery.
Instructions for Strawberry Crisp
Making Strawberry Crisp is a rewarding experience, and I love how it fills the kitchen with a warm, inviting aroma. Follow these detailed steps to ensure your crisp comes out perfectly. Let’s get started!
- Preheat the oven to 350°F. Grease a 10-inch oven-safe skillet, 2-quart baking dish, or 9×9-inch square baking dish. This step ensures that your Strawberry Crisp won’t stick, allowing for easy serving. Set the prepared dish aside as you work on the filling.
- In a large bowl, add the halved or quartered strawberries, granulated sugar, lemon juice, vanilla extract, and cornstarch. Stir until well combined. You want the strawberries to be evenly coated in the mixture, enhancing their natural sweetness while the cornstarch helps thicken the juices as they cook.
- Pour the berry mixture into the prepared baking dish. Make sure to spread it out evenly; this will create a nice, even base for your crisp.
- In a medium bowl, combine the flour, brown sugar, oats, cinnamon, and salt. Mix these dry ingredients together to incorporate the flavors. It’s important that everything is evenly distributed.
- Use a pastry blender or fork to cut the butter into the oat mixture until it becomes crumbly. The goal is to create small pieces of butter that are mixed into the dry ingredients, resulting in a crumbly topping.
- Then, using your clean fingers, press the mixture into larger clumps until all the flour mixture is fully incorporated into the butter. This step is crucial to achieve that crunchy texture on top when baked.
- Sprinkle the oat mixture evenly over the strawberries. This topping should cover the filling generously, ensuring that every bite has that delightful crunch.
- Bake for 40 to 45 minutes, or until the topping is golden brown and the strawberry juices are bubbling around the edges. Keep an eye on it; the smell will be irresistible.
- Remove the crisp from the oven and set it on a wire rack to cool for about 5 minutes before serving. This cooling time allows the juices to settle, making it easier to serve. Don’t forget to serve it warm with a scoop of vanilla ice cream, if desired!
Things Worth Knowing
- Choosing ripe strawberries: Always look for bright red strawberries with a sweet aroma. Avoid any that have white spots or blemishes.
- Texture check: When combining the topping, ensure it forms clumps. This will provide that irresistible crunch.
- Don’t rush cooling: Allowing the crisp to cool slightly will help the juices thicken up, making for easier serving.
- Mix-ins: Feel free to add nuts or coconut to the topping for added flavor and texture!
Helpful Hints
To make your experience with Strawberry Crisp even better, here are some helpful hints to keep in mind. These tips can enhance your baking process and improve your final dish!
- Storage: Let the crisp cool completely, then cover and refrigerate for up to 3 days. Reheat in the microwave or in a 350°F oven until warm.
- Freezing: You can freeze the unbaked crisp for later use. Just prepare it in the baking dish, wrap it tightly, and freeze. Bake from frozen, adding a few extra minutes to the baking time.
- Pairing: Serve with vanilla ice cream or fresh whipped cream for a delightful contrast to the warm crisp.
- Serving suggestion: This crisp is perfect for casual gatherings, barbecues, or as a comforting dessert after dinner.
- Variations: Experiment with different fruits like blueberries or peaches for a unique twist on the classic recipe.
What to Serve With Strawberry Crisp
When it comes to enjoying the delightful Strawberry Crisp, there are numerous ways to enhance your dining experience. Here are some suggestions to serve alongside this delicious dessert:
- Vanilla Ice Cream: It’s a classic pairing! The creaminess of vanilla ice cream perfectly complements the warm, fruity filling.
- Fresh Whipped Cream: Light and airy, whipped cream adds a touch of elegance and balances the sweetness of the crisp.
- Yogurt: For a healthier twist, serve with a dollop of Greek yogurt. It offers a tangy contrast that enhances the flavors.
- Granola: Add a sprinkle of granola on top for an added crunch. It also brings a nutty flavor that complements the dish beautifully.
- Seasonal Fruits: Serve alongside other seasonal fruits for a vibrant and colorful dessert spread. Berries, peaches, or even citrus can create a refreshing contrast.
- Picnic Perfect: This dish is ideal for outdoor gatherings. Pack it up for a picnic along with some refreshing drinks to beat the heat!
FAQ
Conclusion
In conclusion, Strawberry Crisp is a delightful dessert that captures the essence of summer in every bite. Its combination of sweet strawberries and a crunchy topping makes it a comforting treat that everyone loves. I encourage you to try making this dish for your next gathering or as a special treat just for yourself. You won’t regret it; each spoonful will bring you joy and nostalgia!
Strawberry Crisp
Ingredients
Equipment
Method
- Preheat the oven to 350°F. Grease a 10-inch oven-safe skillet, 2-quart baking dish, or 9×9-inch square baking dish. Set aside.
- In a large bowl, add the strawberries, sugar, lemon juice, vanilla extract, and cornstarch. Stir until well combined.
- Pour the berry mixture into the prepared baking dish.
- In a medium bowl, combine the flour, brown sugar, oats, cinnamon, and salt. Use a pastry blender or fork to cut the butter into the oat mixture until it becomes crumbly.
- Then, using your clean fingers, press the mixture into larger clumps until all the flour mixture is fully incorporated into the butter.
- Sprinkle the oat mixture evenly over the strawberries.
- Bake for 40 to 45 minutes, or until the topping is golden brown and the strawberry juices are bubbling around the edges.
- Remove the crisp from the oven and set it on a wire rack to cool for about 5 minutes before serving. Serve warm with vanilla ice cream, if desired.
Notes
- Storage: Let the crisp cool completely, then cover and refrigerate for up to 3 days. Reheat in the microwave or in a 350°F oven until warm.