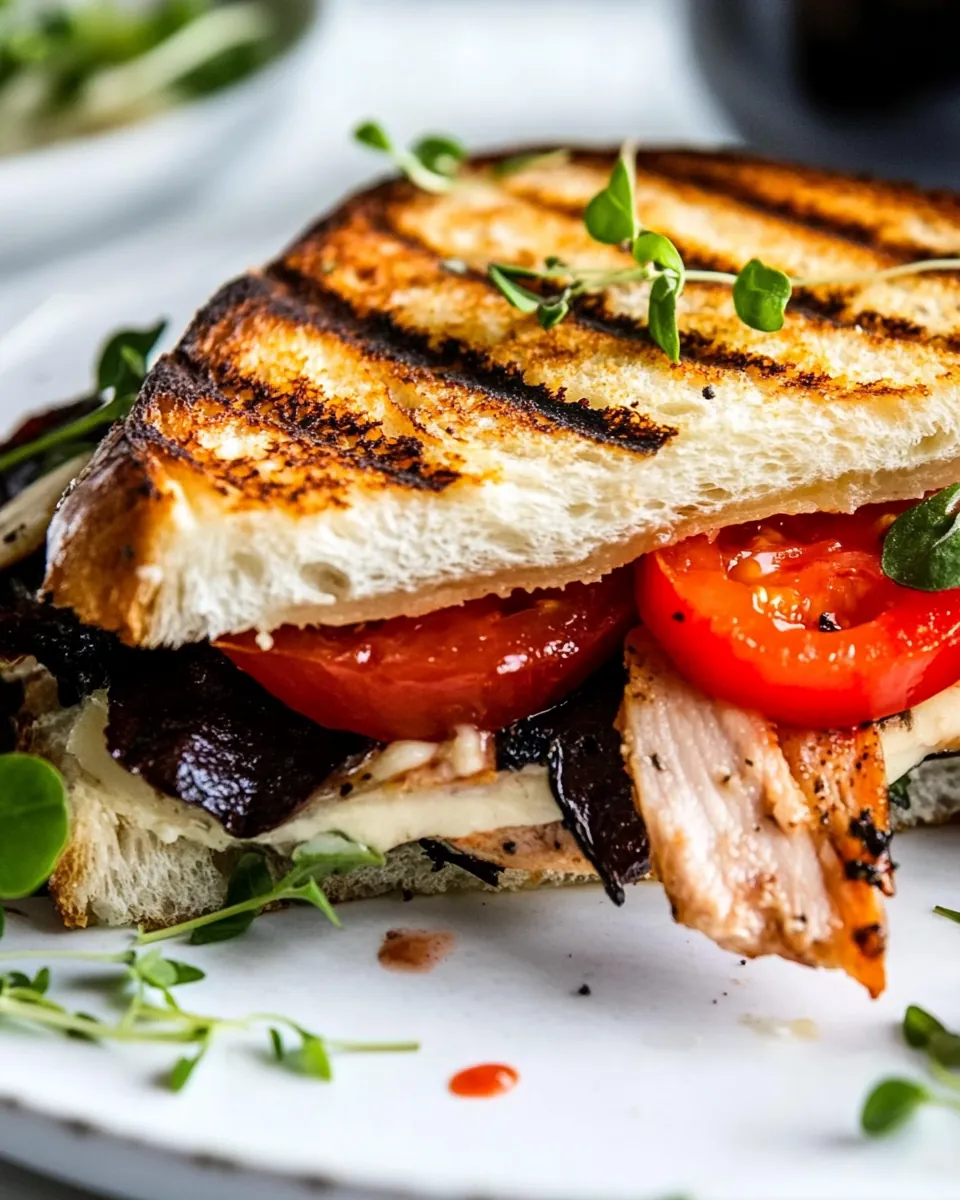
Turkey Panini
I can’t think of a better way to enjoy a cozy afternoon than indulging in a delicious Turkey Panini. This dish holds a special place in my heart, as it’s the perfect bridge between comfort food and gourmet delight. Picture yourself nestled in a warm corner of your kitchen, the aroma of toasted bread and melted cheese filling the air. It’s a little slice of heaven that elevates a simple turkey sandwich into something truly memorable. I often whip up this delightful panini when I have friends over, making it a staple for casual gatherings. Each bite reveals layers of rich, savory flavors that just scream warmth and satisfaction.
As I gather my ingredients, I can’t help but reminisce about the countless times I’ve shared this recipe. It’s one of those dishes that brings people together, whether it’s for lunch on a lazy weekend or a quick dinner after a long day. The combination of tender turkey, creamy cheese, and vibrant basil pesto creates a melty masterpiece that’s hard to resist. When I serve it with a side of mixed greens or a hearty soup, it transforms an ordinary meal into something extraordinary. Trust me; once you make this Turkey Panini, you’ll find yourself craving it more often than not!
Recipe Snapshot
15 mins
10 mins
5 mins
Easy
450 kcal
30 g
Standard
20 g
Cuisinart Panini Press
Why This Turkey Panini Hits Different
Convenience at Its Best
One of the main reasons I adore this Turkey Panini is its simplicity. With just a few ingredients, you can create a dish that feels much more elaborate than it really is. It’s perfect for those evenings when you want something delicious without spending hours in the kitchen. Just grab the essentials, and you’re good to go!
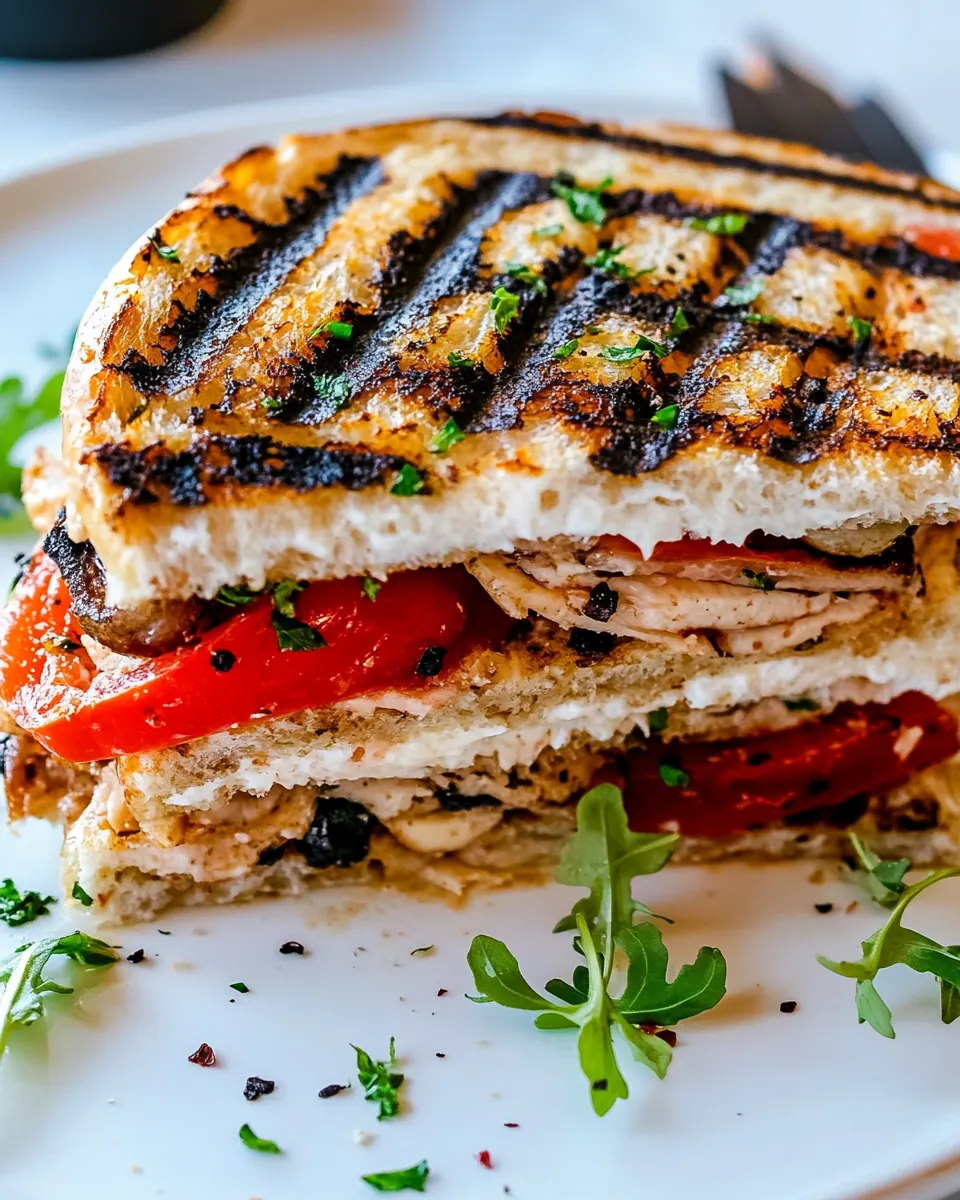
Flavor Explosion
The flavors in this panini are simply out of this world! The creamy cheddar cheese melts beautifully and melds with the savory turkey and zesty basil pesto. The roasted red peppers add a touch of sweetness that rounds out the overall flavor profile, making each bite a delight. It’s a harmonious blend that keeps me coming back for more.
Perfect for Any Occasion
This Turkey Panini is versatile enough to serve at any gathering. Whether it’s a casual lunch with friends or a cozy dinner at home, it fits right in. You can even slice it into smaller pieces and serve it as an appetizer at your next party!
Easy Customization
Another fantastic aspect of this recipe is its adaptability. You can easily swap out ingredients to suit your taste or dietary preferences. Want to add some spinach or arugula for an extra crunch? Go for it! Prefer a different type of bread? Experiment with what you have on hand!
Quick and Satisfying
In our busy lives, it’s refreshing to have a recipe that can be prepared quickly without sacrificing flavor. The Turkey Panini takes mere minutes to grill, making it a perfect option for those hectic weeknights when you don’t want to compromise on taste.
Great Leftovers
If you happen to have any leftovers, you’re in for a treat! This panini stays delicious even the next day. Just reheat it in the panini press or oven, and it’ll taste as good as new. It’s the kind of dish that keeps giving!
Shopping List for Turkey Panini
Gathering the right ingredients for this Turkey Panini is essential to achieving that perfect flavor combination. Each ingredient plays a vital role in crafting a sandwich that’s not only satisfying but also bursting with flavor. The key players in this recipe work harmoniously together to create a delightful culinary experience.
- 4 slices dark rye bread (or focaccia): This sturdy bread holds everything together and adds a lovely depth of flavor.
- ¼ pound sliced turkey meat: Lean and tasty, the turkey provides a hearty base for the sandwich.
- 1 roasted red pepper: Sweet and smoky, roasted red peppers bring a pop of color and flavor.
- 4 tablespoons basil pesto: This adds a fresh, herby element that elevates the taste profile.
- 4 slices cheddar cheese: Creamy and nutty, cheddar melts beautifully and binds all the ingredients together.
Preparation Steps for Turkey Panini
Making a Turkey Panini is a breeze, and I find it incredibly satisfying to watch the sandwich transform as it grills. Follow these simple steps, and you’ll have a delicious meal ready in no time!
- Start by turning on your panini press to get it nice and hot. Preheating is crucial for achieving that perfect golden crust.
- While the press heats up, gather all your ingredients. Lay out the dark rye bread, sliced turkey meat, roasted red peppers, basil pesto, and cheddar cheese so everything is within reach.
- Take two slices of bread and spread a generous amount of basil pesto on one side of each slice. This will be the inside of your sandwich, so don’t skimp on the pesto!
- On top of the pesto side of one slice, layer the sliced turkey meat evenly. Make sure to cover the whole slice for maximum flavor.
- Next, add a layer of cheddar cheese on top of the turkey. I like to use at least two slices to get that melty goodness.
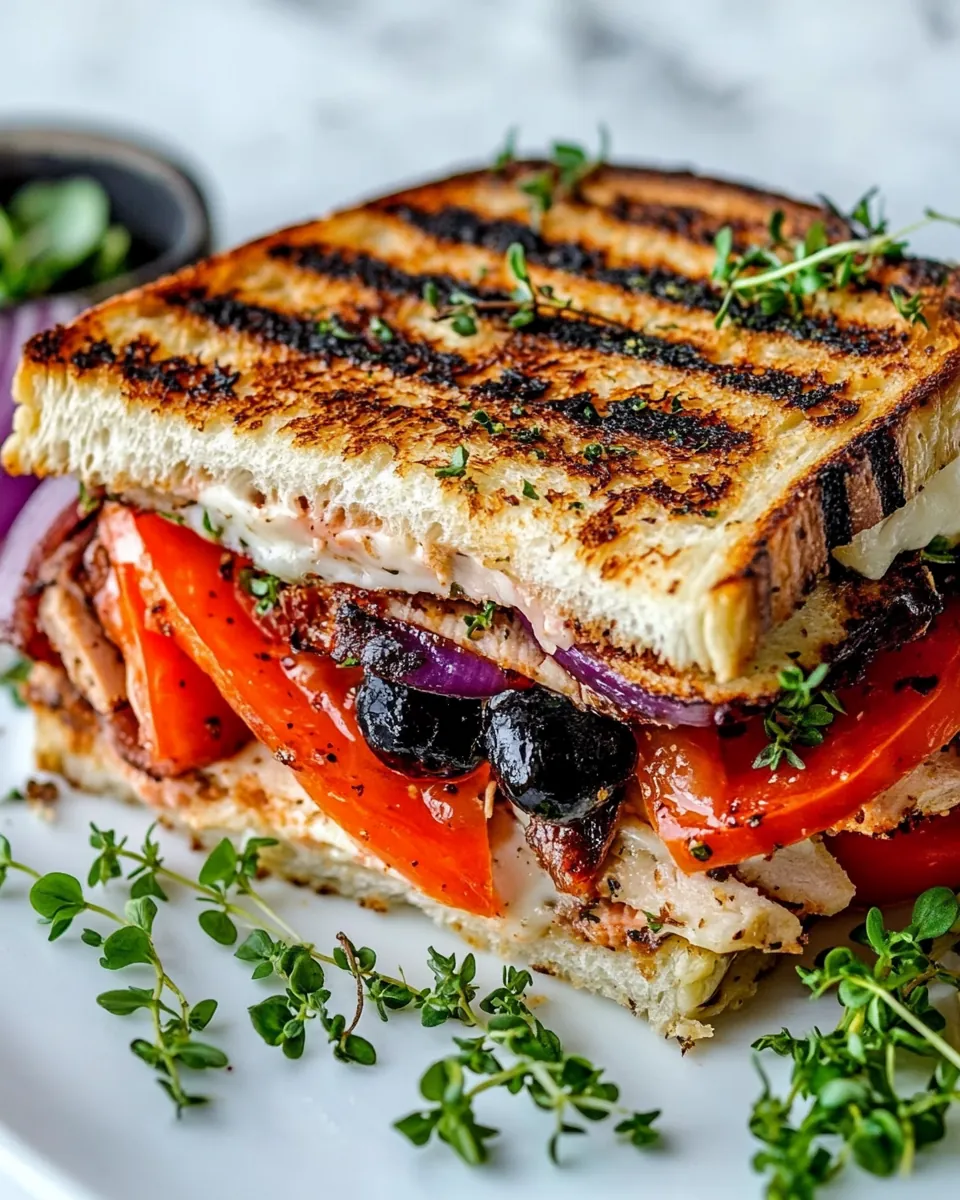
- Then, add the roasted red peppers on top of the cheese. Their sweetness and texture will enhance the sandwich significantly.
- Now, take the second slice of bread with the pesto side facing down and place it on top of the layered ingredients. Press down gently to keep everything in place.
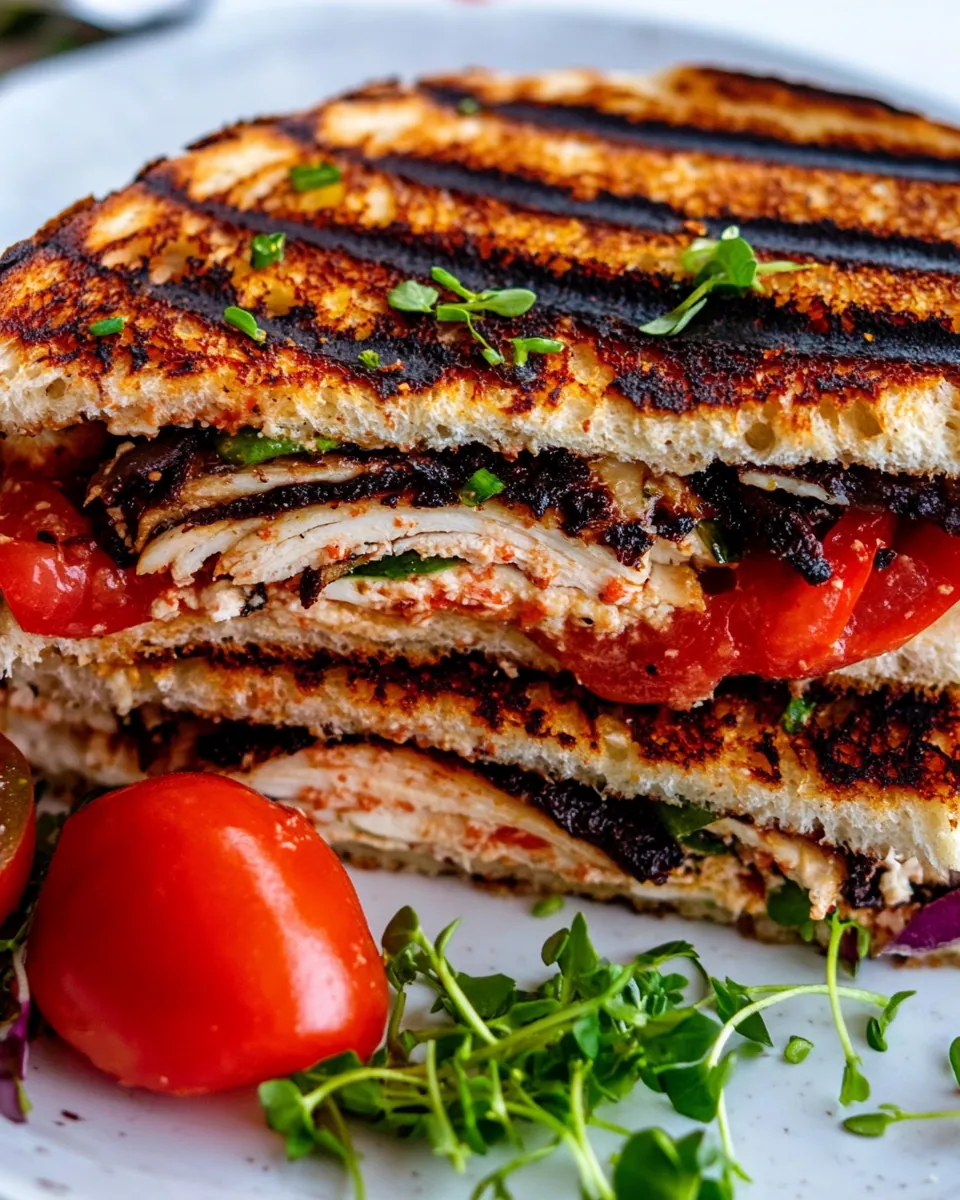
- Carefully transfer the assembled sandwich to the preheated panini press. Close the lid gently and let it grill for about three minutes.
- After three minutes, check the Turkey Panini. It should be golden brown, and the cheese should be melted with grill marks. If it needs more time, give it an additional minute or two.
- Once done, carefully remove the panini from the press, and let it cool for a minute before cutting it in half. This helps prevent burns and allows the melted cheese to settle slightly.
Things Worth Knowing
Things Worth Knowing
- Always preheat your panini press to ensure that your sandwich gets that perfect crispness.
- Feel free to customize the filling. Add your favorite veggies or switch up the cheese to suit your taste.
- For a healthier option, choose whole grain bread instead of dark rye.
- The key to a great panini is not overstuffing it; keep the layers balanced to allow proper grilling.
Expert Tips about Turkey Panini
Creating the perfect Turkey Panini is all about technique and the right ingredients. Here are some tips to elevate your sandwich game!
- Storage: Store any leftovers in an airtight container in the refrigerator. They should stay fresh for up to three days.
- Freezing: You can freeze the assembled paninis before grilling. Just wrap them tightly in plastic wrap and store them in a freezer bag. When you’re ready to eat, cook them straight from frozen.
- Pairing: Serve your panini with a light salad or a bowl of soup for a complete meal.
- Grilling Alternatives: If you don’t have a panini press, you can use a grill pan or even a regular skillet. Just press down with a spatula to get those grill marks!
- Crusty Bread: For the best texture, choose bread that has a nice crust. This will give your panini that satisfying crunch.
- Experiment: Don’t hesitate to try different flavor combinations. Adding avocado or spinach can provide a delightful twist!
Perfect Matches for Turkey Panini
When it comes to serving the Turkey Panini, consider complementing it with various side dishes and drinks to enhance the experience. Here are some ideas:
- Fresh Salad: Pair your panini with a light mixed green salad dressed with vinaigrette for a refreshing balance.
- Soup: A warm bowl of tomato soup makes an excellent pairing, especially on chilly days.
- Chips: Homemade potato chips or a side of kettle-cooked chips add a satisfying crunch.
- Fruit: Fresh fruit, like grapes or apple slices, can offer a sweet contrast to the savory flavors of the panini.
- Occasions: This dish is versatile enough for lunch, dinner, or even a casual get-together with friends.
- Seasonal Pairings: During fall, consider serving with roasted vegetables for a hearty meal.
FAQ
Conclusion
The Turkey Panini is a delightful combination of flavors and textures that makes it truly special. It’s not just a sandwich; it’s a warm hug on a plate that you can enjoy anytime. I encourage you to give this recipe a try—you’ll find it quickly becomes a favorite in your kitchen. Enjoy the process of creating and savoring this delicious dish with your loved ones.
Turkey Panini
Ingredients
Equipment
Method
- Turn on your panini press to get it nice and hot.
- Once you’ve got all the ingredients laid out, it’s time to start building the panini sandwiches. Begin by spreading some basil pesto on one side of each slice of bread.
- Then top 2 of the slices of bread with the sliced turkey, cheese slices then roasted red pepper. Now, put the other 2 slices of bread on top and your paninis are assembled and ready to grill!
- Transfer the turkey pesto sandwiches to the press and grill them for about 3 minutes or until the cheese has melted and grill marks have formed.
Notes
- Use the right bread: You need to use bread that isn’t going to fall apart when pressed by the panini maker. Sofocaccia, rolls, and thicker slices are the best choice.
- Lay on the pesto: Make sure to fully cover the bread with the flavorful pesto so that it comes through with each and every bite. After all, this is a turkey and pesto panini.
- Make and eat: For the best panini experience, grill the sandwiches to order. You can make them ahead of time, but when they first come off the press they are the most delicious.
- Storage: Already grilled turkey pesto panini will keep in the fridge for up to 3 days. To reheat, you can simply put it back on the panini maker for a few minutes or put the sandwich in the oven at 350°F (177°C) on a sheet pan for about 7 minutes.