Tzatziki
When I think of summer gatherings and warm evenings spent outdoors, I can’t help but crave a generous bowl of Tzatziki. This creamy Greek dip is not just a side; it’s a celebration of flavor that brings a cool, refreshing twist to any meal. I remember the first time I had Tzatziki at a friend’s backyard barbecue. The sun was setting, the grill was sizzling, and the air was filled with laughter. As I dipped warm pita into that velvety dip, I knew I had discovered something special. It’s that perfect balance of tangy, herbaceous, and creamy that makes Tzatziki a must-have on warm days.
The beauty of Tzatziki lies in its simplicity. With just a handful of ingredients, you can whip up this dip in no time. Even better, it’s incredibly versatile. Whether you’re using it as a dip for fresh veggies, a spread for sandwiches, or a sauce for grilled meats, it always shines. As a personal twist, I love to add a touch more garlic or lemon to mine based on my mood. The joy of making Tzatziki is that you can customize it to your taste! So, gather your ingredients, and let me take you through this delicious journey.
Recipe Snapshot
2 hr 15 mins
120 mins
15 mins
Hard
100 kcal
5 g
Keto, Gluten-Free, AIP
8 g
Food Processor, Grater, Blender, Peeler, Whisk, Chef’s Knife, Mixing Bowl
The Charm of This Tzatziki
Why I Love Tzatziki
There’s something about Tzatziki that just elevates every dish it touches. Here are a few reasons why this dip captures my heart:
1. It’s Incredibly Fresh
The combination of cucumbers, yogurt, and fresh herbs creates a burst of freshness in every bite. In the summer, there’s nothing more satisfying than the cool, crisp flavors of this dip.
2. Simple Ingredients
Making Tzatziki requires very few ingredients, most of which you likely have at home. It’s a fantastic way to use up leftover cucumbers or yogurt while creating something delicious.
3. Versatile as Can Be
You can pair Tzatziki with a variety of dishes. Whether it’s grilled meats, falafel, or as part of a mezze platter, it complements everything beautifully.
4. Perfect for Meal Prep
Since Tzatziki can sit in the fridge and get even better over a couple of days, it’s perfect for meal prep. I often make a big batch on Sundays to enjoy throughout the week!
5. A Healthy Option
With its yogurt base and healthy ingredients, Tzatziki is a guilt-free dip. It’s full of probiotics and adds a creamy element to any meal without the unnecessary calories.
6. Great for Entertaining
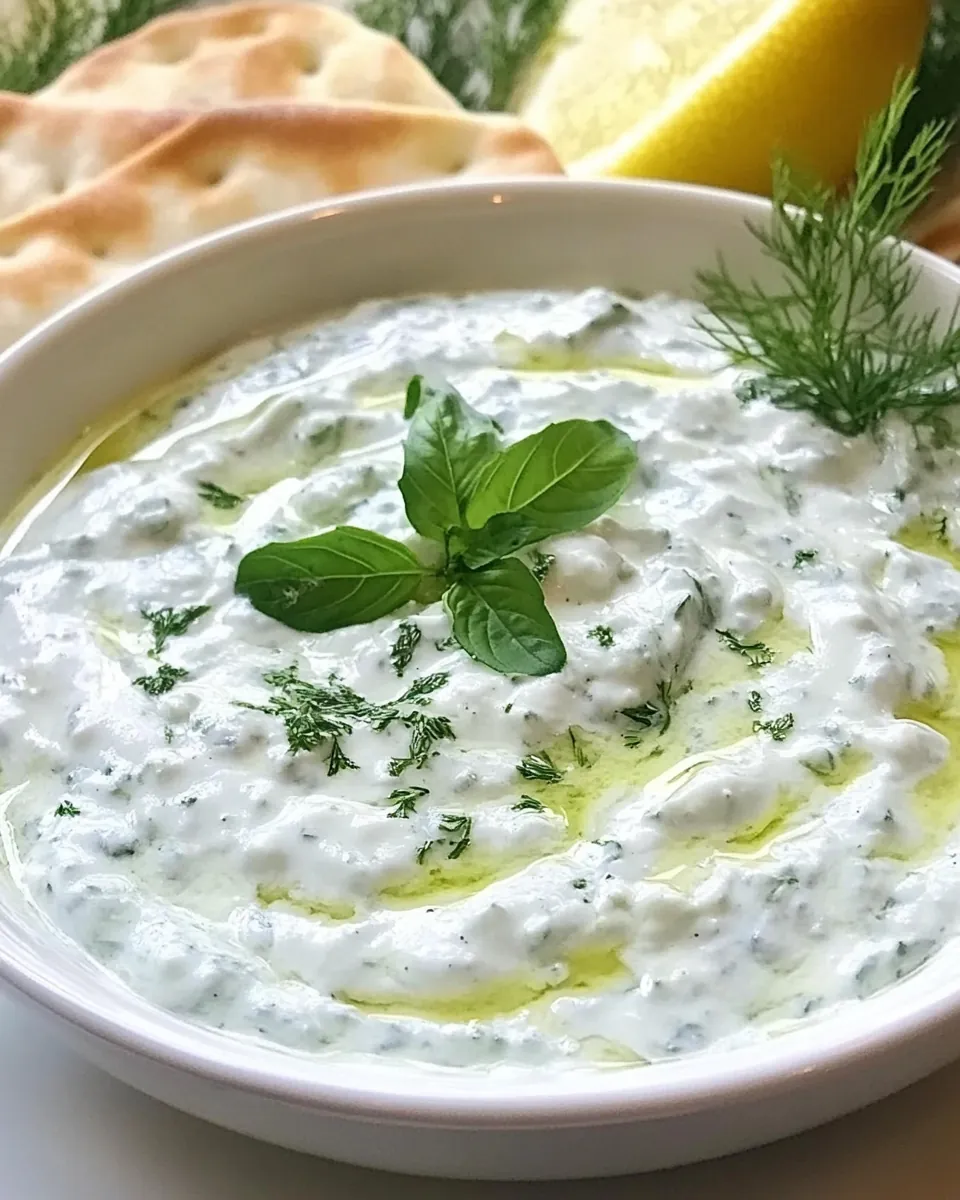
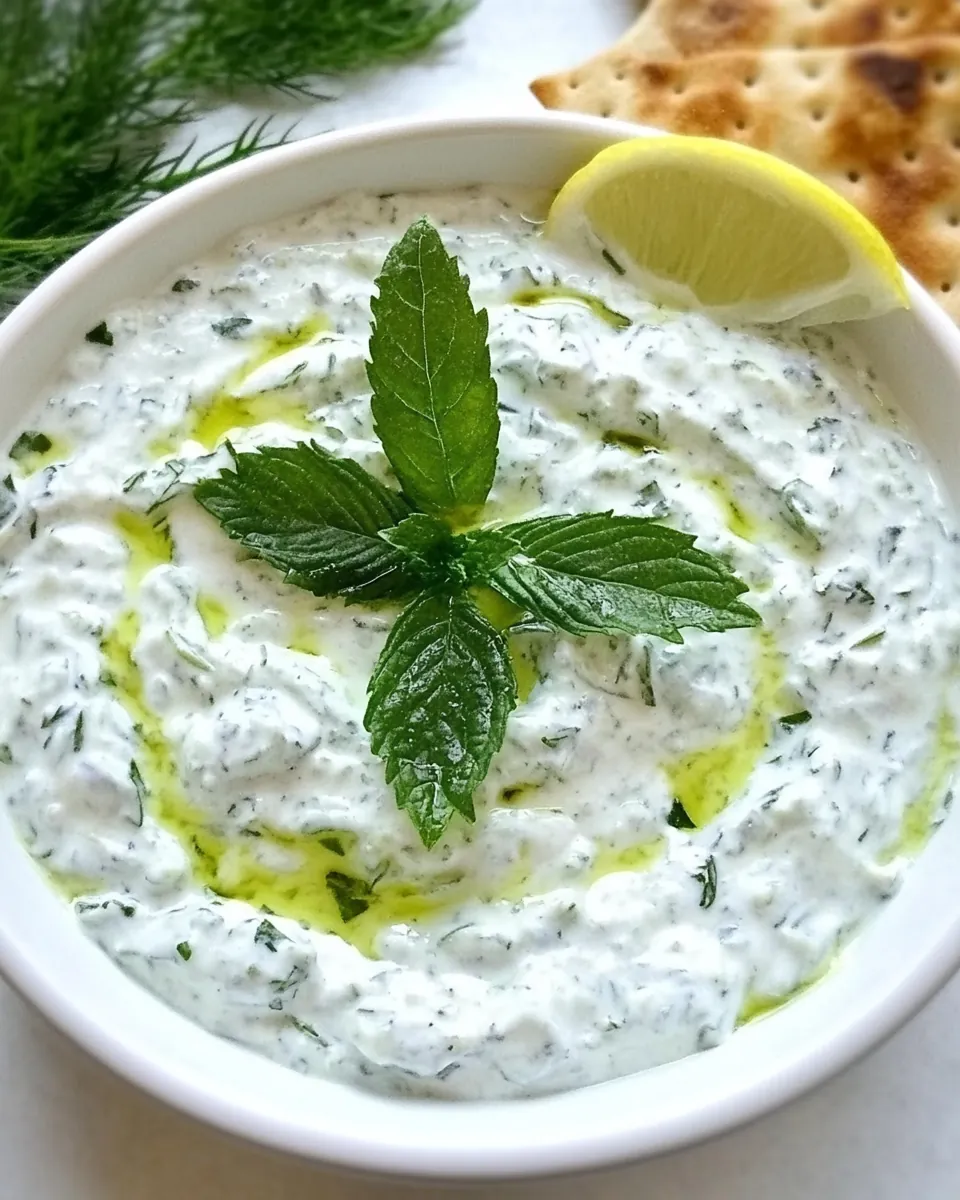
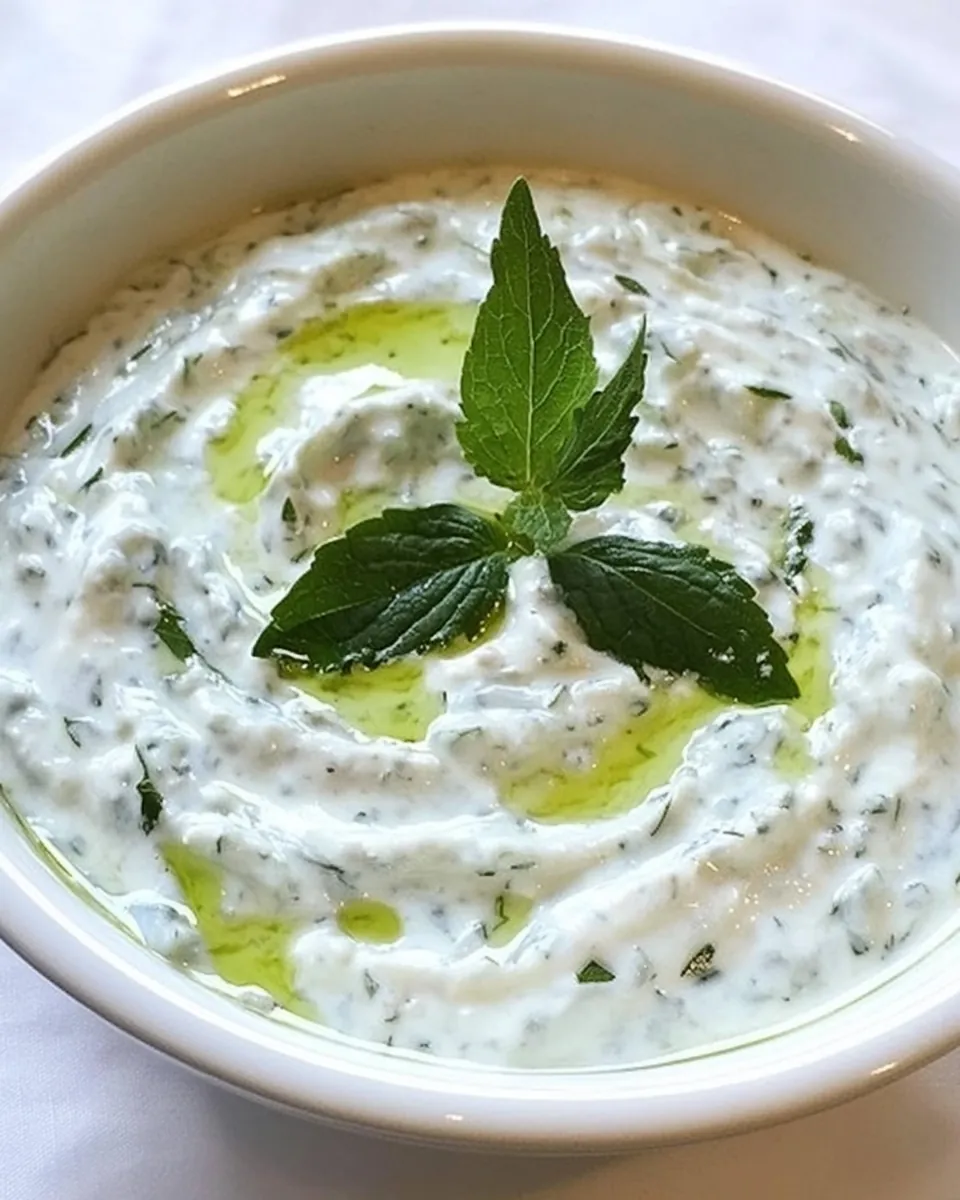
Whenever I have friends over, Tzatziki is always a crowd-pleaser. It’s easy to make, and everyone loves it. Plus, it looks beautiful served in a bowl with a drizzle of olive oil on top!
Ingredients for Tzatziki
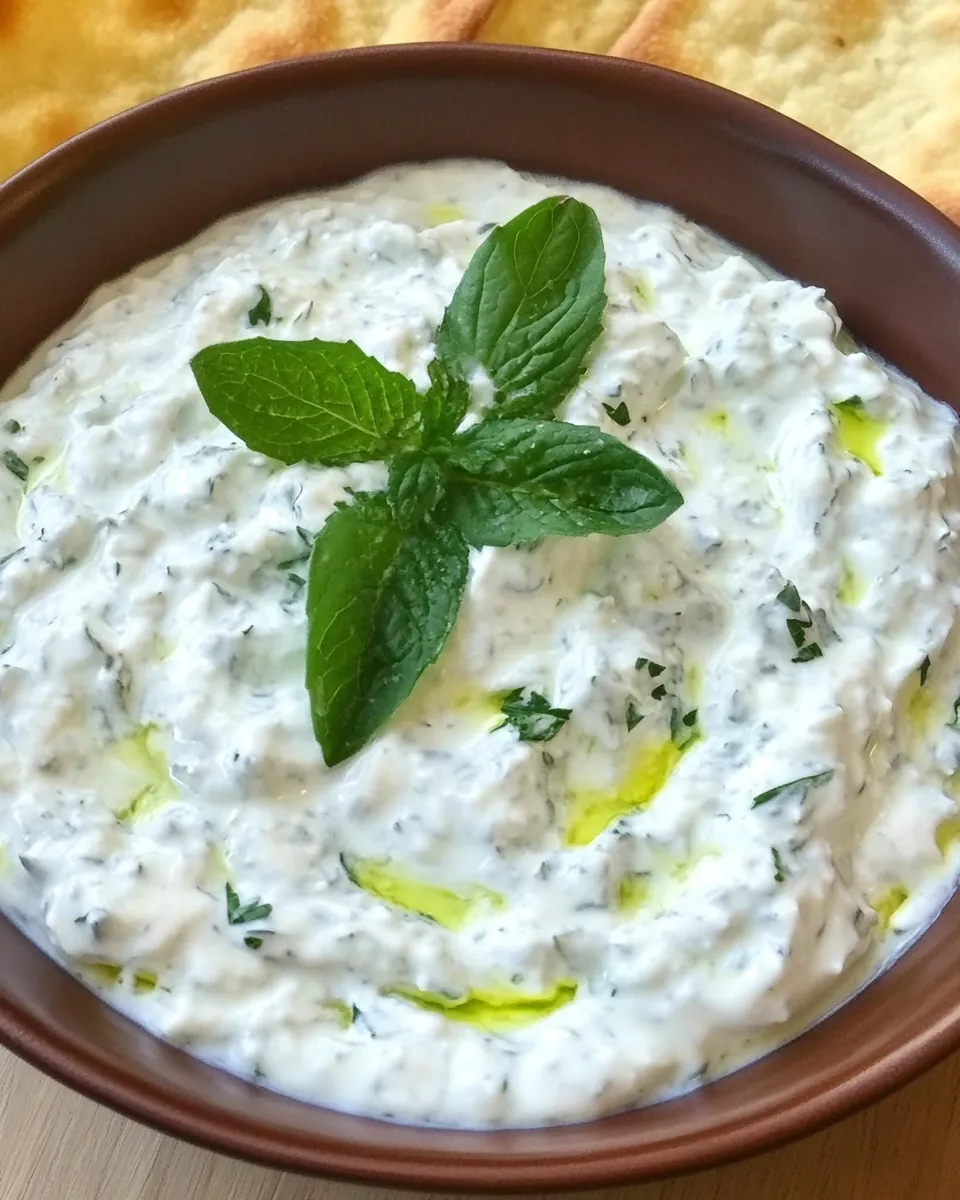
The ingredients for Tzatziki are wonderfully straightforward yet create an unforgettable flavor. Each component plays a vital role, bringing texture and taste that work harmoniously together.
- 1 1/2 cups plain low-fat Greek yogurt – This is the creamy base of the dip, rich in flavor and health benefits.
- 1 pound Persian or English cucumbers, peeled and seeded – They add that refreshing crunch and balance the creaminess of the yogurt.
- 3 tablespoons extra virgin olive oil – A drizzle of this fragrant oil enhances the dip’s flavor.
- 1 tablespoon fresh chopped mint or dill – Fresh herbs bring a burst of aromatic flavor.
- 1 clove garlic, crushed (or more to taste) – Adds a savory depth to the dip.
- 1 tablespoon fresh lemon juice (or more to taste) – A squeeze of lemon brightens the flavors significantly.
- 1/4 teaspoon salt (or more to taste) – Essential for bringing out the flavors of all ingredients.
- Fresh mint sprig for garnish (optional) – A lovely touch to finish off the dish.
Cooking Method for Tzatziki
Creating Tzatziki at home is a rewarding process, and it’s easier than you might think. Let’s dive into the steps!
- First, strain the Greek yogurt for about 2 to 3 hours in the refrigerator. This step is essential for removing excess moisture, giving you the right texture. If you prefer using plain yogurt, it will require straining for 14 to 15 hours to achieve a similar consistency. If you’re unsure how to strain yogurt, look up simple methods online. A good starting point is placing the yogurt in a fine-mesh strainer lined with cheesecloth or a clean dish towel.
- Next, take your cucumbers and pulse them in a food processor until they reach your desired texture. Personally, I enjoy them finely chopped, but you can go chunkier if that’s your preference. Feel free to grate them instead if that suits your taste!
- Now, cut out an 18-inch rectangle of cheesecloth and fold it into two layers. Place your chopped cucumbers in the center of the cheesecloth. Gather it up and twist at the top to make a bundle. Squeeze this bundle several times over the sink to eliminate as much liquid as possible. If you don’t have cheesecloth, using a thin dish towel works just as well.
- In a medium mixing bowl, add the strained yogurt. Next, add the drained cucumber pieces from the cheesecloth.
- Pour in the olive oil, fresh herbs (either mint or dill), crushed garlic, lemon juice, and salt. This is where all the flavors come together!
- With a fork or whisk, blend all the ingredients until well combined. You want to ensure everything is evenly distributed. Taste your Tzatziki and feel free to adjust by adding more garlic, lemon juice, or salt as desired.
- Once you’re satisfied with the flavor, cover the bowl and let the Tzatziki chill in the refrigerator until you’re ready to serve. This resting period really allows the flavors to meld beautifully.
- Serve your delicious Tzatziki cold. It’s perfect for dipping or as a sauce over grilled dishes. Enjoy the refreshing taste!
- Any leftovers can be stored in an airtight container in the refrigerator for several days. Just remember that the flavors will continue to develop over time, and it may get thicker.
Things Worth Knowing
- Straining yogurt is vital: Always strain the yogurt to achieve the right consistency for Tzatziki. The thicker the yogurt, the better.
- Use fresh herbs: Fresh mint or dill makes a huge difference in taste compared to dried versions. Go for freshness!
- Adjust flavors: Don’t hesitate to tweak the recipe to your preference. A bit more garlic or lemon can enhance the dip.
- Storage matters: Store in an airtight container in the fridge. It should last for about a week but tastes best when fresh.
Tips and Variations
There are plenty of ways to enjoy and customize your Tzatziki. Here are some ideas to enhance your experience:
- Storage: After making Tzatziki, store it in an airtight container in the refrigerator. It will keep for about four to five days, but the flavor will continue to improve as it sits.
- Freezing: While I wouldn’t recommend freezing Tzatziki due to its yogurt base, it’s best enjoyed fresh. If you have excess, consider using it in other dishes instead.
- Pairing: Serve Tzatziki with grilled meats, pita bread, or fresh vegetables for dipping. It’s also fantastic on gyros!
- Flavor variations: You can experiment by adding roasted garlic or a pinch of smoked paprika for a twist on the traditional flavor.
- Herb alternatives: If you’re not a fan of mint or dill, consider using parsley or cilantro for a different flavor profile.
Serving Ideas for Tzatziki
When it comes to serving Tzatziki, the possibilities are endless. Here are some great ideas:
- As a dip: Pair it with fresh vegetables like carrots, bell peppers, and cucumbers for a healthy appetizer.
- With grilled meats: Serve alongside chicken or lamb skewers for an amazing contrast of flavors.
- In a salad: Use Tzatziki as a dressing over a grain salad for a refreshing twist.
- As a sauce: Drizzle over roasted veggies or use it as a topping for baked potatoes.
- In wraps: Spread Tzatziki on wraps or sandwiches for an added layer of flavor.
- On mezze platters: Include Tzatziki as part of a larger mezze spread with hummus, olives, and pita bread.
- For gatherings: Make a large bowl for parties; it’s always a hit at gatherings!
FAQ
Conclusion
Tzatziki is more than just a dip; it’s a refreshing companion that adds a delightful twist to any meal. Whether you enjoy it with veggies, pita, or grilled meats, it’s sure to elevate your dining experience. I encourage you to try making it today and share it with family and friends. It’s the perfect way to bring some Mediterranean flavor right into your kitchen!
Tzatziki
Ingredients
Equipment
Method
- Strain the Greek yogurt for 2-3 hours in the refrigerator. If you'd prefer to use plain yogurt and not Greek, you'll need to strain it for 14-15 hours to get the right consistency. If you don't know how to strain yogurt, you can find instructions online.
- Pulse the cucumbers in the food processor or hand chop to desired texture. I like them chopped small, but not minced. Bigger chunks will result in chunkier tzatziki. It’s a matter of preference. You can also grate them, if you prefer.
- Cut out an 18-inch rectangle of cheesecloth and fold into two layers. Place chopped cucumbers in the center of the double-layered cloth. Gather up the cheesecloth and twist at the top to form a bundle. Squeeze the bundle several times over the sink, twisting the bundle tightly to get rid of as much liquid as possible. If you don't have cheesecloth, use a thin dishtowel instead.
- Place strained yogurt in a medium mixing bowl.
- Add the drained cucumber pieces from the cheesecloth to the bowl along with the olive oil, chopped fresh mint or dill, crushed garlic, lemon juice, and salt.
- Use a fork or whisk to blend the ingredients together. Taste the tzatziki; add more garlic, lemon juice, or salt to taste if desired. Serve cold.
- Store in the refrigerator.
Notes
- Tip 1: You will also need: Cheesecloth or clean dishtowel, colander, bowl