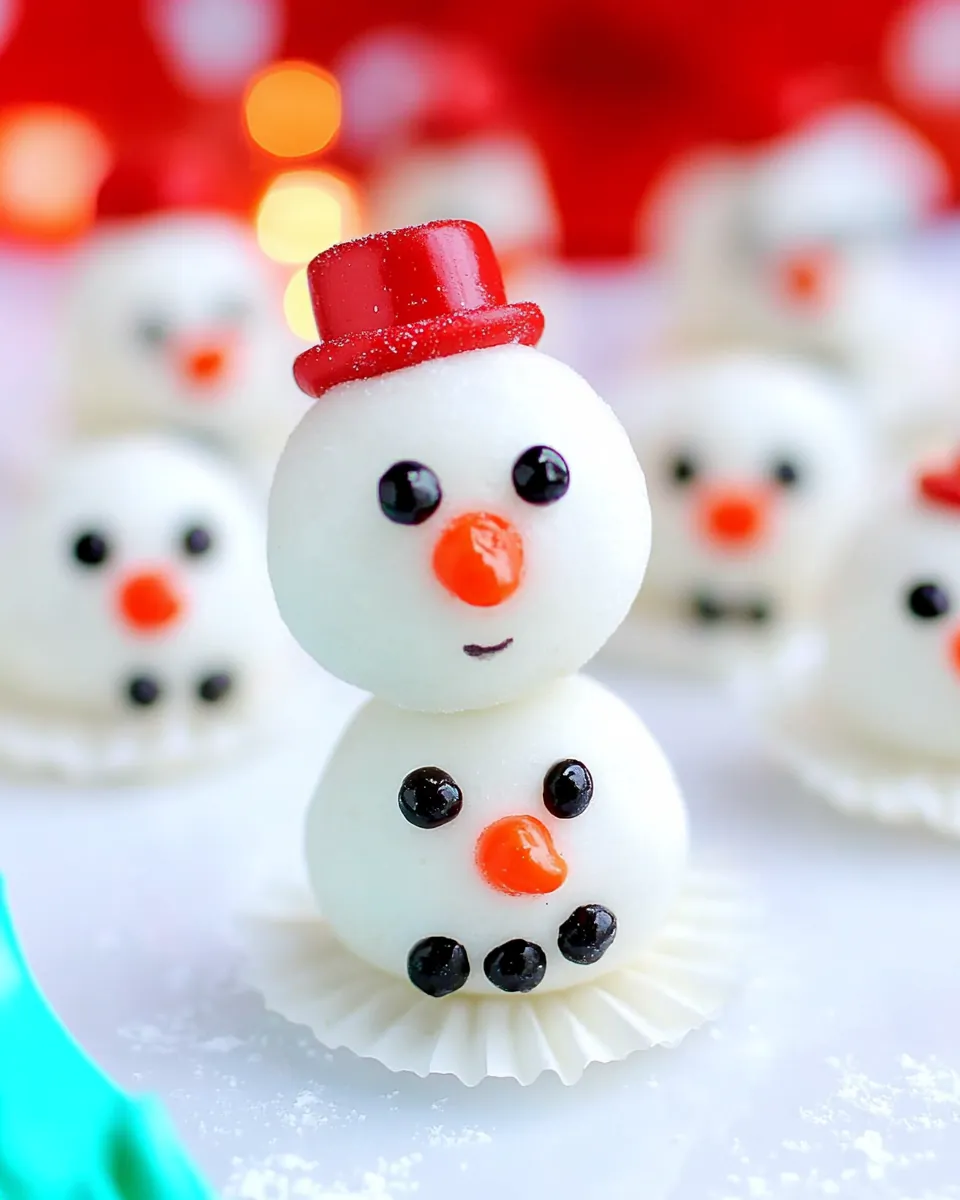
Melting Snowmen Cookie Balls
The Melting Snowmen Cookie Balls are the perfect treat to share during the winter season, especially around the holidays. There’s something so magical about transforming ordinary ingredients into delightful little snowmen that bring smiles to everyone’s faces. I still remember the first time I made these with my family. We gathered in the kitchen, laughter echoing as we crushed the cookies and rolled the mixture into balls. The kids were particularly excited about the decorating part, using colorful gels to give life to our snowy creations. Each little snowman is unique, just like the memories we create while making them. These no-bake treats are not only a visual delight but also a deliciously sweet treat that melts in your mouth. Whether you are looking to impress guests at a holiday party or simply want to indulge in some family fun, making Melting Snowmen Cookie Balls is a joyful way to celebrate the season together.
Recipe Snapshot
60 mins
0 mins
0 mins
Medium
210 kcal
2 g
Keto, Gluten-Free, Low FODMAP
10 g
Baking Sheet, Mixing Bowl, Blender
The Best Thing About This Melting Snowmen Cookie Balls
They’re Adorably Fun
One of the best things about the Melting Snowmen Cookie Balls is how cute they are! This recipe allows you to unleash your creativity. Each snowman can have its own personality – whether it’s a goofy grin or a cheeky wink. Kids love being involved in decorating, making it a great interactive activity. Who wouldn’t want to eat a smiling snowman?
Easy to Make
These cookie balls are incredibly easy to put together. With just a few simple steps, you can create these festive treats without any baking required. There’s no need to worry about complicated techniques or fancy equipment. Just crush, mix, roll, and decorate!
Perfect for All Occasions
While these treats are perfect for Christmas, they can also brighten up any winter gathering or party. They make for a great dessert table addition or can be packaged up as thoughtful gifts for friends and family. Everyone loves a homemade treat!
Rich and Decadent Flavor
With the combination of Chocolate Sandwich Cookies and PHILADELPHIA Cream Cheese, these cookie balls are rich, creamy, and satisfyingly sweet. The smooth white chocolate coating adds an extra layer of indulgence, making them a delightful treat for any sweet tooth.
Fun for the Whole Family
Making Melting Snowmen Cookie Balls isn’t just about the end result; it’s about the fun moments shared in the kitchen. It’s a perfect way to spend quality time with family, creating memories that will last a lifetime. Everyone can pitch in, whether it’s crushing cookies or decorating the snowmen, making it a delightful experience from start to finish.
Ingredients Required for Melting Snowmen Cookie Balls

The ingredients for Melting Snowmen Cookie Balls are simple yet magical when combined. Each element plays a crucial role in creating these delightful treats. The key players in this recipe are the Chocolate Sandwich Cookies, which provide a foundational flavor and texture, and the PHILADELPHIA Cream Cheese, which binds the mixture together and adds creaminess. BAKER’S White Chocolate envelopes the balls, bringing a sweet finish, while the assorted colored decorating gels allow for creative expression.
- 24 Chocolate Sandwich Cookies – These are the base of our cookie balls, providing a rich chocolate flavor that’s irresistible.
- 3 Tbsp. PHILADELPHIA Cream Cheese – Softened cream cheese adds a creamy texture and helps bind the cookie crumbs together.
- 9 oz. BAKER’S White Chocolate – This melted chocolate is the perfect coating for our cookie balls, adding sweetness and a beautiful finish.
- Assorted colored decorating gels – These gels are essential for decorating our snowmen and bringing them to life with personality and flair.
The Process for Making Melting Snowmen Cookie Balls

Making Melting Snowmen Cookie Balls is a simple and fun process that’s perfect for kids and adults alike! Let’s roll up our sleeves and get started. Follow these steps carefully to ensure your snowmen turn out just right!
- Start by finely crushing 9 Chocolate Sandwich Cookies in a food processor or by placing them in a zip-lock bag and rolling over them with a rolling pin until you achieve a fine crumb texture. The finer the crumbs, the better they’ll blend with the cream cheese.
- In a mixing bowl, combine the cookie crumbs with 3 tablespoons of softened PHILADELPHIA Cream Cheese. Mix well using a spatula or your hands until the mixture is fully combined and holds together. You’re looking for a consistency that allows you to easily roll it into balls without it crumbling apart.
- Once the mixture is ready, take a small amount and roll it into a ball about 1 inch in diameter. You should be able to make about 15 balls from this mixture. Place them on a waxed paper-lined rimmed baking sheet as you go, making sure they are spaced apart.
- Next, melt 9 oz. of BAKER’S White Chocolate in a microwave-safe bowl. Microwave it in 30-second intervals, stirring in between until it’s completely melted and smooth. Be careful not to overheat it!
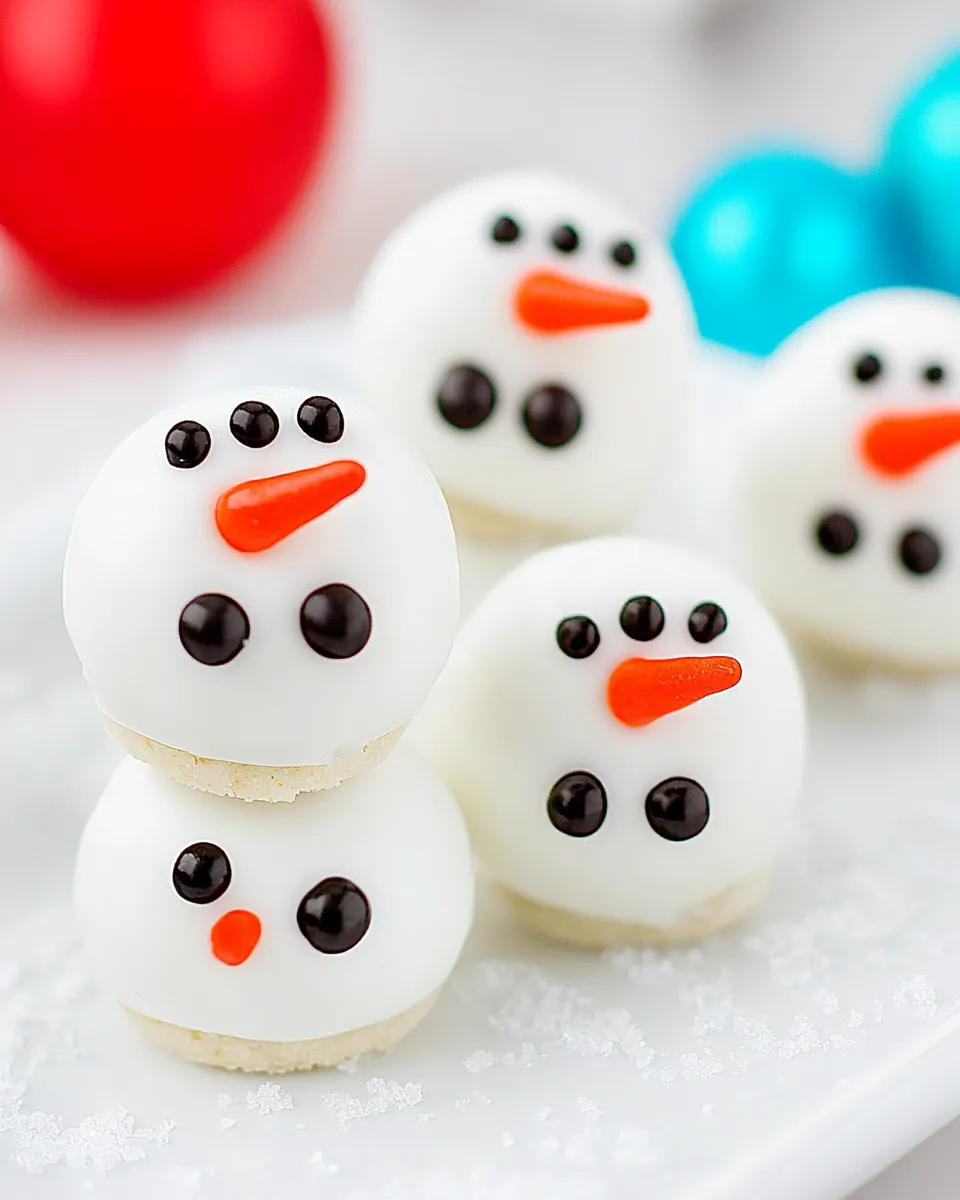
- Now comes the fun part! Take each cookie ball and dip it into the melted white chocolate, using a fork to lift it out. Let the excess chocolate drip off, and then carefully place the dipped ball on top of a whole Chocolate Sandwich Cookie that you set aside earlier. This gives the snowman a sturdy base.
- To create a fun melted effect, gently tap the cookie on the tray 3 to 4 times, allowing the excess chocolate to pool slightly onto the cookie base. This gives the appearance of a snowman that is melting.
- Once all the cookie balls are dipped and placed on the cookies, it’s time to decorate! Use the assorted colored decorating gels to create eyes, buttons, and other features on your snowmen. Get creative and make each snowman unique!
- Finally, refrigerate the assembled snowmen for about 1 hour or until firm. This will help the chocolate harden and set, making them easier to serve. Keep them refrigerated until you are ready to enjoy!
Things Worth Knowing
- Crushing Cookies: Ensure that the cookies are finely crushed for a better texture in the cookie balls. Larger chunks can cause them to fall apart.
- Using Cream Cheese: Make sure the cream cheese is softened to room temperature for easy mixing. Cold cream cheese will not blend well with the cookie crumbs.
- Decorating: Get creative with the decorating gels! There are no rules; let your imagination run wild. You can even use different candies for added texture and flavor.
- Storage: Keep the cookie balls in an airtight container in the refrigerator. They’ll last about a week, but I doubt they’ll stick around that long!
Recipe Notes about Melting Snowmen Cookie Balls
When it comes to Melting Snowmen Cookie Balls, there are a few tips to keep in mind that can enhance your experience and outcome. Here’s what I recommend:
- Storage: These cookie balls should be stored in an airtight container in the refrigerator. They can stay fresh for up to a week, making them perfect for holiday parties.
- Freezing: You can also freeze these cookie balls! Just make sure they’re well wrapped or in an airtight container. They can last up to 3 months in the freezer.
- Pairing: Serve these treats with hot chocolate or a cup of coffee for a delightful winter snack.
- Variations: Feel free to experiment with different flavors of cookie sandwiches or chocolate. There are many delicious variations you can try!
What to Pair With Melting Snowmen Cookie Balls
Pairing your Melting Snowmen Cookie Balls with the right drinks and desserts can enhance the overall experience. Here are some ideas:
- Hot Chocolate: This classic winter drink complements the sweet chocolate flavor perfectly.
- Coffee: A nice cup of coffee can balance the sweetness of the cookie balls, making it a great afternoon treat.
- Milk: Don’t forget the milk! It’s a classic pairing that appeals to both kids and adults.
- Fruit Platters: Adding a platter of fresh fruit can provide a refreshing contrast to the rich cookie balls.
- Winter Parties: These treats are perfect for serving during holiday gatherings, birthdays, or even cozy movie nights at home.
- Gift Giving: Package them in festive boxes to give as gifts during the holiday season. They make delightful homemade treats!
FAQ
Conclusion
In conclusion, the Melting Snowmen Cookie Balls are a delightful and creative treat that brings joy to any winter occasion. Their adorable appearance and rich flavor make them a favorite for both kids and adults alike. I encourage you to gather your family and friends, and make these fun cookie balls together. It’s not just about the treats you create but also the cherished memories made in the process.
Melting Snowmen Cookie Balls
Ingredients
Equipment
Method
- 1. Start by finely crushing 9 Chocolate Sandwich Cookies in a food processor or by placing them in a zip-lock bag and rolling over them with a rolling pin until you achieve a fine crumb texture.
- 2. In a mixing bowl, combine the cookie crumbs with 3 tablespoons of softened PHILADELPHIA Cream Cheese. Mix well until the mixture is fully combined and holds together.
- 3. Roll the mixture into balls about 1 inch in diameter and place them on a waxed paper-lined baking sheet.
- 4. Melt 9 oz. of BAKER’S White Chocolate in a microwave-safe bowl until smooth.
- 5. Dip each cookie ball into the melted white chocolate, allowing excess to drip off, and place them on top of a whole Chocolate Sandwich Cookie.
- 6. Tap the cookie on the tray 3 to 4 times, allowing excess chocolate to pool slightly.
- 7. Decorate with assorted colored decorating gels to create features on the snowmen.
- 8. Refrigerate for about 1 hour or until firm.
Notes
- Tip 1: Store in an airtight container in the refrigerator for up to a week.
- Tip 2: You can freeze these cookie balls for up to 3 months.
- Tip 3: Serve with hot chocolate for a delightful snack.
- Tip 4: Get creative with different flavors of cookies or chocolate.