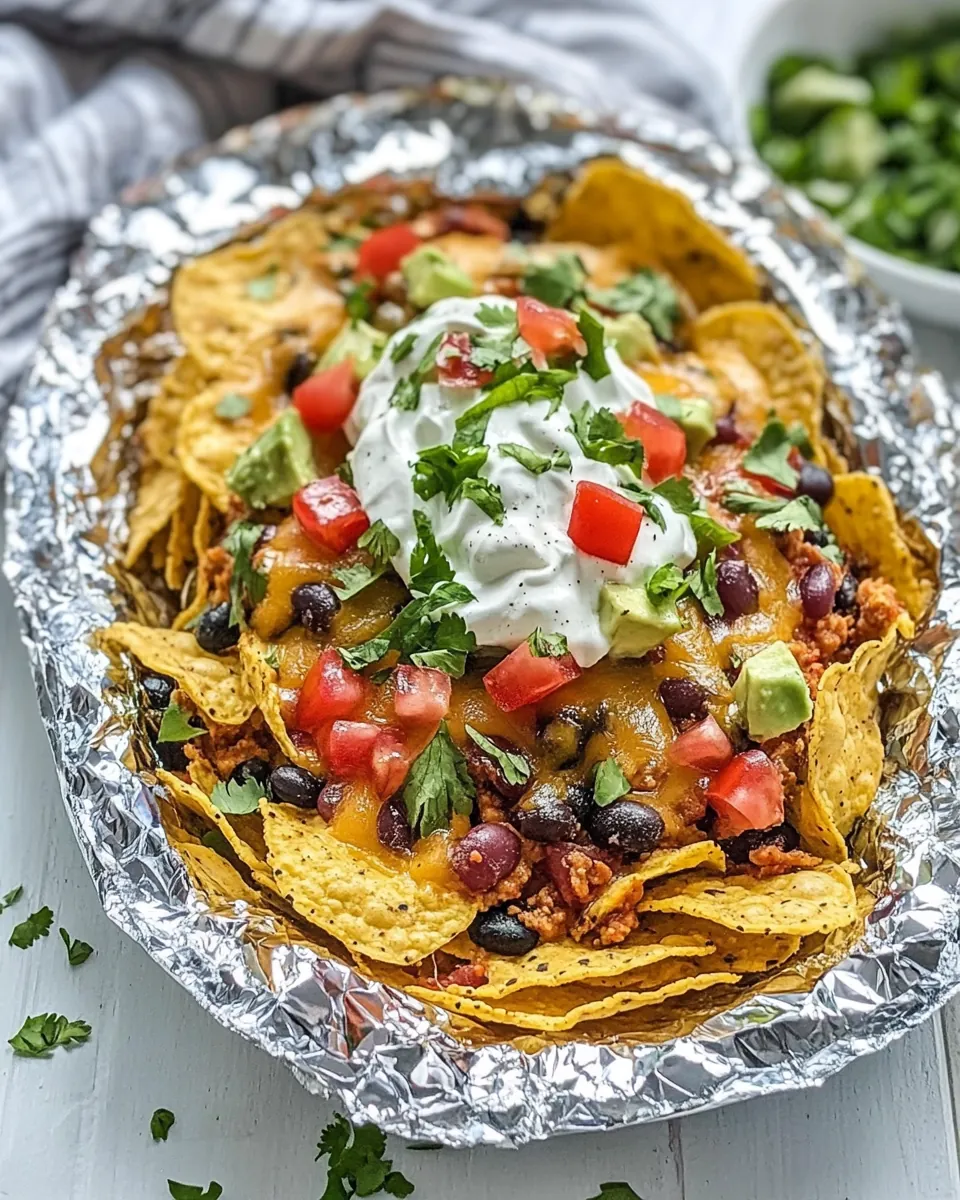
Foil Packet Nachos
There’s something so fun and satisfying about making Foil Packet Nachos. Imagine a sunny day, the grill is fired up, and you’re ready to create an incredible snack that everyone can enjoy. This dish is perfect for summer gatherings, camping trips, or even a simple weekday dinner. Not only are they easy to prepare, but they’re also a crowd-pleaser, with everyone customizing their own packets of deliciousness. Just picture the melted cheese and spicy taco flavors mingling together, all wrapped up in a shiny foil packet, ready to be grilled or baked. I love setting up a nacho bar where everyone can pick their ingredients, making it a fun and interactive meal. So grab your ingredients, and let’s jump into the deliciousness of Foil Packet Nachos!
Recipe Snapshot
25 mins
10 mins
15 mins
Medium
350 kcal
20 g
Keto, Gluten-Free, Low FODMAP
18 g
Oven, Baking Sheet, Blender, Skillet, Wooden Spoon, Cutting Board, Chef’s Knife, Mixing Bowl
The Best Thing About This Foil Packet Nachos
It’s a Fun Cooking Experience
One of the best parts about Foil Packet Nachos is the interactive cooking experience. Everyone can personalize their own packets with their favorite toppings, making it a fun activity for family and friends. It’s like having a little nacho party right in your kitchen or backyard!
Perfect for Any Occasion
Whether it’s a summer barbecue, a camping trip, or a cozy night in, Foil Packet Nachos fit the bill. They’re versatile enough to serve as a snack or a main dish. Plus, they’re quick to whip up, meaning you can spend more time enjoying your company and less time in the kitchen.
Minimal Cleanup
Who doesn’t love a dish that requires minimal cleanup? By cooking everything in foil packets, you eliminate the need for extra pots and pans. Once you’re done eating, you just toss the foil, making cleanup a breeze. This means you can focus more on enjoying the moment and less on scrubbing dishes!
Family-Friendly
The whole family will love Foil Packet Nachos. Kids can get involved by choosing their ingredients, and it’s a great way to sneak in some veggies without them even noticing. It’s a win-win when you can satisfy picky eaters while keeping it fun and tasty!
Deliciously Customizable
Another reason to love Foil Packet Nachos is the endless customization options. You can easily switch up the proteins, add different spices, or throw in extra toppings based on what you have on hand. This means you’ll never get bored with the same flavors. The sky’s the limit!
Foil Packet Nachos Shopping List
Gathering the right ingredients is essential for making delicious Foil Packet Nachos. The beauty of this dish lies in its simplicity and the freshness of the ingredients you choose. Each component plays a crucial role in building flavor and texture, ensuring that every bite is satisfying. Key players include crispy tortilla chips, savory ground beef, zesty taco seasoning, and gooey Mexican blend cheese. Let’s take a look at what you’ll need!
- 5 cups tortilla chips: The crispy base that holds all the delicious toppings.
- 1/2 lb lean ground beef: Adds heartiness and protein to your nachos.
- 1 ounce packet Old El Paso Taco Seasoning: Provides that classic taco flavor.
- 14.5 ounce can Old El Paso Green Chiles, drained: Adds a mild heat and depth of flavor.
- 1/2 of a 14.5 ounce can diced tomatoes, fully drained: Freshness that brightens the dish.
- 1/2 of a 14.5 ounce can black beans, drained and rinsed: For additional protein and fiber.
- 1/2 cup diced onion (green, red, or white): A fresh crunch that enhances flavor.
- 2 cups Mexican blend cheese: Melts beautifully to create a cheesy topping.
- 1/2 cup fresh cilantro, finely chopped: Adds a burst of freshness.
- Strong> Sour cream for garnish: A creamy finish to your nachos.
How to Assemble Foil Packet Nachos
Making Foil Packet Nachos is as easy as it is delicious! You’ll be amazed at how simple the process is, resulting in a flavor-packed meal that can be ready in no time. Follow these steps carefully to make sure your nachos come out perfectly every time.
Start by heating your grill to medium-high heat, or preheat your oven to 350°F. This ensures the foil packets get the right amount of heat and cook evenly. Make sure your grill is hot enough before placing the packets on it.
In a large skillet, brown the lean ground beef over medium-high heat. As it cooks, use a spatula to break it apart and stir occasionally. After a few minutes, when the beef is almost browned, add the Old El Paso Taco Seasoning and stir to coat the meat evenly. The seasoning will give the beef a delicious flavor.
Next, toss in the drained diced tomatoes and green chiles with the beef mixture. Stir to combine and let it cook for another minute or two to heat everything through. Once done, remove the skillet from the heat and set aside.
Now, it’s time to prepare your foil packets. Fold two large sheets of foil in half lengthwise, then fold up the edges to create a small bowl shape. This will be the base of your packets. If you prefer smaller portions, you can use smaller squares of foil and divide the ingredients accordingly.
At the bottom of each foil packet, place half of the tortilla chips. This will create a sturdy base for your toppings. Make sure to spread them out evenly to avoid sogginess.
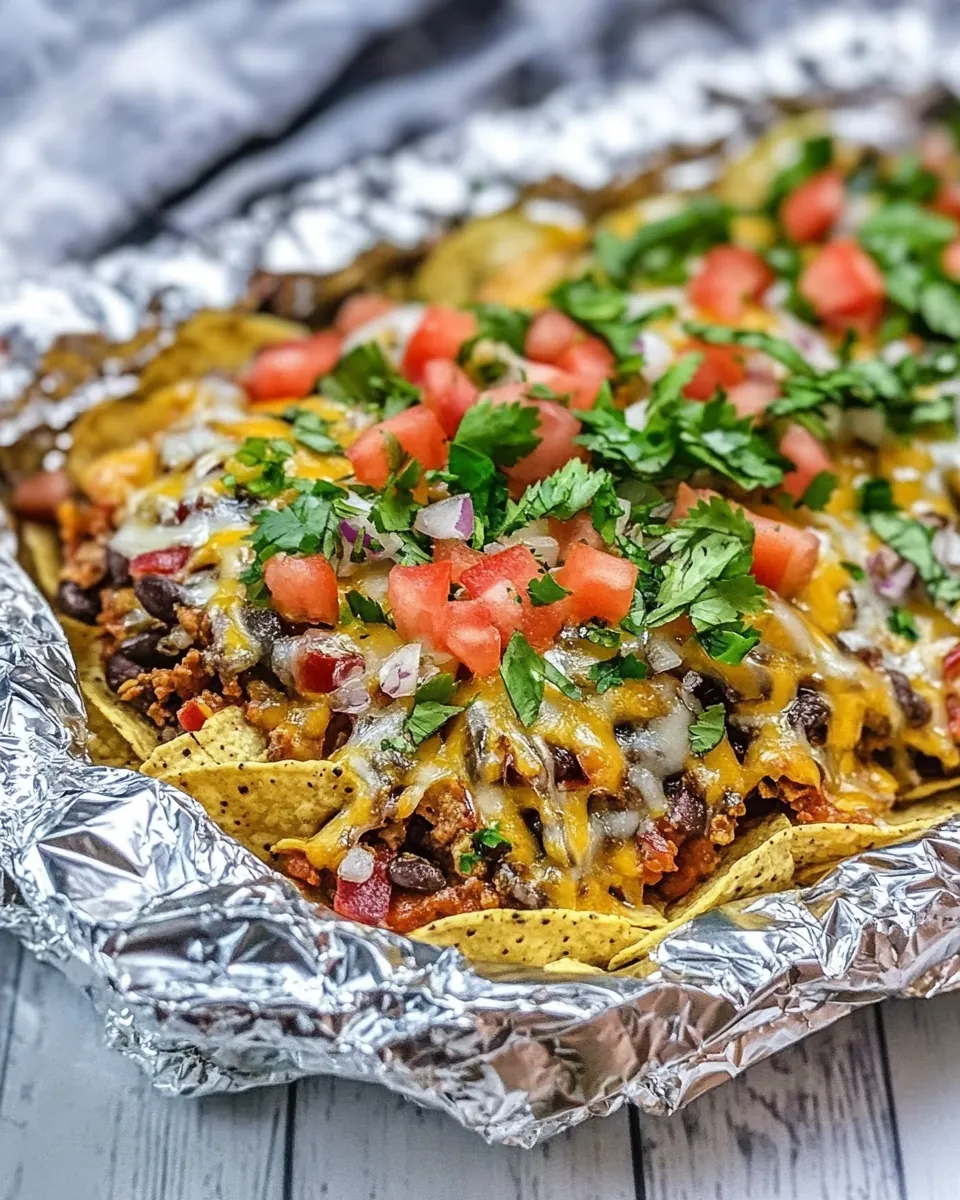
Next, sprinkle half of the beef mixture over the chips. Then, add half of the black beans and half of the diced onion. Don’t forget to top it all off with half of the Mexican blend cheese. You want a good layer of cheese to ensure that it melts beautifully.
Lastly, sprinkle each packet with the freshly chopped cilantro. This adds a burst of freshness that complements the richness of the nachos.
Fold the top half of each foil packet over the filled ingredients and pinch the edges to seal them tightly. Make sure to create a small vent by cutting a hole in the top of each packet. This allows steam to escape and prevents the chips from becoming too soggy.
Place the packets on the grill or in the oven, cooking for about 12 to 15 minutes. Keep an eye on them; the cheese should be fully melted, and the edges of the foil should be golden brown. The aromas will fill the air, making your mouth water!
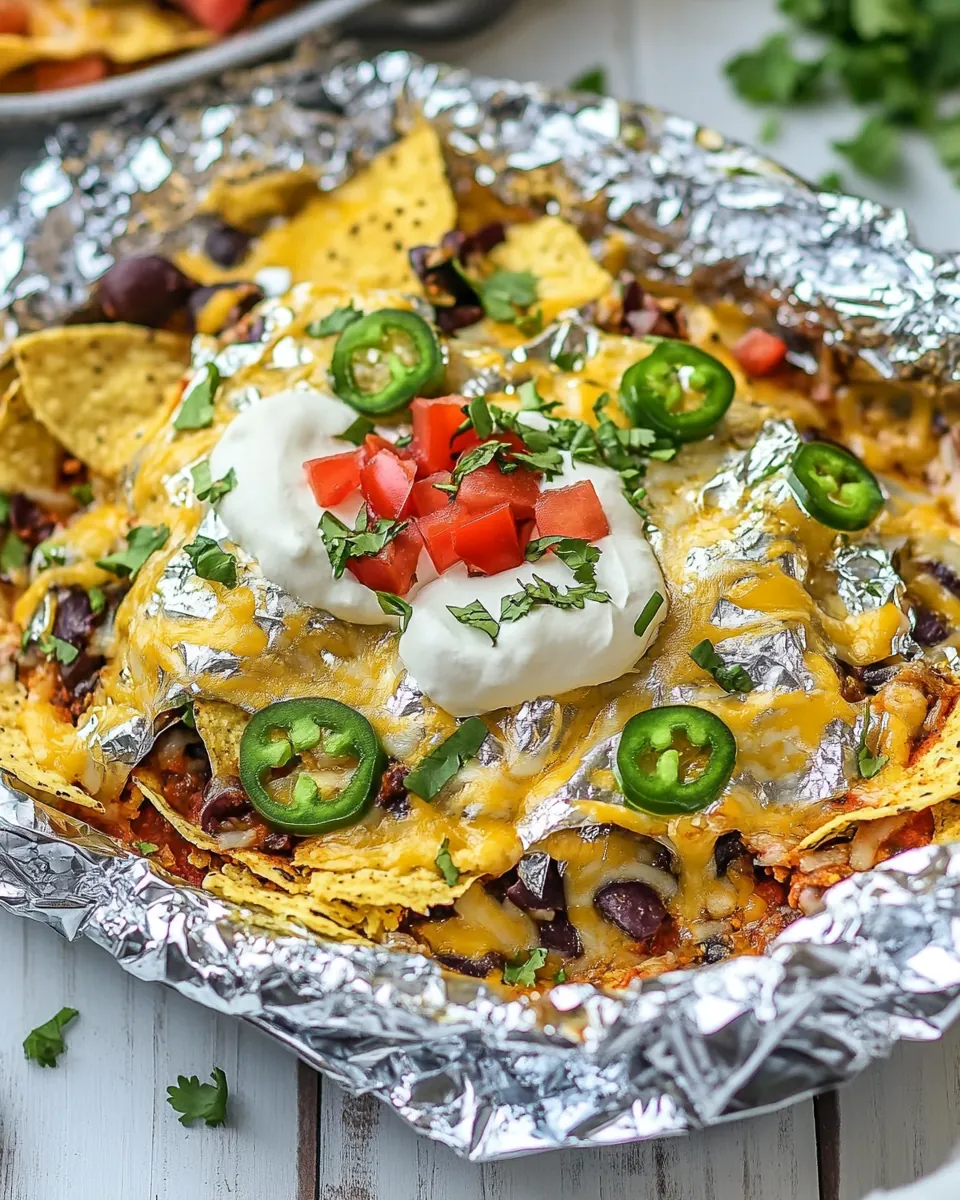
Once they’re done, carefully open the packets and add your favorite toppings like sour cream or jalapeños, if desired. Serve immediately and enjoy the deliciousness of Foil Packet Nachos!
Things Worth Knowing
- Don’t overfill: Make sure not to overfill your packets, as this can make sealing difficult and lead to spills while cooking.
- Choose the right foil: Heavy-duty aluminum foil works best as it holds up better on the grill and prevents tearing.
- Cooking time variations: Adjust the cooking time based on how crispy you like your chips. If you prefer softer chips, remove them slightly earlier.
- Experiment with toppings: Feel free to try different toppings like jalapeños, different cheeses, or fresh avocado for a twist on flavor!
How to Switch It Up
There are countless ways to make Foil Packet Nachos your own. Here are some great tips to help you customize this dish!
- Storage: Store any leftovers in an airtight container in the fridge for up to three days. Reheat in the oven for best results.
- Freezing: You can freeze the cooked nachos for up to one month. Just ensure they are well-wrapped before freezing.
- Pairing: Pair your nachos with a refreshing drink like lemonade or iced tea for a full summer experience.
- Vegetarian option: Swap out the beef for black beans or grilled vegetables for a vegetarian twist.
- Spice it up: Add some diced jalapeños or a sprinkle of your favorite hot sauce for an extra kick!
Perfect Pairings for Foil Packet Nachos
When serving Foil Packet Nachos, the possibilities are endless! Here are some delicious pairings and occasions to elevate your dining experience:
- Side dishes: Serve with a fresh garden salad or grilled vegetables for a balanced meal.
- Occasions: These nachos are perfect for summer barbecues, game nights, or casual family dinners.
- Storage tips: Make sure to cool leftovers completely before storing, and reheat in the oven to maintain crispiness.
- Seasonal pairings: In the summer, pair with refreshing fruit salads; during fall, serve alongside warm soups.
- Garnishes: Consider additional toppings like guacamole, pico de gallo, or refried beans to enhance flavor.
FAQ
Conclusion
In conclusion, Foil Packet Nachos are more than just a meal; they’re a delightful experience that brings people together. The customizable nature makes it a fun option for any gathering, ensuring everyone gets to enjoy their perfect bite. I encourage you to try this recipe for your next get-together. You’ll be amazed at how quickly they disappear and how much everyone loves them!

Foil Packet Nachos
Ingredients
Equipment
Method
- Start by heating your grill to medium-high heat, or preheat your oven to 350°F.
- In a large skillet, brown the lean ground beef over medium-high heat. Stir in the Old El Paso Taco Seasoning and stir to coat.
- Toss in the drained diced tomatoes and green chiles with the beef mixture.
- Prepare your foil packets by folding two large sheets of foil in half and folding up the edges.
- At the bottom of each foil packet, place half of the tortilla chips.
- Sprinkle half of the beef mixture over the chips, followed by half of the black beans and half of the diced onion.
- Top with half of the Mexican blend cheese and sprinkle with chopped cilantro.
- Fold the top half of each foil packet over the filled ingredients and pinch the edges to seal tightly.
- Place the packets on the grill or in the oven and cook for about 12 to 15 minutes.
- Once done, carefully open the packets and add your desired toppings like sour cream.