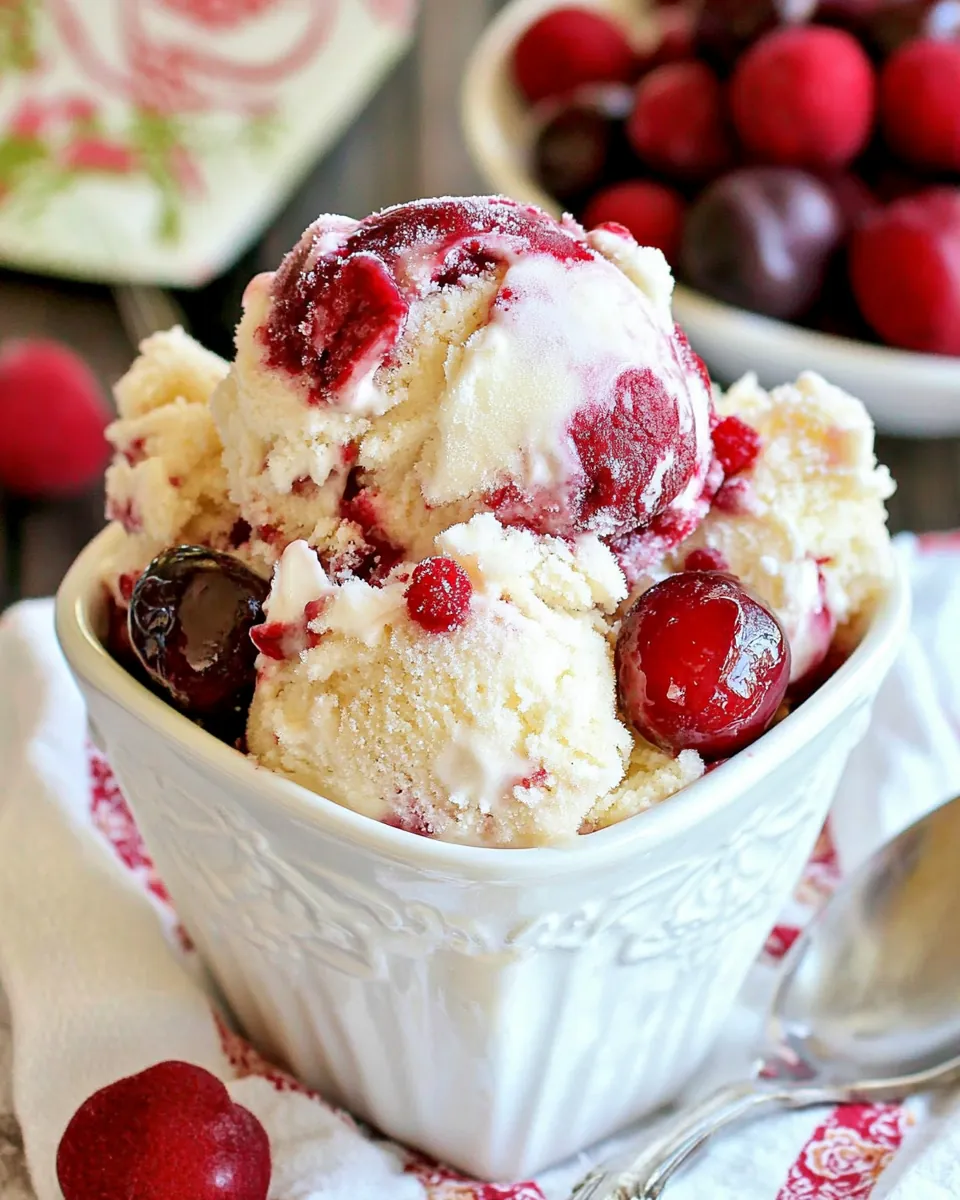
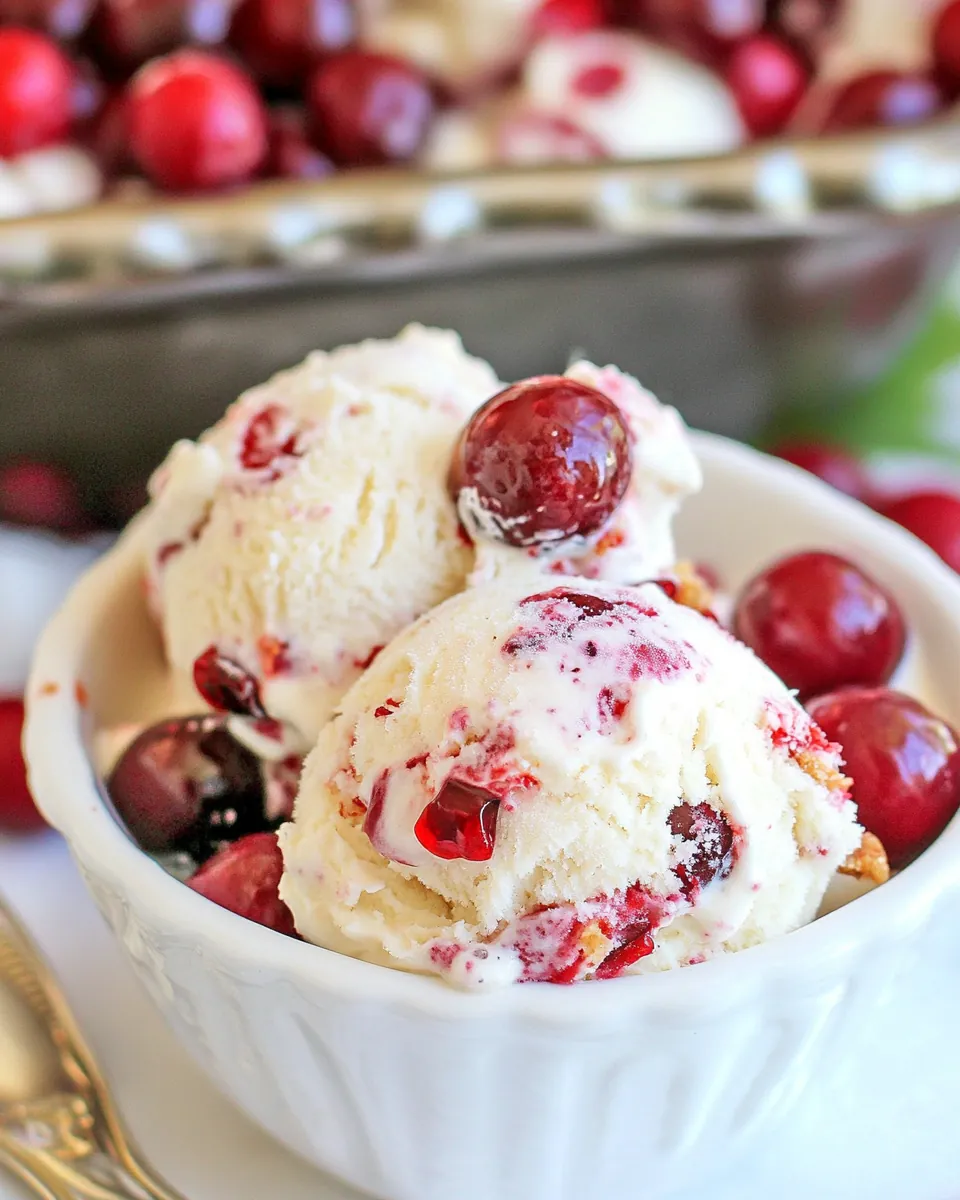
Cherry Cheesecake Magic Ice Cream
The Cherry Cheesecake Magic Ice Cream is a true game changer for those hot summer days when you crave something sweet and refreshing. I remember the first time I made it for a family gathering; the joy on everyone’s faces as they took their first bite was priceless. This dessert combines the creamy goodness of cheesecake with the tartness of fresh cherries, all wrapped up in a luscious ice cream base. It’s the perfect treat to beat the heat, and trust me, you’ll want to make it again and again!
Recipe Snapshot
10 mins
10 mins
0 mins
Medium
300 kcal
2 g
Gluten-Free, Low FODMAP
20 g
Chef’s Knife, Mixing Bowl
What Sets This Cherry Cheesecake Magic Ice Cream Apart
Deliciously Rich Flavor
First off, the flavor is out of this world! The blend of cream cheese and sweetened condensed milk creates a rich, creamy base that’s simply irresistible. When you fold in the fresh cherries, it adds a burst of tartness that perfectly balances the sweetness.
Easy to Make
If you think making ice cream is complicated, think again! The Cherry Cheesecake Magic Ice Cream requires minimal effort. You don’t need an ice cream maker, and the preparation is as simple as mixing ingredients and letting them freeze.
Perfect for Any Occasion
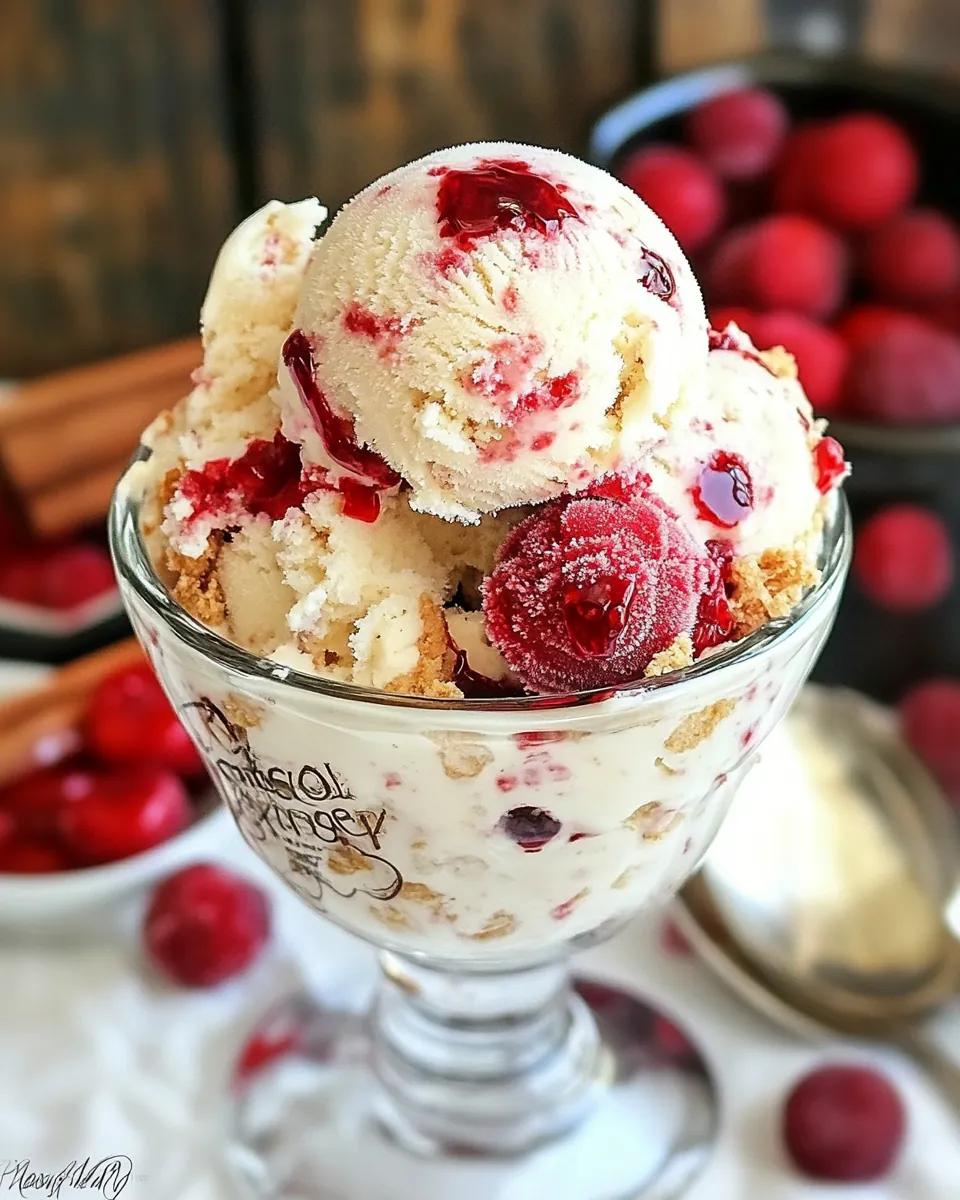
This dessert is incredibly versatile. Whether it’s a summer barbecue, a birthday party, or just a cozy night in, the Cherry Cheesecake Magic Ice Cream will impress your friends and family every time. You can serve it on its own, or pair it with some graham cracker crumbs for that authentic cheesecake experience.
Fun to Customize
What’s great about this recipe is that you can easily make it your own. Want to swap the cherries for another fruit? Go for it! Blackberries, strawberries, or even a mix can work wonders. Plus, you can adjust the sweetness to your liking!
Make-Ahead Convenience
Another reason to love the Cherry Cheesecake Magic Ice Cream is its make-ahead quality. You can whip it up a day or two in advance and have a delightful dessert waiting for you whenever the craving strikes.
Ingredients for Cherry Cheesecake Magic Ice Cream
The ingredients in the Cherry Cheesecake Magic Ice Cream are all about creating that perfect balance of flavors and textures. Each component plays a vital role in bringing this dessert to life.
- 1 pint heavy whipping cream: This is essential for achieving that creamy texture that’s so satisfying.
- 14 oz sweetened condensed milk: It adds sweetness and a rich flavor that pairs beautifully with the other ingredients.
- 8 oz light cream cheese: Soften it to make mixing easier; it’s the core of the cheesecake flavor.
- 1 tsp vanilla extract: A hint of vanilla enhances all the flavors.
- 1 1/2 cups fresh cherries: Chopped for bursts of fruity goodness throughout.
- 1 tbsp fresh lemon juice: It brightens the flavor and complements the sweetness.
- 2/3 cup graham cracker crumbs: For that classic cheesecake crust flavor.
- 1/4 cup butter: Melted, it helps bind the crumbs and adds richness.
Preparation Steps for Cherry Cheesecake Magic Ice Cream
Getting started on the Cherry Cheesecake Magic Ice Cream is a breeze. We’ll take it step by step, ensuring every detail is covered so you can achieve that perfect creamy delight. Let’s dive in!
- Begin by taking your cream cheese and sweetened condensed milk and beating them together in a mixing bowl. You want to mix until they’re well combined and smooth. Look for a creamy consistency that’s free of lumps.
- Next, grab your fresh cherries and chop them roughly. Combine the cherries with the fresh lemon juice in a separate bowl and let them sit for a moment. This will allow the flavors to meld beautifully.
- In a different bowl, take the heavy whipping cream and vanilla extract. Whip them together until stiff peaks form. This is an important step as it adds air and volume to your ice cream, making it light and fluffy.
- Now, gently fold the whipped cream into the cheesecake mixture. It’s essential to do this carefully to maintain that airy texture. Use a spatula and fold until fully combined, but be cautious not to deflate the whipped cream.
- Once combined, add the cherries to the mixture and fold them in evenly. You want to see those lovely bursts of color throughout!
- Transfer the mixture to a freezer-safe container that has a lid. Smooth the top with a spatula to create an even surface.
- In a small bowl, mix the graham cracker crumbs with the melted butter. This mixture will add flavor and texture to your ice cream. Drop clumps of the mixture on top of your ice cream base and gently fold it in, trying to keep the clumps intact.
- Place the lid on the container and pop it in the freezer. Allow it to freeze until it reaches a firm ice cream consistency. This usually takes a few hours.
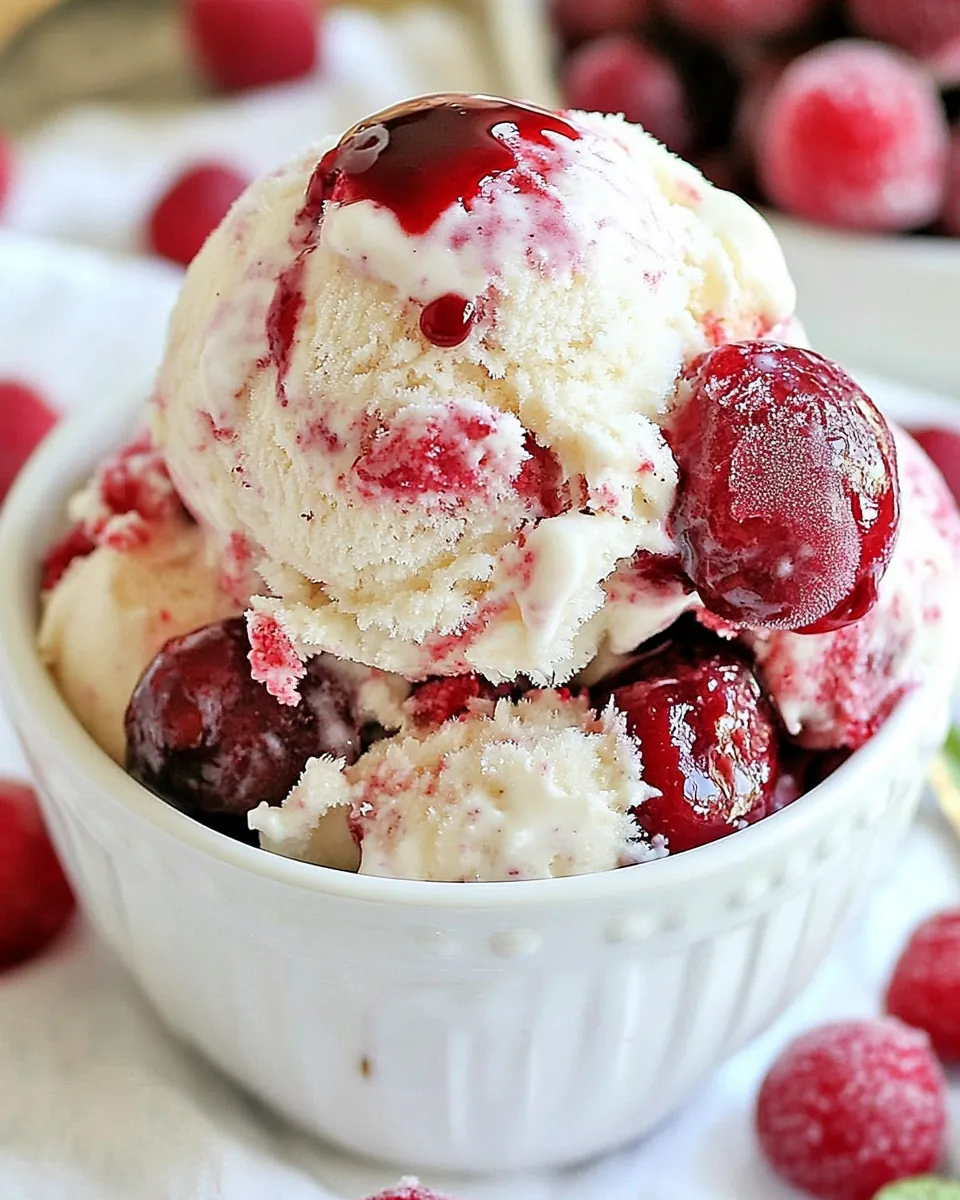
- Once frozen, scoop out the Cherry Cheesecake Magic Ice Cream and serve it in bowls. You can top it with extra cherries or graham cracker crumbs for a lovely presentation.
Things Worth Knowing
- Don’t rush the freezing: Make sure to give it enough time to firm up properly. Checking it after a few hours is essential to avoid a slushy texture.
- Mixing technique matters: Be gentle while folding in the whipped cream and cherries to keep that light, airy texture.
- Ingredient temperature: Allow the cream cheese to reach room temperature before mixing. This ensures smoother blending without lumps.
- Experiment with flavors: Feel free to try other fruits or even add chocolate chips for a twist on this classic treat.
Making Adjustments
When it comes to the Cherry Cheesecake Magic Ice Cream, there’s always room for creativity. Here are some tips to guide you as you make it your own.
- Storage: Store any leftovers in an airtight container in the freezer. This will help keep the texture smooth and prevent ice crystals from forming.
- Freezing: When freezing, make sure the container is well-sealed to avoid freezer burn. You can also cover the surface with plastic wrap before sealing the lid.
- Pairing: This ice cream pairs beautifully with chocolate sauce or a sprinkle of crushed nuts for added texture.
- Texture adjustments: If you prefer a softer ice cream, allow it to sit at room temperature for a few minutes before scooping.
- Flavor variations: Don’t hesitate to swap out cherries for other fruits like strawberries or blueberries for a delightful twist!
Serving Suggestions
Serving the Cherry Cheesecake Magic Ice Cream is just as fun as making it! Here’s how you can elevate your dessert experience:
- As a standalone dessert: Serve scoops in elegant bowls topped with a drizzle of chocolate sauce and a sprinkle of graham cracker crumbs.
- For special occasions: This ice cream works wonderfully for birthday parties or summer gatherings. Consider making a large batch to keep everyone satisfied.
- Seasonal pairings: Enjoy this treat during summer, where the fresh cherries can shine, but it can also be a hit during holidays by incorporating spices like cinnamon.
- Presents beautifully: Serve it in mason jars for a charming takeaway treat when entertaining. It adds a personal touch!
- Great for gatherings: Whether it’s a picnic or a family reunion, bringing this ice cream along will surely delight guests of all ages.
FAQ
Conclusion
The Cherry Cheesecake Magic Ice Cream is a special treat that combines the best of both worlds: the creamy indulgence of cheesecake with the refreshing qualities of ice cream. It’s perfect for summer gatherings, birthday parties, or just a cozy night on the couch. I encourage you to give this recipe a try; you won’t regret it! It’s a delightful way to satisfy your sweet tooth and enjoy a taste of summer, no matter the season.
Cherry Cheesecake Magic Ice Cream
Ingredients
Equipment
Method
- Beat cream cheese and sweetened condensed milk together until well combined.
- Combine cherries and lemon juice. Set aside.
- In a separate bowl, whip heavy whipping cream and vanilla until peaks form.
- Fold in cream cheese and sweetened condensed milk mixture.
- Fold in cherries.
- Transfer to a freezer-safe container that has a lid.
- Combine graham cracker crumbs and butter.
- Drop in clumps on top of ice cream mixture and fold in gently keeping the clumps together.
- Place lid on container and freeze until it reaches ice cream consistency.
Notes
- Storage: Store any leftovers in an airtight container in the freezer. This will help keep the texture smooth and prevent ice crystals from forming.
- Freezing: When freezing, make sure the container is well-sealed to avoid freezer burn. You can also cover the surface with plastic wrap before sealing the lid.
- Pairing: This ice cream pairs beautifully with chocolate sauce or a sprinkle of crushed nuts for added texture.
- Texture adjustments: If you prefer a softer ice cream, allow it to sit at room temperature for a few minutes before scooping.
- Flavor variations: Don’t hesitate to swap out cherries for other fruits like strawberries or blueberries for a delightful twist!