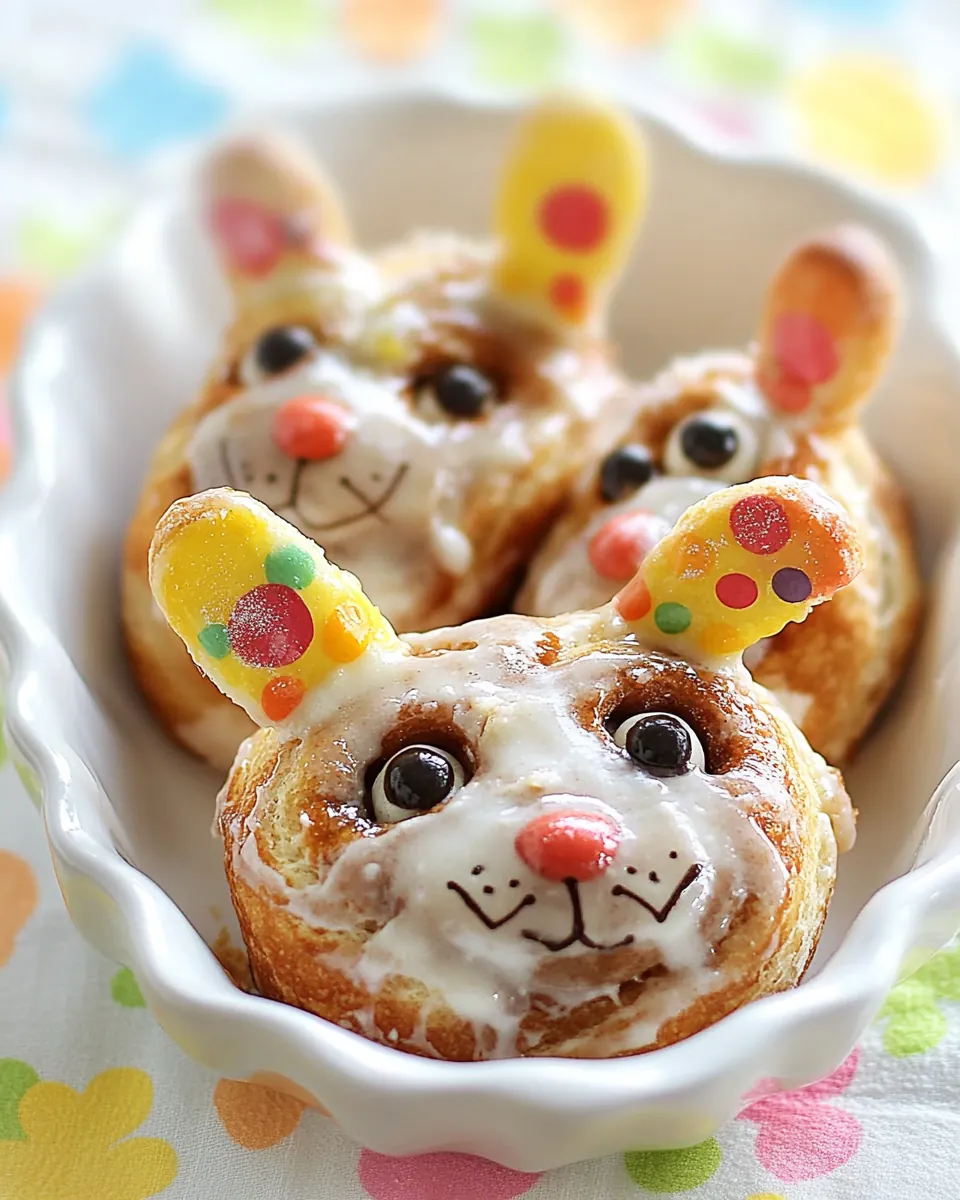
Cinnabunnies
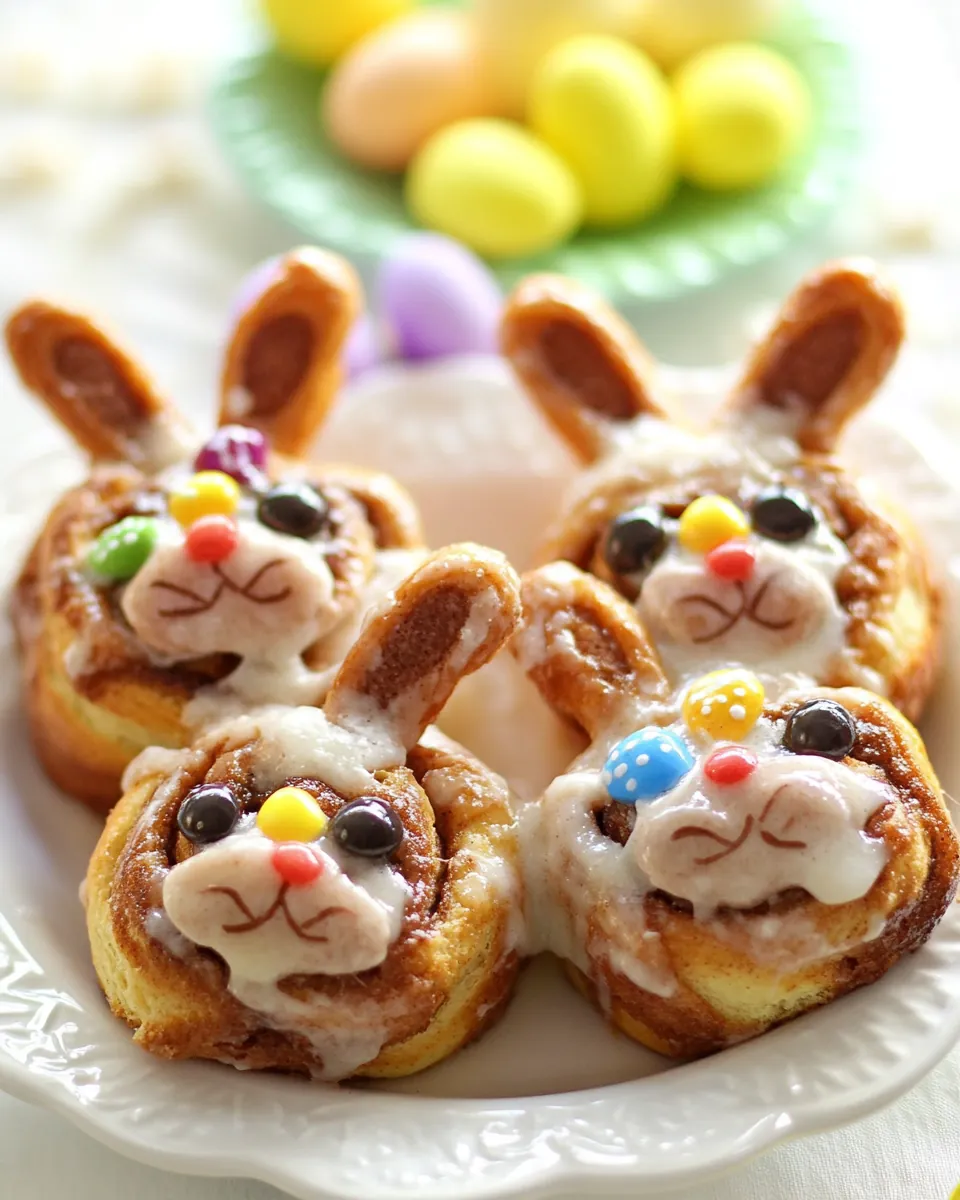
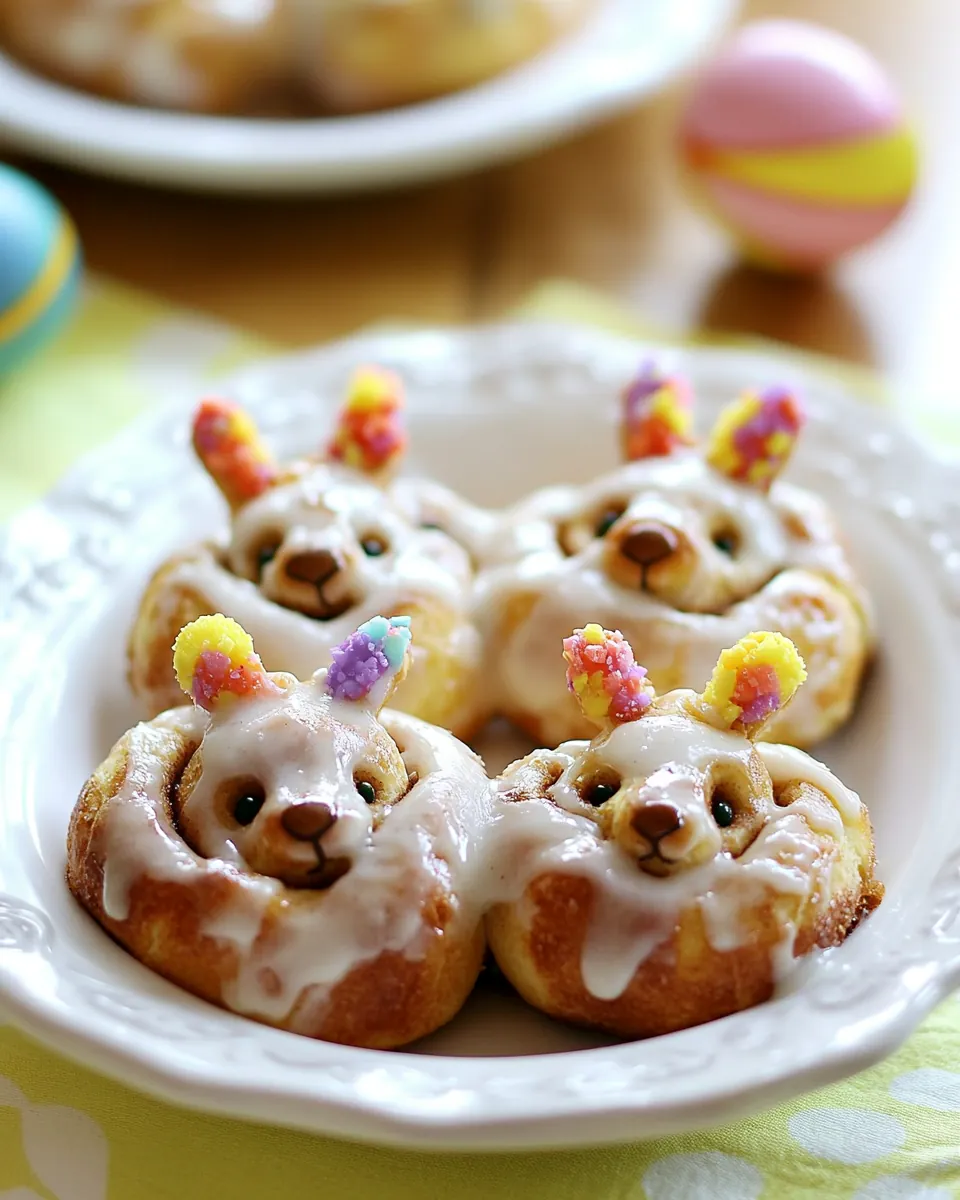
When it comes to celebrating Easter, there’s nothing quite like the joy of creating whimsical treats like Cinnabunnies. I remember my childhood, eagerly anticipating the arrival of spring and all the fun activities that came with it. Decorating eggs was only half the excitement; the other half was baking delightful goodies. This year, I decided to introduce my kids to the magic of Cinnabunnies. They loved rolling out the dough and transforming simple cinnamon rolls into adorable bunny shapes. The kitchen filled with laughter and the sweet aroma of cinnamon, and I couldn’t help but feel a rush of nostalgia mixed with pride as we created these delightful bunnies together. These treats not only look enchanting but taste heavenly too! Perfect for breakfast or dessert, they’re bound to become a beloved tradition in our family.
Recipe Snapshot
25 mins
10 mins
15 mins
Medium
180 kcal
3 g
Keto, Paleo, Whole30
6 g
Biscuit Cutter
Why This Cinnabunnies Hits Different
Fun for Everyone
The beauty of Cinnabunnies lies in their playful design. Kids adore them, and adults can’t resist their charm. It’s like a fun art project that culminates in a delicious treat! Crafting these bunnies together provides a fantastic bonding experience.
Quick and Easy
What’s even better? The base of these bunnies is made from refrigerated cinnamon rolls. This means you can whip them up in no time! Whether you’re short on time or looking to create a last-minute surprise, Cinnabunnies are the answer.
Perfect for Celebrations
These sweet little bunnies are perfect for Easter, but they can also brighten up any spring gathering. Imagine serving them at a brunch or a picnic in the park! They’re sure to spark joy and smiles all around.
Customizable
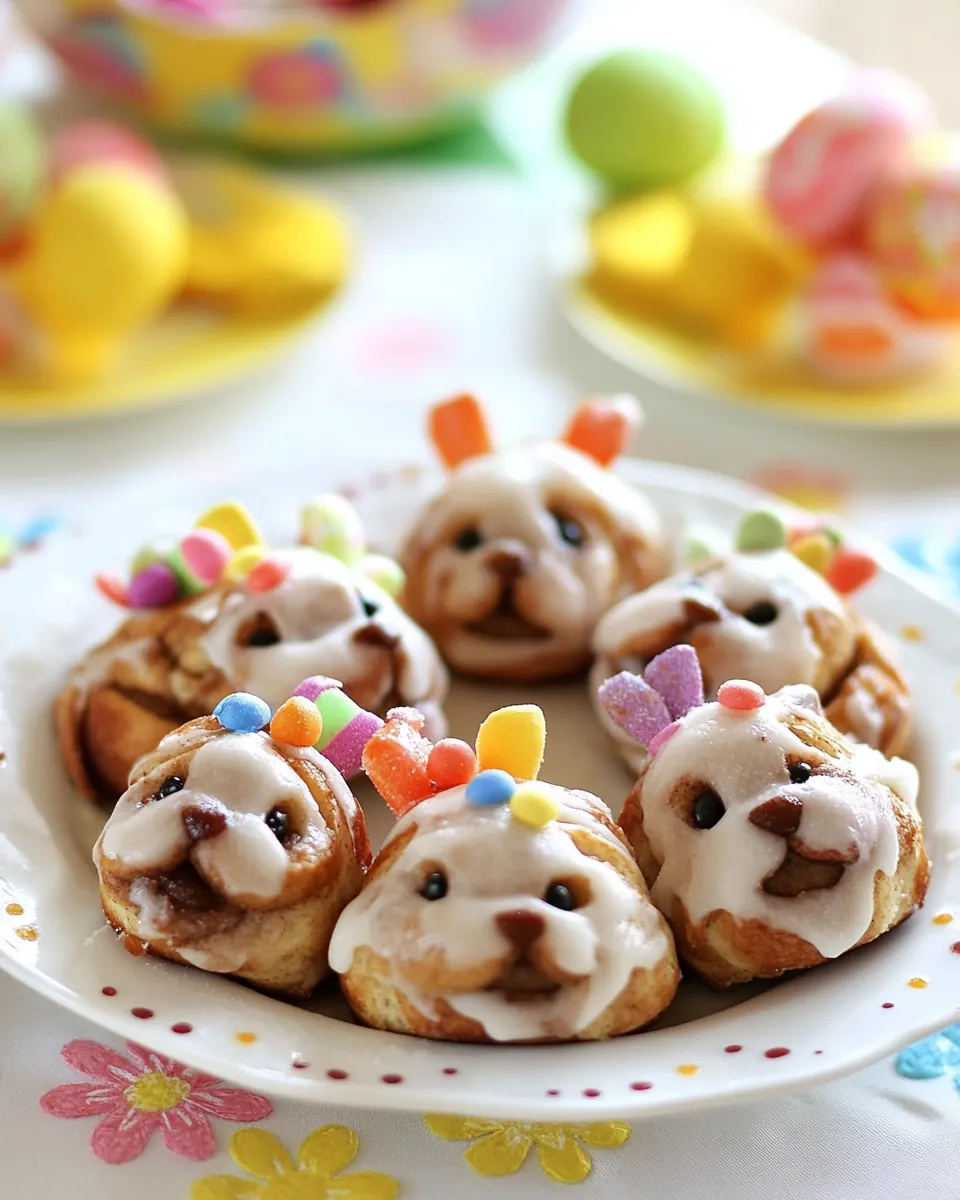
Get creative! While I like using jelly beans for noses and raisins for eyes, feel free to switch things up. Maybe you want to use different candies or sprinkles for decoration. The options are endless!
Great for Leftovers
Even if you have some leftovers, they’re just as delightful the next day. Simply warm them up for a quick breakfast or snack. Trust me, no one will complain about a mid-morning treat!
Deliciously Sweet
Let’s not forget the most important reason to love Cinnabunnies: they taste amazing! The warm cinnamon flavor paired with the sweetness of the icing creates a treat that’s hard to resist. You’ll find yourself reaching for seconds!
Ingredients for Cinnabunnies
A good recipe starts with quality ingredients. For these Cinnabunnies, simplicity is key. Each component plays a vital role in bringing these adorable treats to life. The core ingredient is, of course, the refrigerated cinnamon rolls, which form the delicious base. The addition of jelly beans and raisins adds a fun twist that kids will love. Together, they create a magical combination that’s perfect for any spring celebration.
- 1 (12.4 oz) can refrigerated cinnamon rolls with icing: These are the stars of the show! The cinnamon rolls provide a soft, warm texture that’s simply irresistible. The included icing adds a sweet finishing touch that ties everything together.
- 4 pink jelly beans: These colorful candies serve as the bunny noses. Their vibrant color and chewy texture make them a fun and playful addition to the bunnies.
- 4 raisins or 8 mini chocolate chips: Acting as the eyes, raisins add a touch of natural sweetness while mini chocolate chips provide a delightful chocolatey burst. You can choose either for a different flavor profile!
The Method for Cinnabunnies
Making Cinnabunnies is not only fun but also straightforward. With only a few steps, you’ll have these delightful treats ready to serve. Let’s dive into the process together!
Preheat your oven to 400°F. This step is crucial! A hot oven ensures your cinnamon rolls bake perfectly, giving them that golden brown color and soft texture we all love.
Separate the rolls in the can. You should see that they’re perfectly portioned and ready to go. Arrange four of the rolls on a baking sheet lined with parchment paper, giving them enough space to expand while baking.
Using a 2-inch biscuit cutter, gently cut about three-quarters of an inch into each side of the remaining rolls. This forms the ears and bow ties for your bunnies! The cuts don’t have to be perfect—just make sure to create enough space for the ears to pop out.
Pinch the cut areas of the ears and bow ties to attach them firmly to the main roll. This ensures that they hold their shape while baking and gives your Cinnabunnies that adorable look.
Now, it’s time to bake! Place the baking sheet in the preheated oven and bake according to the package directions, usually around 15 to 20 minutes. Keep an eye on them; you want those golden brown edges!
Once baked, remove the bunnies from the oven and spread the icing generously over the warm rolls. The warmth will help the icing melt slightly, making it easier to spread and even more delicious.
Next, take one of the pink jelly beans and place it in the center of each bunny to act as their nose. This simple addition adds an adorable touch that makes the bunnies even more charming!
For the eyes, cut each raisin in half or use mini chocolate chips directly. Place them carefully on either side of the jelly bean nose. You’ll be amazed at how much personality these little bunnies have!
Let your Cinnabunnies cool slightly before serving. This helps the icing set a bit and allows the flavors to meld together beautifully. Once they’re ready, place them on a serving platter and enjoy the smiles they bring!
Things Worth Knowing
- Tip for Even Baking: Make sure to space the rolls adequately on the baking sheet. This helps them bake evenly and gives each bunny room to expand.
- Using Different Candies: If you don’t have jelly beans, feel free to use any small candy for the noses. M&M’s or Skittles can be a fun alternative!
- Storing Leftovers: If you happen to have some Cinnabunnies left over, store them in an airtight container at room temperature for up to two days. You can also refrigerate them for longer freshness.
- Presentation: For a festive touch, consider serving these with a sprinkle of powdered sugar or colorful sprinkles on top.
Recipe Tips about Cinnabunnies
When making Cinnabunnies, a few tips can help elevate your baking experience. Here are some helpful pointers to ensure your bunnies turn out as delightful as possible.
- Storage: If you have leftovers, keep them in an airtight container. They’ll stay fresh for up to two days at room temperature.
- Freezing: You can freeze unbaked Cinnabunnies. Just prepare them up to the point of baking, then cover and freeze. When you’re ready, bake from frozen, adding a few extra minutes to the baking time.
- Pairing: These are delightful on their own but pair wonderfully with a side of fresh fruit or a light yogurt for a balanced breakfast.
- Decoration: Use icing to write fun messages on the bunnies for a special touch, especially for celebrations!
- Serving Suggestions: They make a lovely centerpiece for an Easter brunch or spring gathering. Serve them warm for the best taste!
- Experiment: Don’t hesitate to try different fillings or toppings! Adding nuts or sprinkles can give your Cinnabunnies a unique twist.
Side Dish Ideas for Cinnabunnies
Serving Cinnabunnies can be a delightful experience, especially when paired with the right accompaniments. Here are some ideas to elevate your presentation:
- Fresh Fruit Salad: A vibrant fruit salad with strawberries, blueberries, and kiwi adds a refreshing contrast to the sweetness of the bunnies.
- Yogurt Parfaits: Layer yogurt with granola and fresh fruit for a nutritious complement that balances the sweetness of the Cinnabunnies.
- Spring Green Salad: A light salad with mixed greens, cucumbers, and a citrus vinaigrette provides a fresh and zesty side dish.
- Tea or Coffee: Offer a selection of tea or coffee to accompany the bunnies. A warm drink pairs wonderfully with their sweet flavors, making for a cozy treat.
- Brunch Buffet: If you’re hosting a gathering, consider creating a brunch buffet with various pastries, fruits, and drinks alongside the Cinnabunnies.
- Picnic Treats: These bunnies also make a fun addition to a spring picnic. Pack them alongside cheese, crackers, and seasonal fruits for a whimsical touch.
FAQ
Conclusion
In conclusion, Cinnabunnies are a delightful addition to any spring celebration. Their playful presentation and warm cinnamon flavor make them irresistible. I encourage you to try making these fun treats with your family. It’s a wonderful way to create lasting memories in the kitchen while enjoying something truly delicious together.
Cinnabunnies
Ingredients
Equipment
Method
- Preheat your oven to 400°F.
- Separate the rolls in the can and place four of the rolls on a baking sheet.
- Using a 2-inch biscuit cutter, cut 3/4 of an inch into each side of the remaining rolls to form ears and bow ties.
- Pinch the cut areas to attach the ears and bow ties to the main roll.
- Bake according to the package directions.
- Spread icing over warm bunnies.
- Place a jelly bean in the center for the nose.
- Cut each raisin in half or use mini chocolate chips for eyes.
- Let cool slightly before serving.
Notes
- Storage: Keep leftovers in an airtight container for up to two days.
- Freezing: You can freeze unbaked Cinnabunnies and bake from frozen.
- Pairing: They pair well with fresh fruit or yogurt.
- Decoration: Use icing to write messages on the bunnies.
- Serving Suggestions: They are perfect for brunch or spring celebrations.