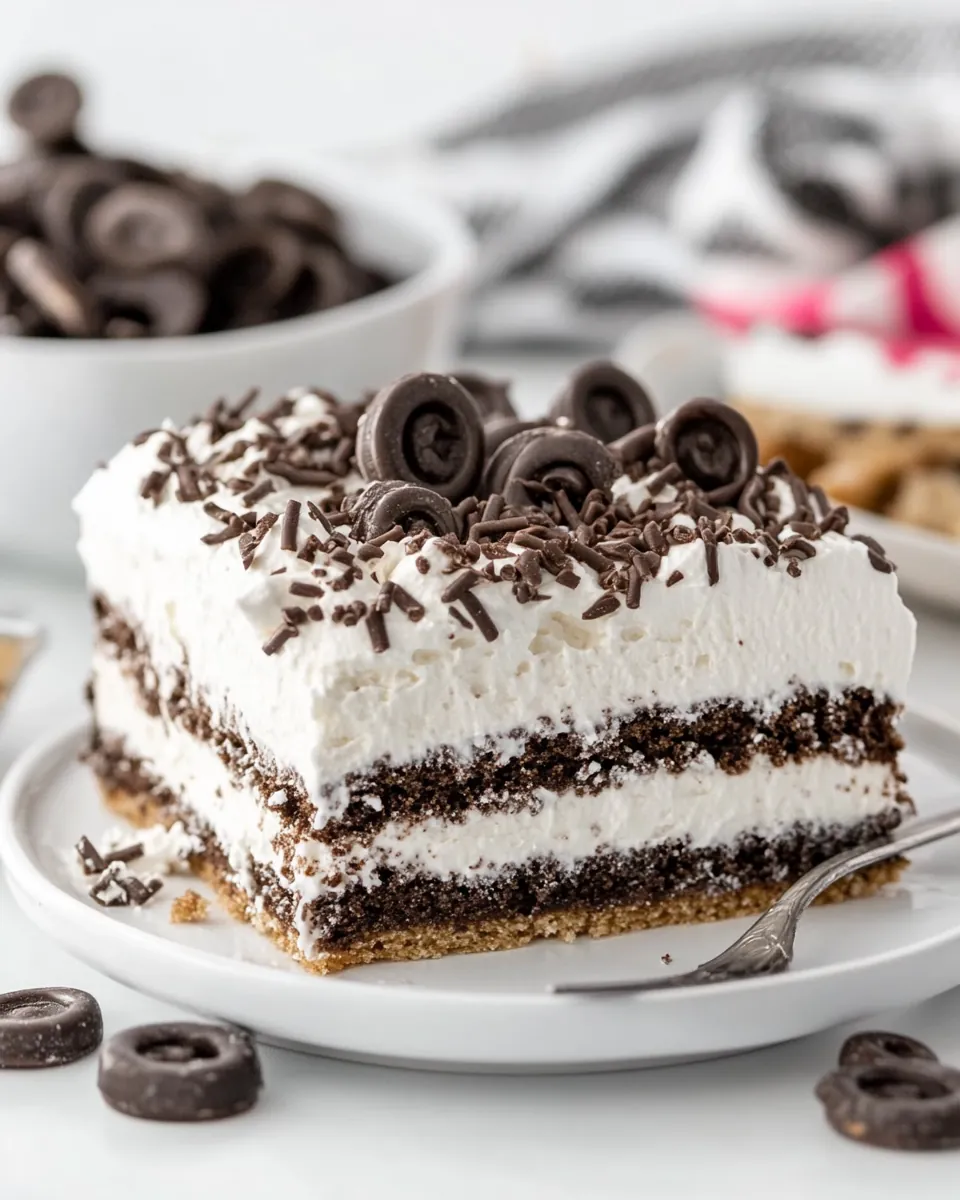
Ice Cream Sandwich Cake
I absolutely love making this Ice Cream Sandwich Cake during the hot summer months. It’s the perfect treat to enjoy with family and friends after a day spent outdoors. Picture this: the sun is shining, the kids are playing, and you bring out a slice of this cake to share. Everyone gathers around, and the excitement is palpable. This cake is not only delicious; it’s incredibly easy to prepare, which means you can spend less time in the kitchen and more time enjoying the day. The key component? Those delightful ice cream sandwiches that melt beautifully in your mouth! I’ve made this cake for birthdays, family gatherings, and even just a weeknight dessert. It never fails to bring smiles and satisfy sweet cravings.
Recipe Snapshot
10 mins
10 mins
0 mins
Easy
300 kcal
3 g
Keto, Gluten-Free, Low FODMAP
15 g
9×9-inch Cake Pan, Pre-Cut Parchment Paper Baking Sheets
Why We Love This Ice Cream Sandwich Cake
Easy to Make
One of the best things about this Ice Cream Sandwich Cake is how simple it is to prepare. You don’t need any fancy culinary skills or equipment. Just gather your ingredients and follow the steps, and you’ll have a stunning dessert ready in no time.
Perfect for Hot Days
When summer hits and the temperatures rise, this Ice Cream Sandwich Cake is a fantastic way to cool down. With the creamy layers of ice cream and the crunch from the Oreos, it’s refreshing and satisfying. You’ll find it hard to resist serving this on a hot day.
Endless Customization
This cake is a blank canvas for flavors! While I adore the classic combination of chocolate and vanilla, you can easily mix it up by using different flavors of ice cream sandwiches or toppings. Want to add some sprinkles or crushed candies? Go for it! Make it your own.
Fun for the Family
Get the kids involved! Making this Ice Cream Sandwich Cake can be a fun family activity. They can help with layering the ingredients and even get creative with their toppings. It’s a wonderful way to bond while creating something delicious.
Great for Any Occasion
Whether it’s a birthday, a barbecue, or just a casual weeknight treat, this cake fits perfectly. It’s festive enough for celebrations yet easy enough to whip up any day of the week. Serve it at your next gathering, and watch it disappear!
Make-Ahead Convenience
Another reason to love this Ice Cream Sandwich Cake is that it can be prepared ahead of time. Just make it in advance, store it in the freezer, and pull it out when you’re ready to serve. It’s a lifesaver for busy days!
Everything You Need for Ice Cream Sandwich Cake

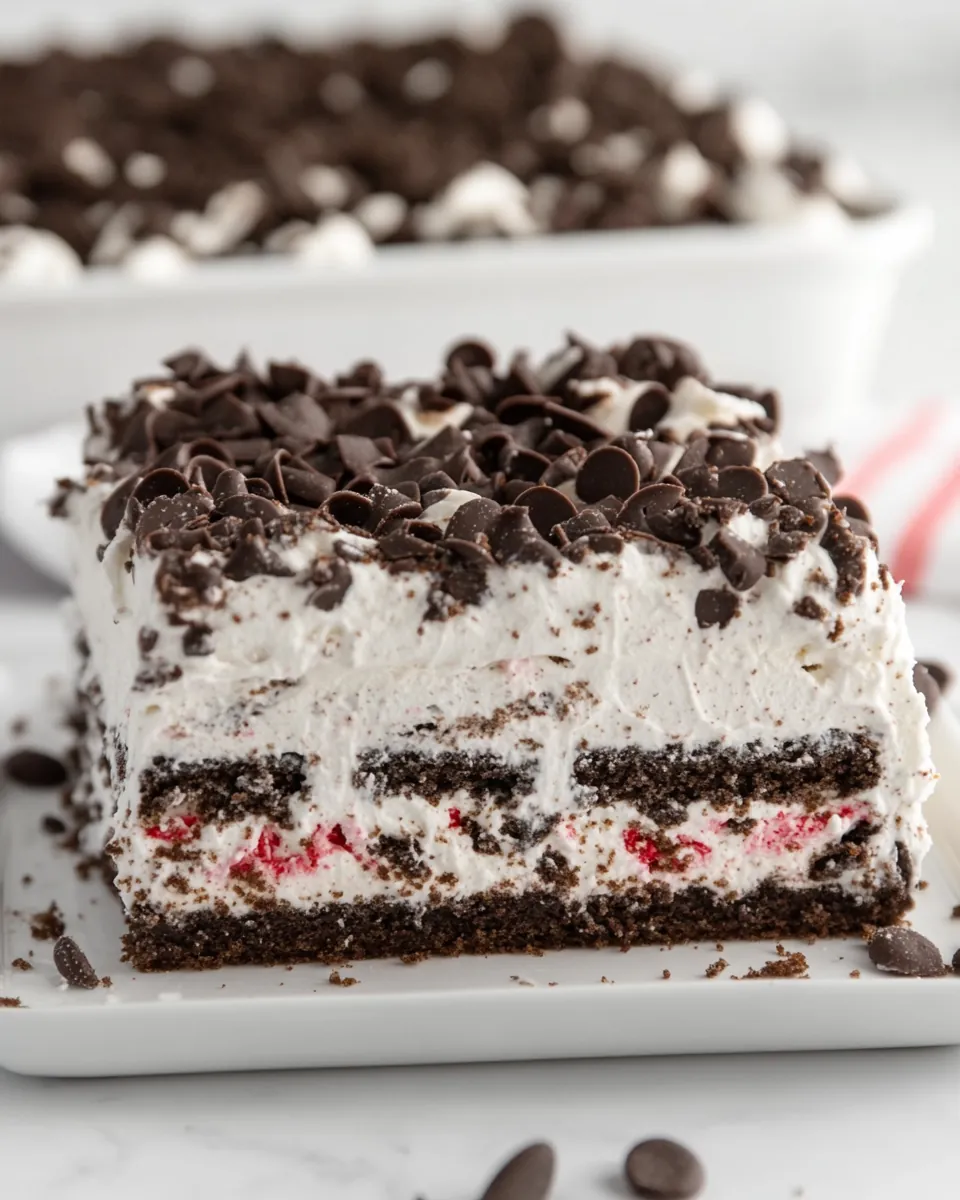
When it comes to the ingredients for this Ice Cream Sandwich Cake, they are all about creating a delightful blend of flavors and textures. The star players here are the ice cream sandwiches and Oreo cookies, which come together to form delicious layers that are both creamy and crunchy. Let’s take a closer look at what you’ll need.
- 14 Oreo cookies chopped into small pieces
- 8 ounces frozen whipped topping Cool Whip or TruWhip, thawed
- 14 full-size ice cream sandwiches
- 1 jar hot fudge sauce 11-ounces
Ice Cream Sandwich Cake Instructions
Making the Ice Cream Sandwich Cake is as enjoyable as eating it! Follow these steps to create this layered delight. Remember to take your time and have fun with it!
- Start by lining a 9x9x3-inch baking pan with parchment paper. This ensures easy removal and cleanup later.
- In a medium bowl, combine about ⅔ of the chopped Oreos with the whipped topping until just combined. You want a nice mixture without over-mixing. Set aside the remaining Oreos.
- Next, place half of the ice cream sandwiches in an even layer in the baking dish. Don’t worry if you need to cut a couple of them to fit snugly; that’s what makes it fun!
- Now, evenly spread half of the hot fudge sauce onto the ice cream sandwiches. Make sure to cover them well for that lovely chocolaty flavor.
- Follow with a layer of the Oreo whipped topping mix. Take your time to spread it evenly over the fudge layer.
- Repeat the layers by placing the remaining ice cream sandwiches, followed by the rest of the hot fudge sauce and another layer of the Oreo whipped topping mix.
- Sprinkle the top of the cake with the remaining chopped Oreos. This adds a beautiful texture and taste on top.
- Finally, cover the cake with plastic wrap and freeze for at least 3 hours. This allows everything to set perfectly and develop those amazing flavors.
Things Worth Knowing
- Layering is Key: When layering the cake, ensure each layer is even for the best presentation. This will also help in keeping the layers intact when serving.
- Freezing Time: Allowing the cake to freeze for at least 3 hours is crucial. If you can, leave it overnight for even better results.
- Serving Suggestions: Serve slices of this cake with a drizzle of extra hot fudge sauce or a dollop of whipped cream for a delightful garnish.
- Storage Tips: Keep any leftovers tightly covered in the freezer. It can last for up to a week, but trust me; it won’t last that long!
Customization Ideas
Get creative with your Ice Cream Sandwich Cake! There are so many ways to customize this dessert to fit your taste or occasion. Here are some ideas to inspire you:
- Flavor Variations: Use different flavored ice cream sandwiches, such as mint chocolate chip or cookies and cream.
- Mix-In Options: Add your favorite candies or nuts to the whipped topping for added texture and flavor.
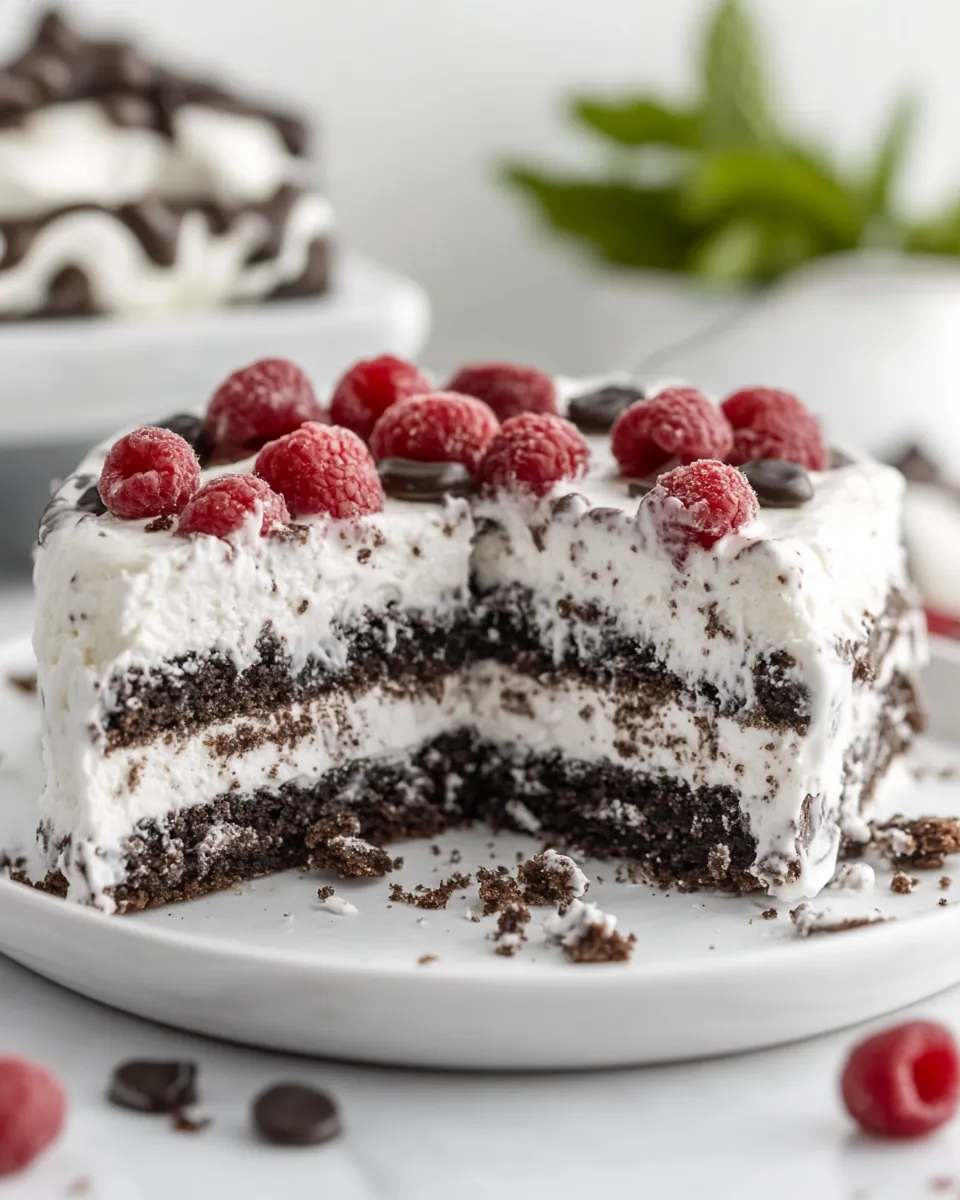
- Fruit Additions: Incorporate fresh fruits like strawberries or bananas for a fruity twist.
- Unique Sauces: Swap out hot fudge for caramel sauce or even peanut butter for a different flavor profile.
- Mini Versions: Create mini versions of this cake in individual cups for a fun party treat.
- Festival Themes: Decorate the top of the cake with seasonal sprinkles or themed decorations for special occasions.
- Ice Cream Layering: Consider adding layers of different ice cream flavors between the Oreo layers for a delightful surprise.
Serve This Ice Cream Sandwich Cake With
When it comes to serving the Ice Cream Sandwich Cake, there are plenty of options to choose from. Here are some delightful ideas:
- Light Salads: Pair it with a refreshing summer salad to balance the sweetness.
- Grilled Fruits: Serve alongside grilled peaches or pineapples for a tropical touch.
- Fresh Berries: A side of mixed fresh berries complements the cake beautifully.
- Soft Drinks: Offer fizzy drinks or lemonade for a refreshing beverage option.
- Picnic Treats: This cake is perfect for picnics or outdoor gatherings; it keeps well and is a crowd favorite.
- Birthday Celebrations: It’s an excellent option for birthdays or special events; just add candles on top for a festive touch!
- Ice Cream Cones: Serve with a scoop of your favorite ice cream on the side for an extra indulgence.
FAQ
Conclusion
The Ice Cream Sandwich Cake is truly a delightful summer dessert that brings joy to any occasion. Its layered goodness of ice cream and cookies is a show-stopper at parties and a crowd favorite. I encourage you to try making this cake yourself; it’s easy, fun, and absolutely delicious. You won’t regret it, and your family and friends will love you for it!
Ice Cream Sandwich Cake
Ingredients
Equipment
Method
- Line a 9x9x3-inch baking pan with parchment paper.
- In a medium bowl, combine about ⅔ of the chopped Oreos with the whipped topping until just combined. Set aside. Reserve the remaining Oreos.
- Place half of the ice cream sandwiches in an even layer in the baking dish. You will need to cut a couple of the ice cream sandwiches to fit them snugly into the dish.
- Evenly spread half of the fudge sauce onto the ice cream sandwiches. Follow with a layer of Oreo whipped topping. Repeat layers. Sprinkle the top of the cake with the remaining chopped Oreos. Cover and freeze for at least 3 hours.
Notes
- Tip 1: Use your favorite brand of hot fudge sauce for a special touch.
- Tip 2: Warm the fudge slightly to make it easier to spread.
- Tip 3: Experiment with different flavors of ice cream sandwiches.
- Tip 4: Store leftovers in the freezer for up to a week.
- Tip 5: Serve with additional toppings like whipped cream for extra indulgence.