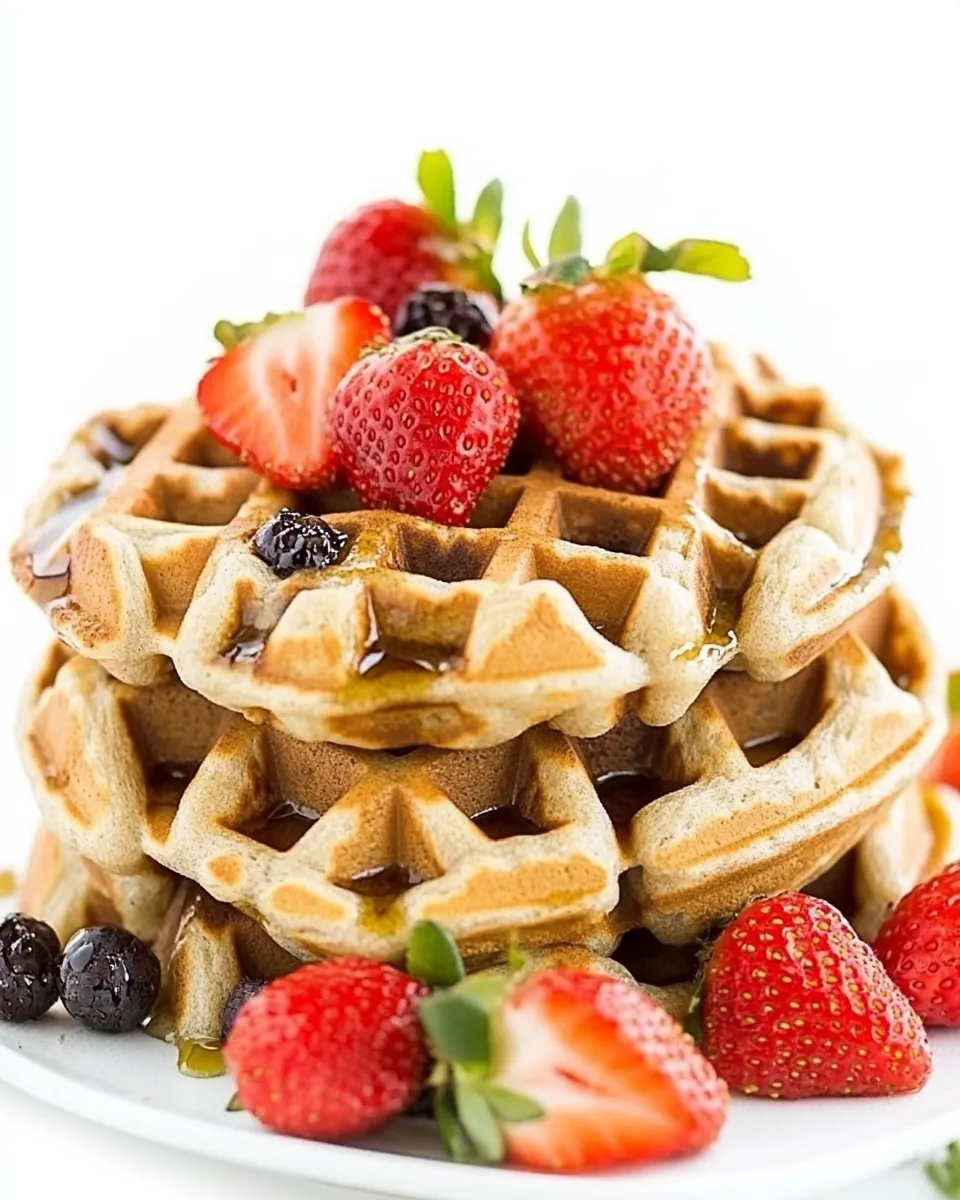
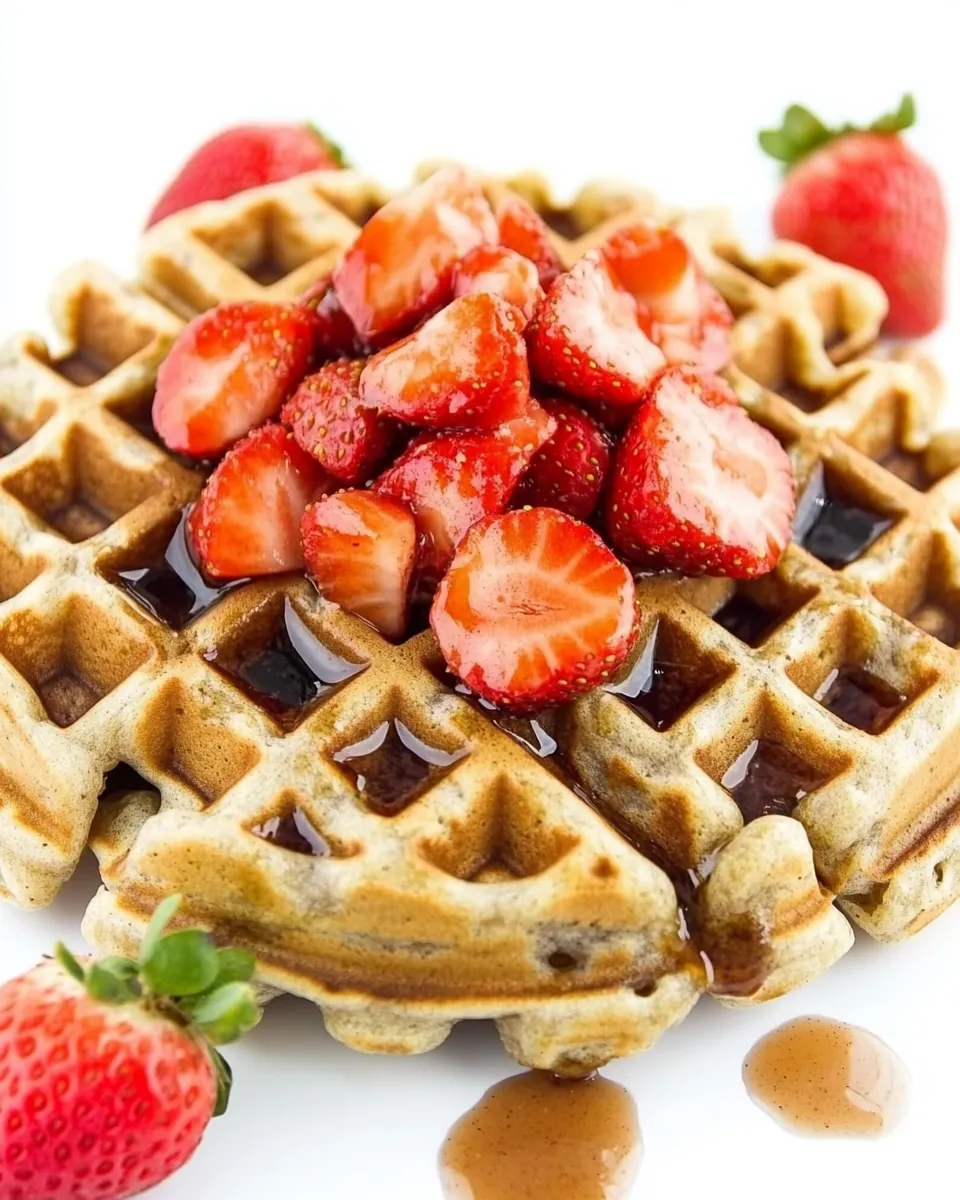
Strawberry Waffles
There’s something magical about mornings that begin with a stack of Strawberry Waffles. The aroma of freshly made waffles fills the kitchen, mingling with the scent of sweet, ripe strawberries. I vividly remember the first time I experimented with this recipe; the excitement of creating a dish that was not just delicious but also vegan and gluten-free was beyond rewarding. It was a beautiful spring morning, the sun was shining, and I had a basket of fresh strawberries waiting to be transformed into a breakfast delight. As I poured the batter onto the hot waffle iron, the anticipation grew. Would they turn out as fluffy and golden as I hoped? Well, let me tell you, they did, and they quickly became a family favorite. Each bite offered a burst of fresh flavor that made it feel like spring was blooming right on our plates. Whether it’s a lazy weekend brunch or a special occasion, these waffles always steal the show.
Recipe Snapshot
40 mins
10 mins
30 mins
Medium
180 kcal
4 g
Keto, Paleo, Gluten-Free
5 g
Food Processor, Wooden Spoon, Cutting Board, Whisk, Mixing Bowl
Why This Strawberry Waffles Is a Winner
A Healthier Indulgence
The Strawberry Waffles are not only scrumptious but also wholesome. Made with ingredients like gluten-free flour and plant milk, they cater to various dietary needs without compromising taste. They offer a delightful way to satisfy your sweet tooth while being mindful of your health.
Perfect for Any Season
While they are especially wonderful in spring when strawberries are at their peak, these waffles are a hit any time of year. You can easily swap out strawberries for other fruits or even serve them with your favorite syrup or toppings, making them versatile for any occasion.
Easy to Prepare
Even if you don’t consider yourself a kitchen whiz, making these waffles is a breeze. The straightforward steps ensure that anyone can whip up a batch in no time. You won’t need any fancy equipment, just a basic waffle iron and mixing bowls.
Fun for the Whole Family
These waffles are a great way to engage your kids in the kitchen. They can help with mixing the ingredients or adding the strawberries to the batter. It turns breakfast into a fun family activity that everyone can enjoy.
Perfectly Customizable
Feel free to get creative! You can add different spices, nuts, or seeds to the batter. If you want to switch things up, try incorporating chocolate chips or a drizzle of nut butter for a richer flavor.
Great for Meal Prep
These waffles can be made in advance and frozen for a quick breakfast option on busy mornings. Just pop them in the toaster, and you’re ready to go!
Recipe Ingredients for Strawberry Waffles
Creating the perfect Strawberry Waffles starts with the right ingredients. Each component plays a vital role in achieving that fluffy texture and delightful flavor. The combination of plant milk, flour, and fresh strawberries sets the foundation for a breakfast that feels indulgent yet nourishing. Let’s explore these ingredients further:
- 1 1/2 cups plant milk – A creamy base that adds moisture and richness to the batter.
- 2 Tbsp ground flaxseed – A great egg substitute that binds the ingredients together while providing healthy omega-3 fatty acids.
- 1 Tbsp pure maple syrup – This natural sweetener brings a touch of sweetness without refined sugars.
- 1 tsp vanilla extract – Adds a warm and inviting flavor profile to the waffles.
- 1/4 tsp almond extract – Enhances the overall taste with a hint of nuttiness.
- 1 cup gluten-free all-purpose flour – Ensures that the waffles are light and fluffy while being gluten-free.
- 1 cup almond flour – Provides a nutty flavor and moist texture to the waffles.
- 1 Tbsp baking powder – Essential for that fluffy rise.
- 1/4 tsp ground cinnamon – Adds a warm spice that complements the sweetness of the strawberries.
- 1/4 tsp salt – Balances the sweetness and enhances the flavors.
- 5 oz fresh strawberries (about 1 cup finely diced) – The star ingredient that brings freshness and sweetness to each bite.
Preparation Steps for Strawberry Waffles
Making these Strawberry Waffles is a delightful process that allows you to enjoy every step. From mixing the wet and dry ingredients to the heavenly aroma that fills your kitchen as they cook, each moment is worth savoring. Let’s dive into the preparation!
- In a large mixing bowl, add all the plant milk, ground flaxseed, maple syrup, vanilla extract, and almond extract. Whisk these ingredients together until fully combined. The mixture should look creamy and smooth, with a lovely aroma that starts to awaken your senses.
- In a separate medium bowl, add all the gluten-free all-purpose flour, almond flour, baking powder, ground cinnamon, and salt. Stir well to ensure everything is evenly mixed. The dry ingredients should have a light and fluffy texture, free from any lumps.
- Now, add the dry ingredients to the wet mixture. Gently whisk until just combined. Be careful not to overmix; you want to maintain a light batter. A few lumps are perfectly okay, as they will smooth out during cooking.
- Finely dice the strawberries, removing the stems. I prefer to dice mine extra-fine to seamlessly incorporate them into the batter, providing bursts of flavor in every bite. Fold the strawberries into the mixture gently, ensuring they are evenly distributed.
- Turn on your waffle iron and preheat it to your desired setting, typically medium to medium-high works well. The anticipation of cooking the waffles builds as you hear the iron warming up.
- Once the iron is fully heated, scoop out the batter and carefully place it in the center of the waffle iron using a measuring cup. I typically use a half-cup measuring cup to ensure even portions.
- Close the lid and let the waffles cook for about 5 to 7 minutes. You’ll know they’re ready when the steam has completely stopped, which indicates they’re perfectly cooked. Resist the temptation to open the waffle iron prematurely, as this could disrupt the cooking process.
- When fully cooked, carefully remove the waffle with a fork or tongs, being mindful of your fingers. The waffles should be golden brown and slightly crisp on the outside, yet fluffy on the inside. Repeat this process with the remaining batter.
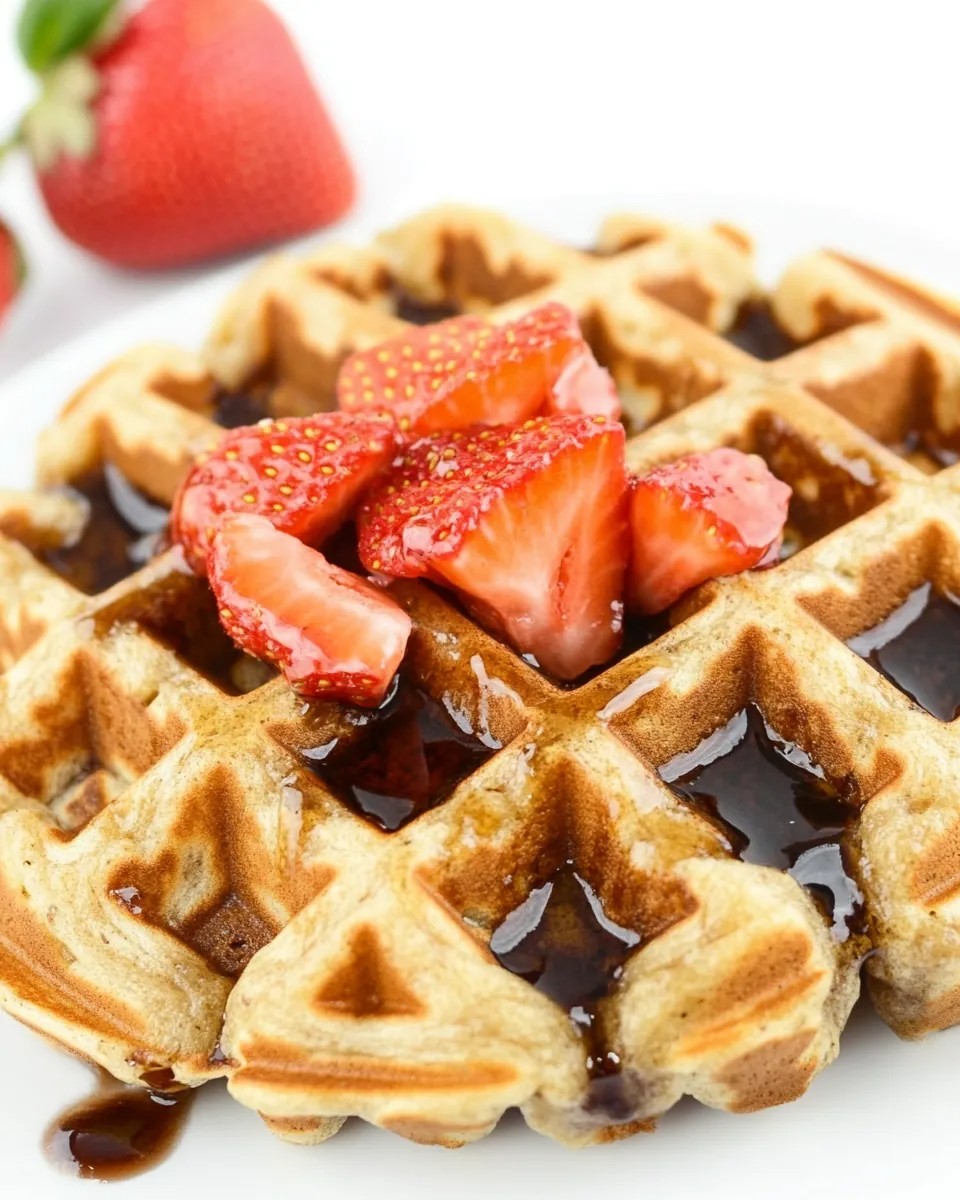
- Serve immediately with your favorite toppings, such as additional fresh strawberries, a dusting of powdered sugar, or a drizzle of syrup. Enjoy the fruits of your labor!
Things Worth Knowing
- Waffle Iron Temperature: Ensure your waffle iron is at the right temperature before pouring in the batter to achieve a crispy exterior.
- Flaxseed Alternative: If you don’t have ground flaxseed, you can use chia seeds as a binder.
- Resting Batter: Letting the batter sit for a few minutes can improve the texture of your waffles.
- Cleaning Waffle Iron: Clean your waffle iron as soon as it cools down for easier removal of any batter residue.
Substitutions and Tips
As you embark on your journey to make Strawberry Waffles, it’s essential to keep in mind a few handy tips. These insights will help you customize your waffles to fit your taste and dietary preferences:
- Storage: Leftover waffles can be stored in an airtight container in the refrigerator for up to 3 days.
- Freezing: Freeze any extra waffles by placing them in a single layer on a baking sheet until solid, then transfer them to a freezer bag for up to 2 months.
- Pairing: These waffles pair beautifully with fresh fruit, yogurt, or a sprinkle of nuts for added texture.
- Variations: Feel free to experiment by adding different fruits like blueberries or bananas to the batter.
- Serving: Serve these waffles with a dollop of whipped coconut cream for a fancy touch.
Serving This Strawberry Waffles
When it comes to serving the delightful Strawberry Waffles, the possibilities are endless. Here are some ideas to elevate your breakfast experience:
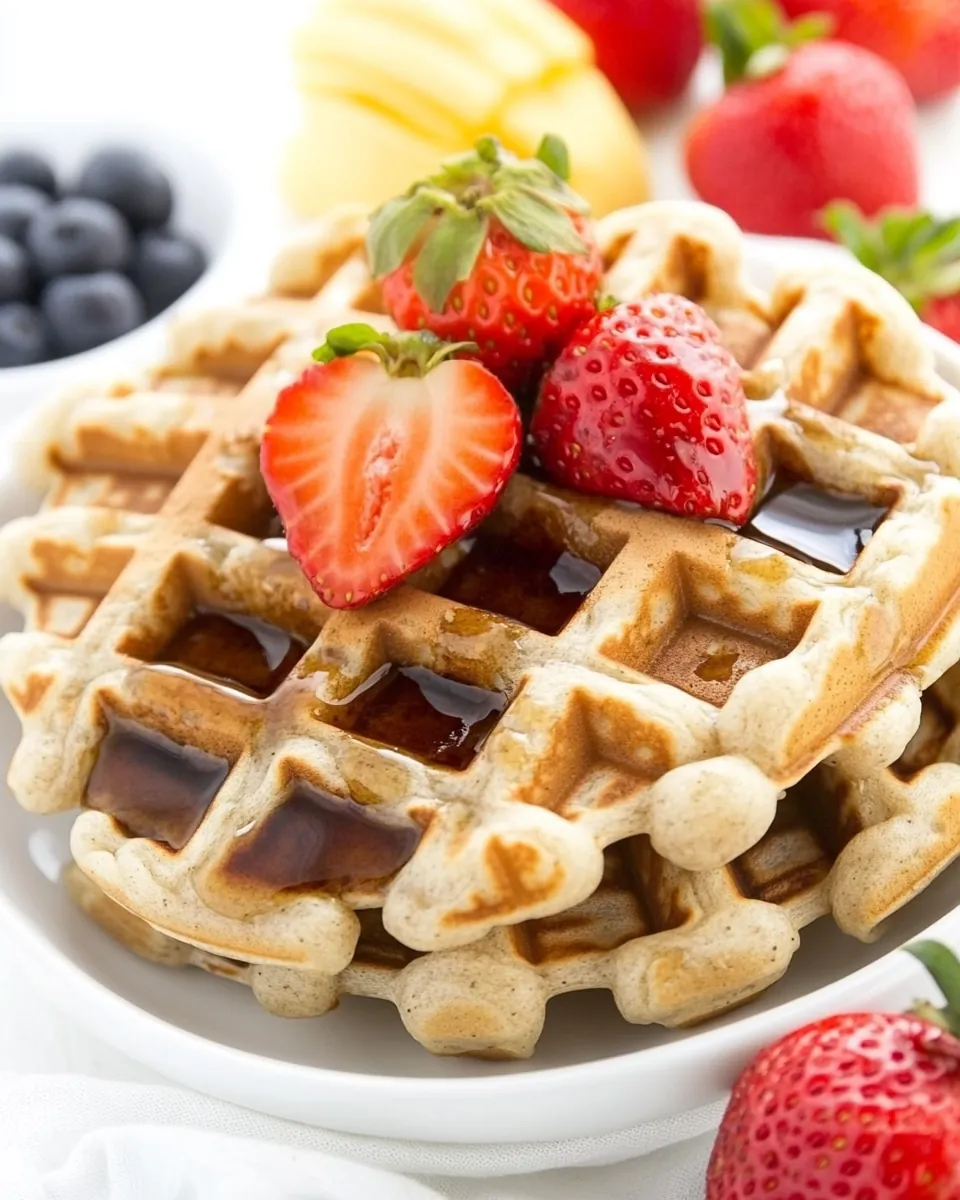
- With Fresh Fruits: Top your waffles with a colorful assortment of seasonal fruits like sliced bananas, blueberries, and of course, strawberries.
- Yogurt Delight: Add a dollop of coconut yogurt or any plant-based yogurt for a creamy contrast.
- Nut Butters: Drizzle or spread your favorite nut butter on top for an extra layer of flavor and healthy fats.
- For Special Occasions: These waffles make a beautiful breakfast for gatherings or celebrations. Serve them on a platter for a stunning presentation.
- Brunch Perfection: Serve alongside refreshing juices or smoothies to complement the flavors of the waffles.
- Creative Toppings: Experiment with various toppings like granola, shredded coconut, or a sprinkle of chia seeds for added texture.
FAQ
Conclusion
In summary, these Strawberry Waffles offer a delightful blend of flavors and textures that make breakfast an exciting meal. Their fluffy, golden goodness, combined with the sweet bursts of fresh strawberries, create a dish that everyone will love. I encourage you to give this recipe a try; it’s not just a meal, it’s a way to celebrate the joy of cooking and sharing delicious moments with loved ones.
Strawberry Waffles
Ingredients
Equipment
Method
- In a large mixing bowl, add all the plant milk, ground flaxseed, maple syrup, vanilla extract, and almond extract. Whisk these ingredients together until fully combined. The mixture should look creamy and smooth, with a lovely aroma that starts to awaken your senses.
- In a separate medium bowl, add all the gluten-free all-purpose flour, almond flour, baking powder, ground cinnamon, and salt. Stir well to ensure everything is evenly mixed. The dry ingredients should have a light and fluffy texture, free from any lumps.
- Now, add the dry ingredients to the wet mixture. Gently whisk until just combined. Be careful not to overmix; you want to maintain a light batter. A few lumps are perfectly okay, as they will smooth out during cooking.
- Finely dice the strawberries, removing the stems. I prefer to dice mine extra-fine to seamlessly incorporate them into the batter, providing bursts of flavor in every bite. Fold the strawberries into the mixture gently, ensuring they are evenly distributed.
- Turn on your waffle iron and preheat it to your desired setting, typically medium to medium-high works well. The anticipation of cooking the waffles builds as you hear the iron warming up.
- Once the iron is fully heated, scoop out the batter and carefully place it in the center of the waffle iron using a measuring cup. I typically use a half-cup measuring cup to ensure even portions.
- Close the lid and let the waffles cook for about 5 to 7 minutes. You’ll know they’re ready when the steam has completely stopped, which indicates they’re perfectly cooked. Resist the temptation to open the waffle iron prematurely, as this could disrupt the cooking process.
- When fully cooked, carefully remove the waffle with a fork or tongs, being mindful of your fingers. The waffles should be golden brown and slightly crisp on the outside, yet fluffy on the inside. Repeat this process with the remaining batter.
- Serve immediately with your favorite toppings, such as additional fresh strawberries, a dusting of powdered sugar, or a drizzle of syrup. Enjoy the fruits of your labor!
Notes
- Flour: I use Bob's Red Mill gluten-free all-purpose flour. You can substitute oat flour for the all-purpose, but we found them to be slightly crumbly this way.
- Nut-free version: Omit the almond flour and all-purpose flour, and use 2 cups oat flour for your base. I find this results in denser (but still very tasty!) waffles.
- Waffle iron: My 7-inch round Belgian waffle iron is non-stick and doesn't require oil or spray. Be sure to lightly spray yours if your machine requires it.