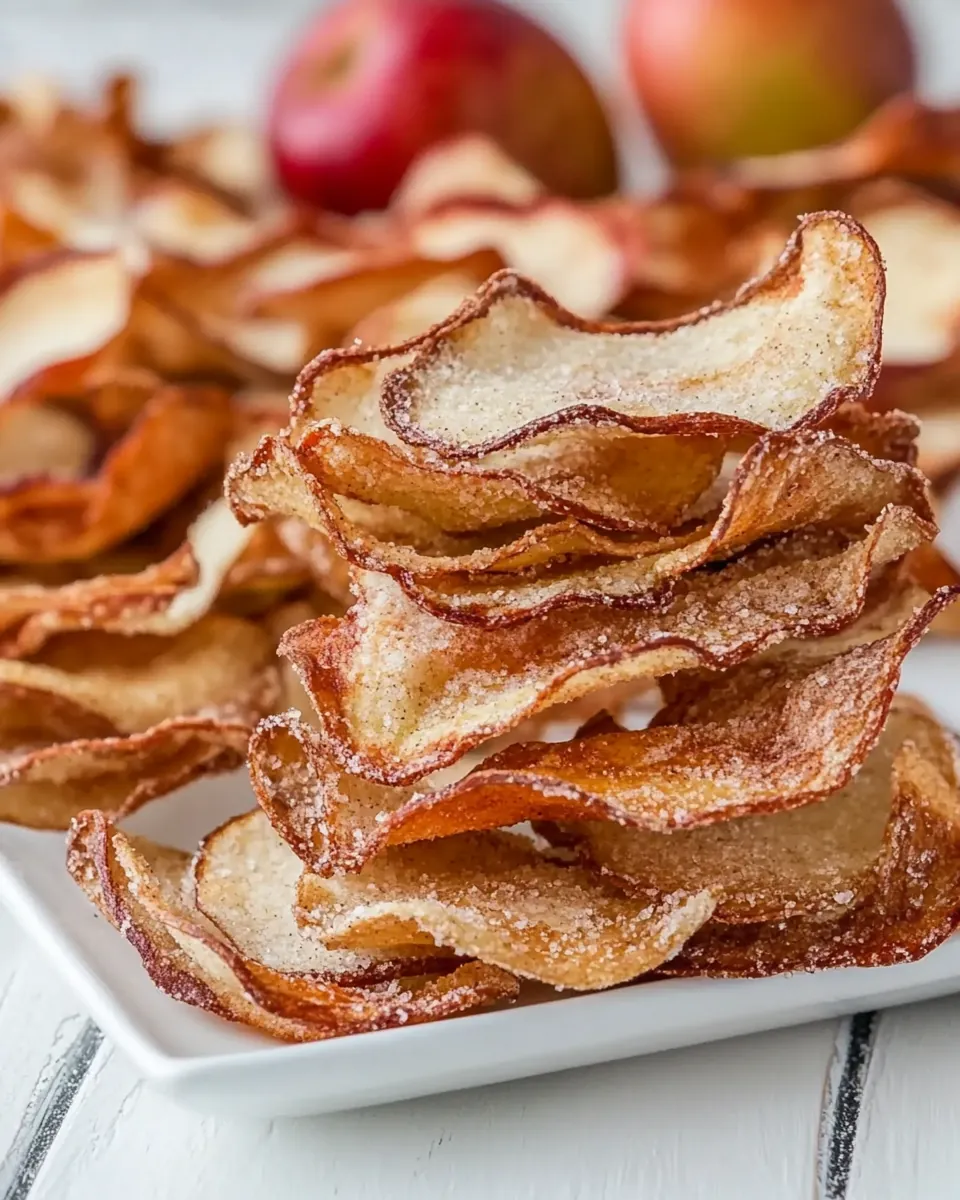
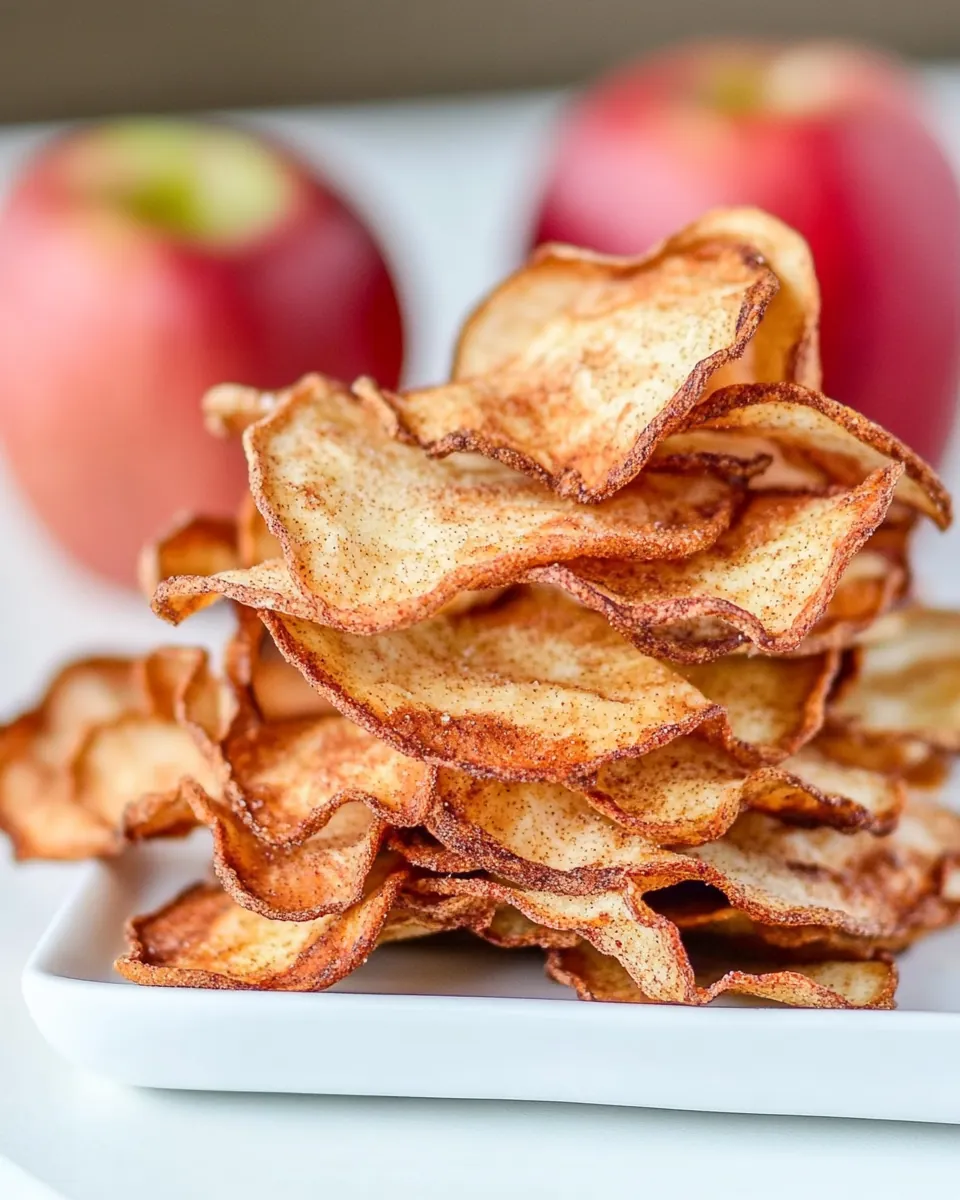
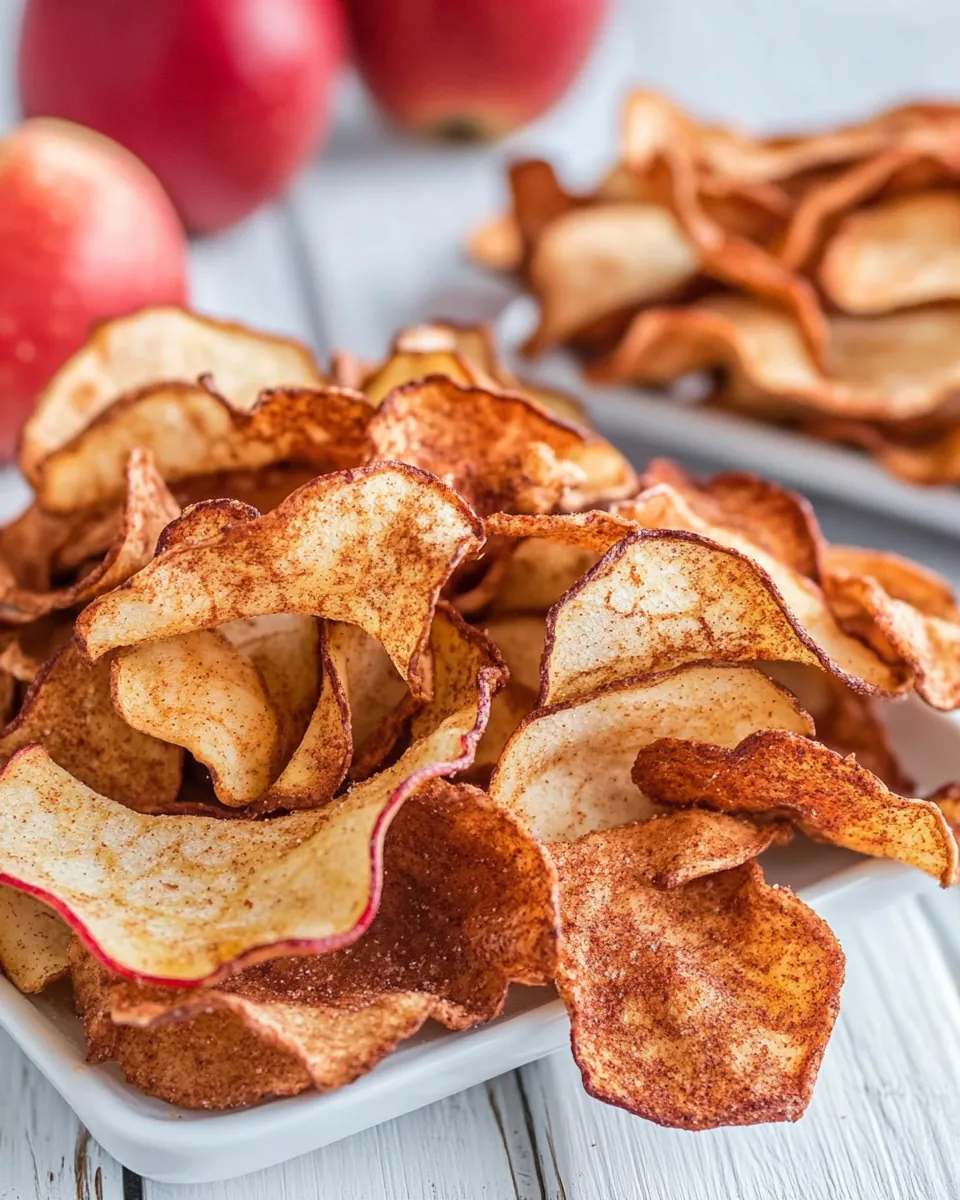
Apple Chips
I’ve always had a soft spot for snacks that are both healthy and delicious, and that’s where Apple Chips come into play. There’s something so satisfying about biting into a crisp, sweet apple chip, especially during the cool fall days when apples are at their peak. I remember the first time I made them; my kitchen was filled with the warm smell of cinnamon and baked apples, a scent that instantly made my home feel cozy. Sitting around with friends and family, sharing these homemade delights, felt like the perfect way to celebrate the season. Not to mention, they’re super easy to make! You don’t need any fancy gadgets, just a few simple ingredients and a bit of time. And the best part? You can enjoy them as a healthy snack, sprinkle them over your morning oatmeal, or even toss them into salads for that delightful crunch. These Apple Chips are not just a snack; they’re a delightful experience that captures the essence of fall!
Recipe Snapshot
2 hr 50 mins
20 mins
150 mins
Hard
120 kcal
1 g
Keto, Paleo, Whole30
0.5 g
Chef’s Knife, Oven, Baking Sheet, Frying Pan
What Sets This Apple Chips Apart
They’re Healthy and Guilt-Free
When it comes to snacking, I always aim for options that won’t leave me feeling guilty. Apple Chips are a fantastic alternative to traditional chips. They’re made from real apples and contain no preservatives, making them a wholesome choice. Plus, they pack a punch of fiber, which keeps you fuller longer!
Customizable Flavor
You can easily customize the flavor of your Apple Chips! While I love a sprinkle of cinnamon, you could mix in nutmeg, or even a drizzle of honey for an extra kick of sweetness. The beauty of this recipe is the versatility; you can adjust it according to your taste buds!
Perfect For Any Occasion
Whether you’re hosting a fall gathering or simply enjoying a cozy movie night at home, these Apple Chips fit right in. They make a great snack for parties, road trips, or as a quick pick-me-up during the day. They can even be a thoughtful gift for friends!
Easy to Make
One of the reasons I adore making Apple Chips is how easy they are. You don’t need any fancy equipment—just a simple knife and an oven. Plus, you can batch-make them and store them for later, which is a huge time-saver when you want a quick snack!
Economical and Sustainable
Using fresh, seasonal apples not only supports local farmers but also reduces your carbon footprint. Making Apple Chips is a wonderful way to utilize apples that might be on their last leg. Instead of letting them go to waste, transform them into a delightful snack!
A Fun Activity to Share
Making Apple Chips can be a fun family activity, too! Invite your kids or friends to help wash, slice, and arrange the apples on the baking sheets. It’s a great way to spend time together while creating something delicious!
Recipe Ingredients for Apple Chips
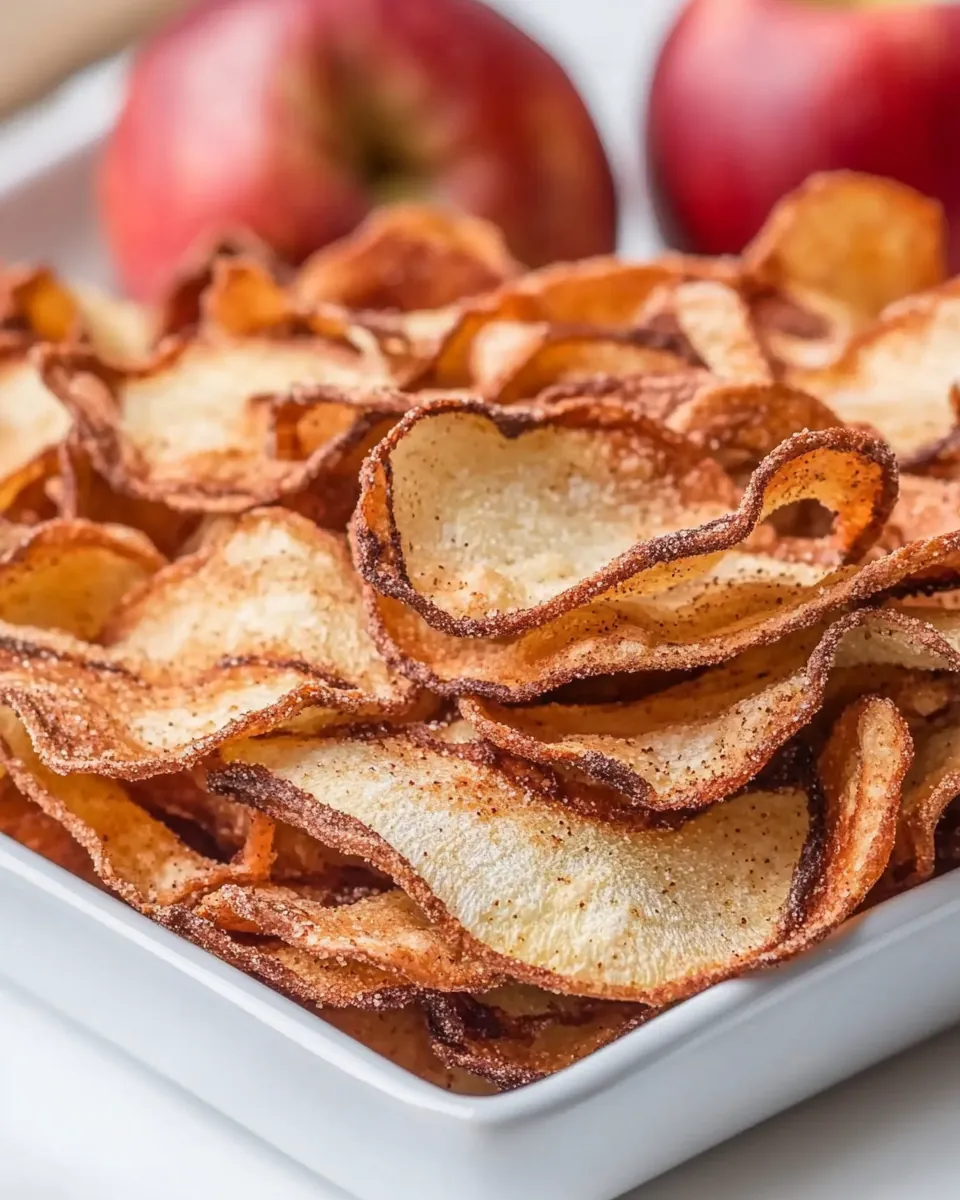
The ingredients for Apple Chips are simple yet incredibly effective. Each component plays a vital role in creating that perfect crunchy texture and delightful flavor. You’ll find that using fresh apples enhances the overall quality of the chips, while the cinnamon adds just the right hint of warmth.
- 3 large sweet crisp apples, such as Honeycrisp, Fuji, Jazz, or Pink Lady
These apples are not only sweet but also provide the best texture for chips. Their natural sugars caramelize beautifully while baking, making every bite a treat. - ¾ teaspoon ground cinnamon
Cinnamon adds a wonderful warmth and aroma to the chips, enhancing their flavor profile and making them irresistible.
Directions for Apple Chips
Making Apple Chips is a straightforward process that yields delicious results. Follow these steps to create your own crispy snacks:
Start by preheating your oven to 200 degrees F. Make sure to place the racks in the upper and lower thirds of the oven to ensure even baking.
Line two baking sheets with parchment paper or a silpat mat. This will prevent the apple chips from sticking and make cleanup easier.
Wash your apples thoroughly under cold water. Using an apple corer, very small cookie cutter, or the round side of a metal piping tip, core the apples. If you prefer a rustic look, feel free to skip this step, but be mindful of any seeds.
Next, using a mandolin (recommended for consistency) or a very sharp knife, slice the apples horizontally into 1/8 inch-thick rounds. The thinner the slices, the crispier the chips will be!
Arrange the slices in a single layer on the prepared baking sheets. It’s important not to overlap the slices to ensure they crisp up nicely.
Sprinkle the apple slices evenly with cinnamon, ensuring each chip gets a touch of that warm flavor.
Now, it’s time to bake! Place the baking sheets in the oven and bake for 1 hour. Then, you’ll want to rotate the sheets, switching their positions on the racks to promote even baking.
Continue baking for another 1 to 1.5 hours, until a single apple chip removed from the oven is crisp when set out at room temperature for 2 to 3 minutes. It’s essential to check for crispness, as this will vary based on your slice thickness and the type of apple used.
Once you’re satisfied with the crispness, turn off the oven and let the apple chips rest inside as the oven cools down for about an hour. This step helps them crisp up even more.
If you fear you overcooked them, remove the pan immediately and let it sit at room temperature to cool down. Enjoy your Apple Chips once they are cool!
Things Worth Knowing
- Slicing Technique: To achieve the best results, use a mandolin to slice your apples. This ensures even thickness, leading to uniformly crisp chips.
- Apple Varieties: Not all apples are created equal! For the crispiest chips, opt for firmer varieties like Honeycrisp or Fuji.
- Storage Tips: Once cooled, store your Apple Chips in an airtight container at room temperature for up to a week to maintain their crispiness.
- Testing Crispness: Always test a chip for crispness after baking; letting it cool on the counter will help determine if it’s ready.
Recipe Tips about Apple Chips
Getting the perfect Apple Chips can take a little practice. Here are some tips to keep in mind:
- Storage: Keep your Apple Chips in an airtight container at room temperature. They can last up to a week but are best enjoyed fresh!
- Freezing: If you want to enjoy the chips later, you can freeze them. Just make sure they are completely cool and then place them in a freezer-safe bag or container.
- Pairing: These chips are perfect as a snack or can be sprinkled on salads or yogurt for added crunch. They also work well as a topping on oatmeal!
- Thickness Matters: Remember, the thinner you slice the apples, the crispier your chips will be! Aim for about 1/8 inch for the best results.
- Flavor Variations: Experiment with flavors! Try adding a bit of nutmeg or even a sprinkle of sugar for a sweeter chip.
Pairing Suggestions for Apple Chips
When it comes to serving Apple Chips, the options are endless. Here are some of my favorite ways to enjoy them:
- As a Snack: Perfect on their own for a quick, healthy treat during the day.
- With Yogurt: Chop and sprinkle over your morning yogurt for a delightful crunch and natural sweetness.
- In Salads: Toss them into your favorite salads for extra texture and flavor.
- For Dessert: Pair them with a scoop of vanilla ice cream for a simple yet satisfying dessert.
- On Oatmeal: Crumble some Apple Chips on top of your oatmeal for added flavor and crunch.
- As a Gift: Package them up nicely for friends or family as a thoughtful, homemade gift!
FAQ
Conclusion
In summary, Apple Chips are a delightful, healthy snack that captures the essence of fall with their crisp texture and sweet flavor. Making them at home is simple and rewarding, and they can be enjoyed in a variety of ways. I highly encourage you to try this recipe and share the joy of these homemade treats with your family and friends. They are sure to become a favorite!
Apple Chips
Ingredients
Equipment
Method
- Start by preheating your oven to 200 degrees F. Make sure to place the racks in the upper and lower thirds of the oven to ensure even baking.
- Line two baking sheets with parchment paper or a silpat mat. This will prevent the apple chips from sticking and make cleanup easier.
- Wash your apples thoroughly under cold water. Using an apple corer, very small cookie cutter, or the round side of a metal piping tip, core the apples. If you prefer a rustic look, feel free to skip this step, but be mindful of any seeds.
- Next, using a mandolin (recommended for consistency) or a very sharp knife, slice the apples horizontally into 1/8 inch-thick rounds. The thinner the slices, the crispier the chips will be!
- Arrange the slices in a single layer on the prepared baking sheets. It’s important not to overlap the slices to ensure they crisp up nicely.
- Sprinkle the apple slices evenly with cinnamon, ensuring each chip gets a touch of that warm flavor.
- Now, it’s time to bake! Place the baking sheets in the oven and bake for 1 hour. Then, you’ll want to rotate the sheets, switching their positions on the racks to promote even baking.
- Continue baking for another 1 to 1.5 hours, until a single apple chip removed from the oven is crisp when set out at room temperature for 2 to 3 minutes. It’s essential to check for crispness, as this will vary based on your slice thickness and the type of apple used.
- Once you’re satisfied with the crispness, turn off the oven and let the apple chips rest inside as the oven cools down for about an hour. This step helps them crisp up even more.
- If you fear you overcooked them, remove the pan immediately and let it sit at room temperature to cool down. Enjoy your Apple Chips once they are cool!
Notes
- Tip 1: Thin slices are best for maximum crispiness!
- Tip 2: The color of the final apple chip will vary based on the type of apple.
- Tip 3: The total cooking time will vary based upon the moisture content of your apples.
- Tip 4: Store baked apple chips in an airtight container at room temperature for up to 1 week.
- Tip 5: Enjoy these chips chopped over yogurt with granola, on salads, or right out of the container!