Start by preheating your oven to 200 degrees F. Make sure to place the racks in the upper and lower thirds of the oven to ensure even baking.
Line two baking sheets with parchment paper or a silpat mat. This will prevent the apple chips from sticking and make cleanup easier.
Wash your apples thoroughly under cold water. Using an apple corer, very small cookie cutter, or the round side of a metal piping tip, core the apples. If you prefer a rustic look, feel free to skip this step, but be mindful of any seeds.
Next, using a mandolin (recommended for consistency) or a very sharp knife, slice the apples horizontally into 1/8 inch-thick rounds. The thinner the slices, the crispier the chips will be!
Arrange the slices in a single layer on the prepared baking sheets. It’s important not to overlap the slices to ensure they crisp up nicely.
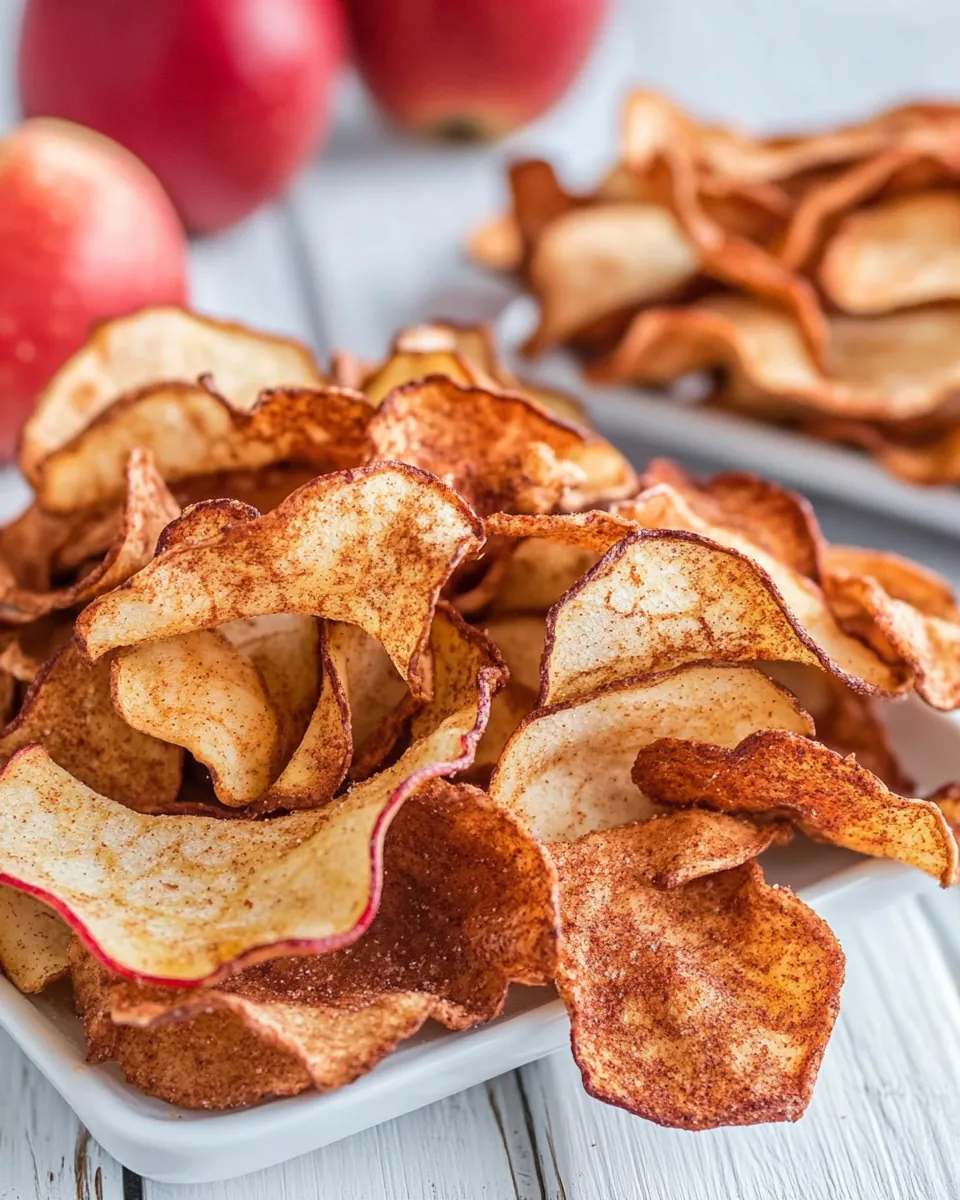
Sprinkle the apple slices evenly with cinnamon, ensuring each chip gets a touch of that warm flavor.
Now, it’s time to bake! Place the baking sheets in the oven and bake for 1 hour. Then, you’ll want to rotate the sheets, switching their positions on the racks to promote even baking.
Continue baking for another 1 to 1.5 hours, until a single apple chip removed from the oven is crisp when set out at room temperature for 2 to 3 minutes. It’s essential to check for crispness, as this will vary based on your slice thickness and the type of apple used.
Once you’re satisfied with the crispness, turn off the oven and let the apple chips rest inside as the oven cools down for about an hour. This step helps them crisp up even more.
If you fear you overcooked them, remove the pan immediately and let it sit at room temperature to cool down. Enjoy your Apple Chips once they are cool!