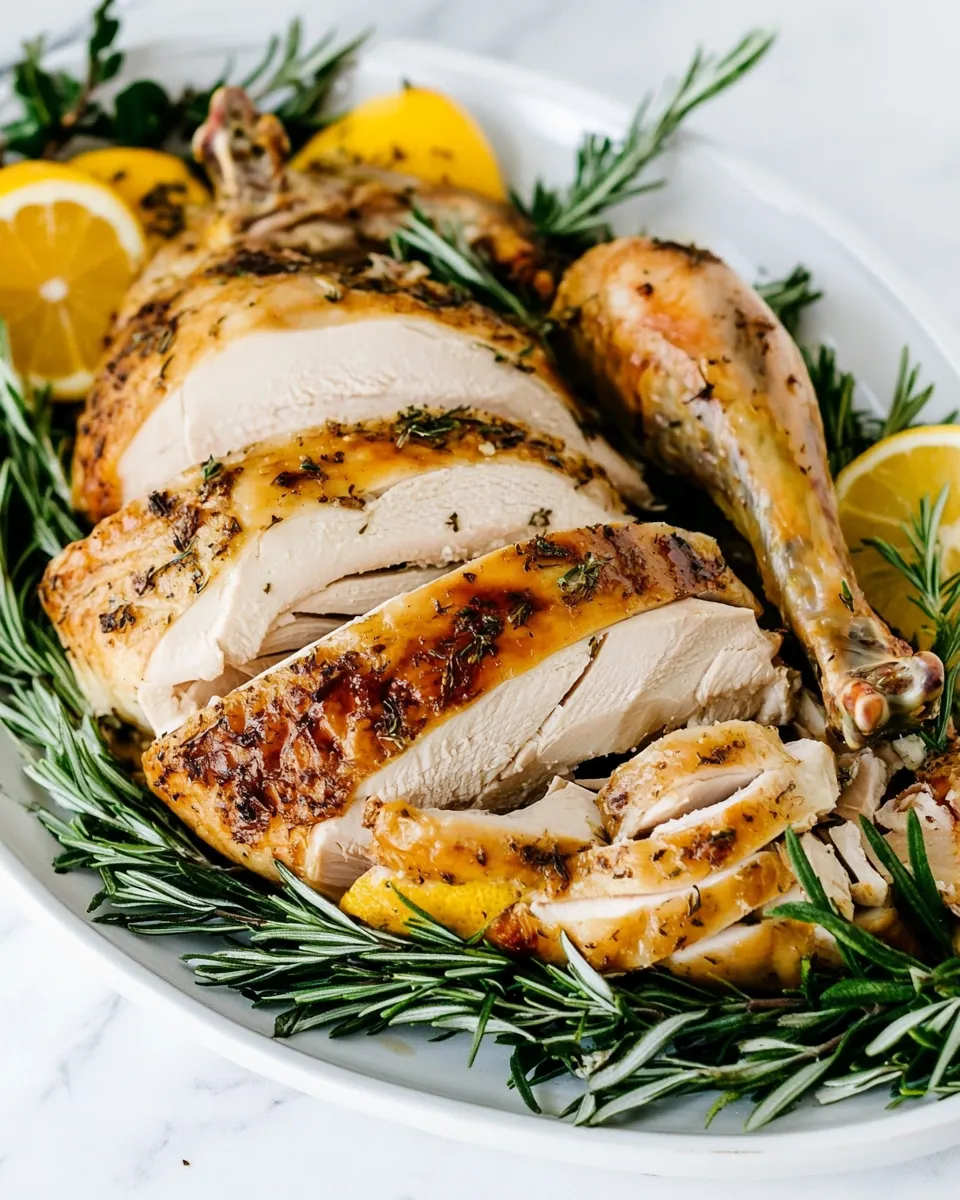
How to Carve a Turkey
Carving a turkey is like an art form, and when it comes to the holidays, there’s no better way to showcase your skills than with How to Carve a Turkey. I remember the first time I attempted to carve a turkey; it was Thanksgiving, and I was surrounded by family, laughter, and the tantalizing aroma of roasted turkey. The turkey was golden-brown, and I felt the pressure to impress everyone with my carving prowess. Each slice I made felt like a small victory, and the cheers of my family motivated me to keep going. It’s a moment of pride, allowing everyone to enjoy the beautiful presentation of perfectly carved turkey meat on their plates. Over the years, I’ve honed my carving skills, and I can’t wait to share my tips and techniques with you, so you too can present a magnificent turkey to your loved ones!
Recipe Snapshot
15 mins
5 mins
10 mins
Medium
280 kcal
29 g
Keto, Paleo, Whole30
17 g
Sharp Knife, Cutting board, Serving tray, Aluminum foil
Why You’ll Love How to Carve a Turkey
What You’ll Enjoy About This How to Carve a Turkey
It’s a Skill You’ll Use for Years
Learning how to carve a turkey isn’t just beneficial for Thanksgiving; it’s a skill that comes in handy for any family gathering. Once you master it, you’ll be the go-to carver for every holiday feast, and your family will love you for it.
Creates a Memorable Experience
Carving a turkey can transform a simple meal into a memorable experience. Picture everyone watching as you slice into the turkey, revealing juicy, tender meat. It’s a beautiful moment that enhances the joy of the meal, making it more than just food – it’s a celebration.
Impressive Presentation
When you serve your turkey, beautifully carved pieces look much more appetizing. It shows thoughtfulness and care put into the meal which is always appreciated by guests and family alike.
Reduce Waste and Maximize Flavor
When you carve a turkey correctly, you ensure that every piece of meat is utilized. You’ll learn how to preserve the skin and meat, leaving less waste and ensuring that every bite is full of flavor.
Perfect for Leftovers
Knowing how to carve a turkey also means you can enjoy delicious leftovers. Once you’ve mastered the technique, you can recreate turkey sandwiches, salads, or even soups with the leftover meat, ensuring nothing goes to waste.
How to Prepare How to Carve a Turkey
Carving a turkey sounds daunting, but with the right approach, it can be a smooth and enjoyable process. Here’s how you can achieve perfectly carved turkey pieces.
Start with one leg. Use your sharp knife to slice through the skin and meat toward the leg joint while gently pulling the leg back. You’ll hear a satisfying “pop” when the thigh bone separates. Be careful not to cut through the joint; you want to keep your slices clean and intact. This first cut is crucial for setting the tone of your carving skills.
Now, gently cut away any extra skin and meat around the joint and remove the leg from the body. Set aside the thigh and drumstick, and repeat this process with the remaining leg. Afterward, you’ll have two delicious pieces ready for serving!
Next, remove the wishbone. This step makes it easier to carve the breast meat later. To find the wishbone, locate the front neck cavity of the bird. Cut away the skin from the opening and feel for the bone. Gently cut along the wishbone and pull it out of the turkey. This little step is a fun tradition!
Find the keelbone, which runs down the center of the carcass, separating the turkey breasts. With your knife, cut down on one side of the keelbone, following the curve to separate the breast meat from the bone. Slice until the entire breast is free, and repeat this with the other breast. Enjoy the satisfaction of removing these beautiful chunks of meat.
Now, gently pull the wings away from the body. Use your knife to cut around the skin and meat, cutting through the joint. Remove the wing and set it aside, repeating this with the other wing.
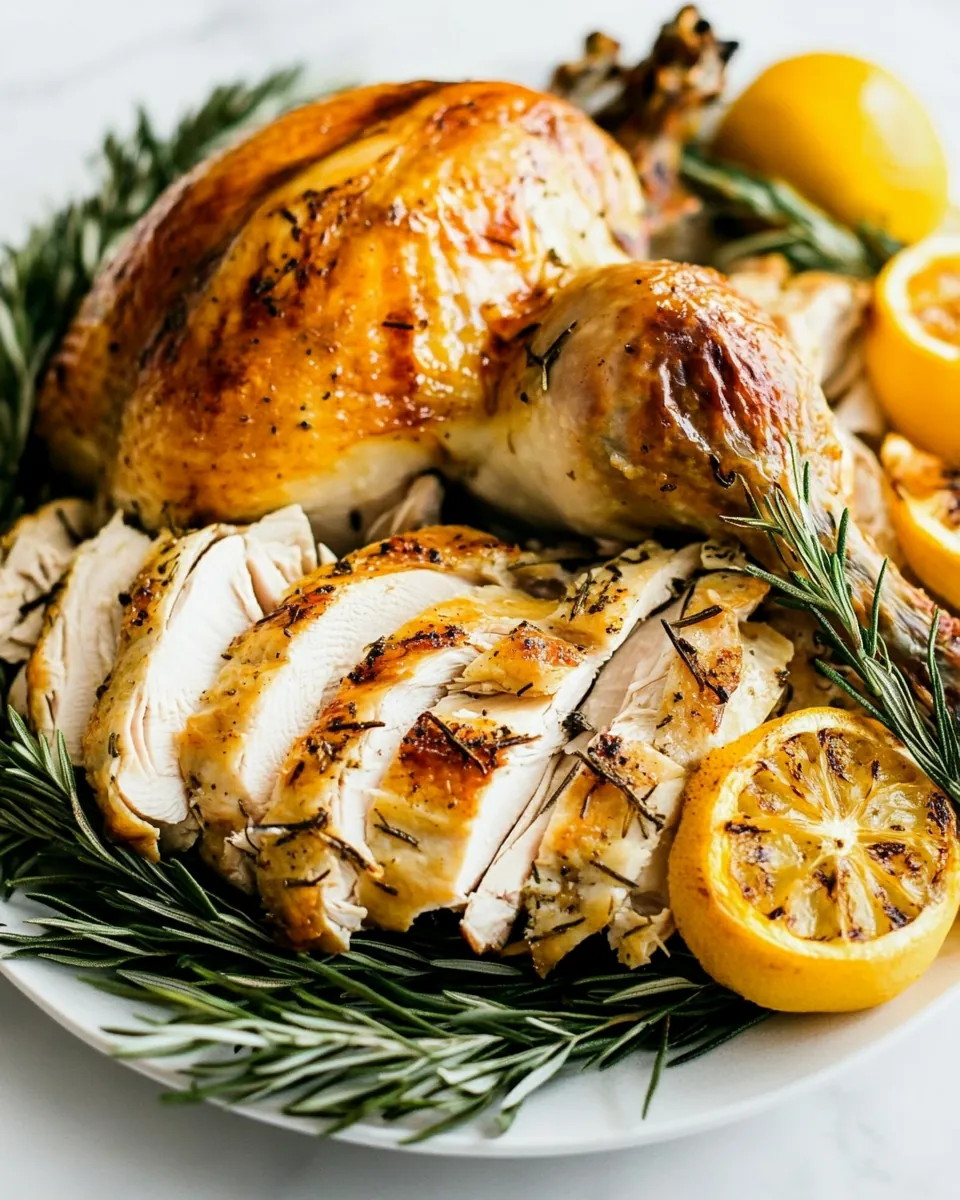
The most important tip for carving turkey meat is to slice against the grain. This means cutting the meat in the opposite direction of the natural muscle fibers. You’ll know you’ve done it right when each piece is tender and easy to chew.
Try your best to preserve the skin! This adds flavor and texture to your turkey slices. Cut carefully so that each slice includes some skin, making your dish even more appealing.
To separate the drumstick from the thigh, place the leg skin side down on your cutting board. Cut right through the natural seam of the joint. This separation is essential for serving easily.
Keep your turkey warm while carving by covering it with aluminum foil. This step ensures that the meat stays warm for your family and guests while you finish carving.
Lastly, save the turkey carcass! You can use it to make homemade broth or freeze it for later use. This not only reduces waste but also gives you a delicious base for soups.
Helpful Hints
Before you start carving, here are some essential tips to keep in mind. These pointers will enhance your experience and ensure a successful carving session.
- Storage: After carving, store leftover turkey in an airtight container in the refrigerator. This helps maintain its flavor and moisture.
- Freezing: Yes, you can freeze leftover turkey! Wrap it tightly in plastic wrap or aluminum foil, then place it in a freezer-safe bag. It will last up to three months in the freezer.
- Pairing: Serve your carved turkey with traditional sides such as mashed potatoes, gravy, and cranberry sauce for a complete meal.
- Keep it Sharp: Always use a sharp knife for carving. A dull knife can tear the meat, making it difficult to achieve clean cuts.
- Practice Makes Perfect: Don’t worry if your first attempts aren’t perfect. Carving takes practice, so keep trying, and you’ll improve with each turkey you carve!
Serving Ideas for How to Carve a Turkey
When it comes to serving your beautifully carved turkey, there are numerous delicious options to consider. Here are some ideas to complement your meal:
- Classic Thanksgiving Dinner: Serve your carved turkey alongside stuffing, mashed potatoes, green bean casserole, and cranberry sauce for a traditional feast.
- Sandwiches: Use leftover turkey to create decadent sandwiches. Layer slices with mayo, lettuce, and cranberry sauce for a delightful lunch.
- Salads: Add carved turkey to a fresh salad for a healthy meal option. Pair it with mixed greens, nuts, and a tangy dressing.
- Soups: Use the carcass to make a rich turkey broth, then create a delicious turkey noodle soup with your leftover meat.
- Wrap it Up: Create turkey wraps using tortillas, fresh veggies, and your favorite sauces for a quick, satisfying meal.
- Holiday Gatherings: Carved turkey is not only for Thanksgiving. Serve it during Christmas, Easter, or any family gathering to bring everyone together.
FAQ
Conclusion
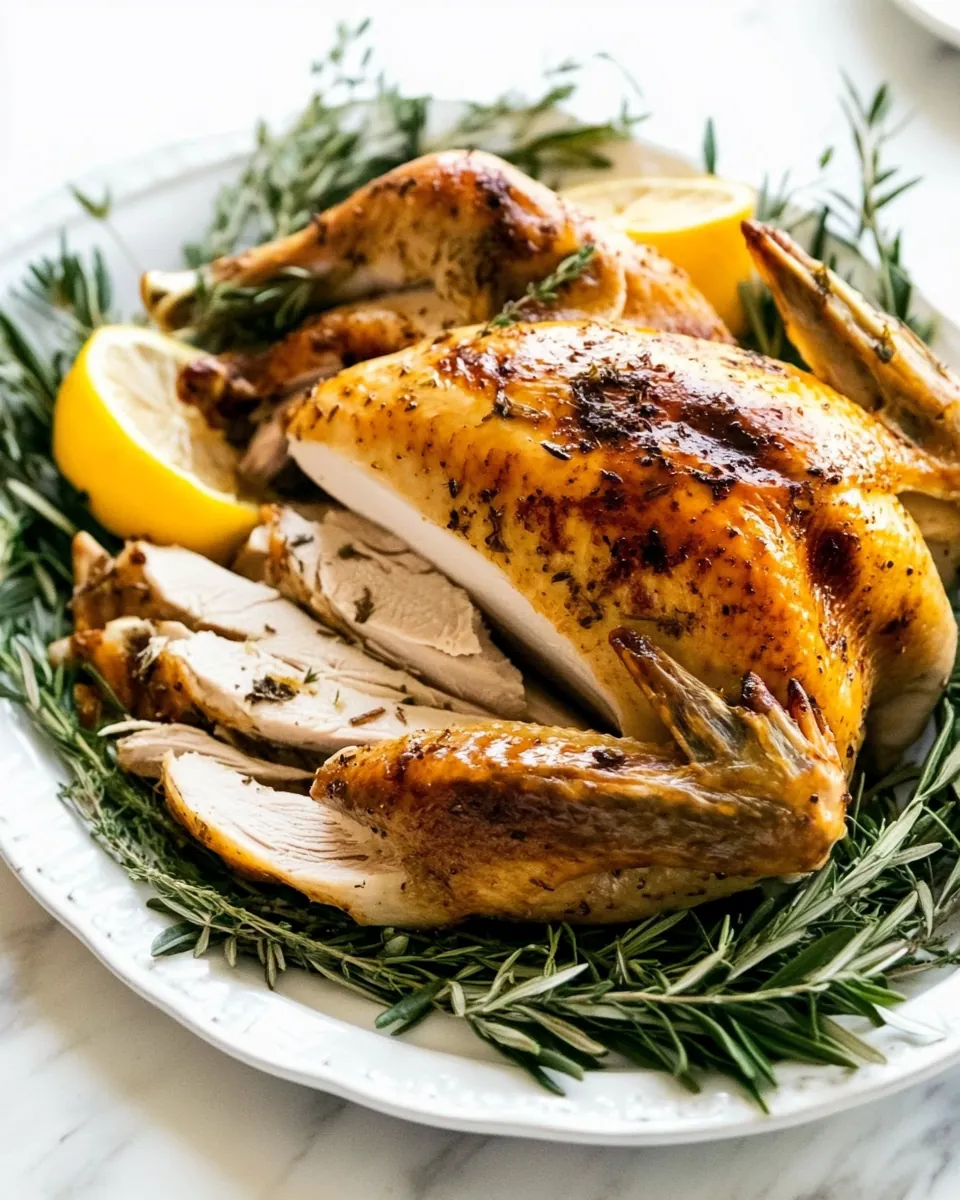
Mastering the technique of carving a turkey is something every cook should aspire to. It’s a wonderful way to create a centerpiece for your holiday meals, showcasing both your skills and the deliciousness of the turkey itself. I encourage you to try your hand at carving your next turkey. It’s a rewarding experience that will certainly impress your family and friends.
How to Carve a Turkey
Ingredients
Equipment
Method
- Start with one leg. Use your sharp knife to slice through the skin and meat toward the leg joint while gently pulling the leg back. You’ll hear a satisfying “pop” when the thigh bone separates. Be careful not to cut through the joint; you want to keep your slices clean and intact. This first cut is crucial for setting the tone of your carving skills.
- Now, gently cut away any extra skin and meat around the joint and remove the leg from the body. Set aside the thigh and drumstick, and repeat this process with the remaining leg. Afterward, you’ll have two delicious pieces ready for serving!
- Next, remove the wishbone. This step makes it easier to carve the breast meat later. To find the wishbone, locate the front neck cavity of the bird. Cut away the skin from the opening and feel for the bone. Gently cut along the wishbone and pull it out of the turkey. This little step is a fun tradition!
- Find the keelbone, which runs down the center of the carcass, separating the turkey breasts. With your knife, cut down on one side of the keelbone, following the curve to separate the breast meat from the bone. Slice until the entire breast is free, and repeat this with the other breast. Enjoy the satisfaction of removing these beautiful chunks of meat.
- Now, gently pull the wings away from the body. Use your knife to cut around the skin and meat, cutting through the joint. Remove the wing and set it aside, repeating this with the other wing.
- The most important tip for carving turkey meat is to slice against the grain. This means cutting the meat in the opposite direction of the natural muscle fibers. You’ll know you’ve done it right when each piece is tender and easy to chew.
- Try your best to preserve the skin! This adds flavor and texture to your turkey slices. Cut carefully so that each slice includes some skin, making your dish even more appealing.
- To separate the drumstick from the thigh, place the leg skin side down on your cutting board. Cut right through the natural seam of the joint. This separation is essential for serving easily.
- Keep your turkey warm while carving by covering it with aluminum foil. This step ensures that the meat stays warm for your family and guests while you finish carving.
- Lastly, save the turkey carcass! You can use it to make homemade broth or freeze it for later use. This not only reduces waste but also gives you a delicious base for soups.
Notes
- Storage: After carving, store leftover turkey in an airtight container in the refrigerator. This helps maintain its flavor and moisture.
- Freezing: Yes, you can freeze leftover turkey! Wrap it tightly in plastic wrap or aluminum foil, then place it in a freezer-safe bag. It will last up to three months in the freezer.
- Pairing: Serve your carved turkey with traditional sides such as mashed potatoes, gravy, and cranberry sauce for a complete meal.
- Keep it Sharp: Always use a sharp knife for carving. A dull knife can tear the meat, making it difficult to achieve clean cuts.
- Practice Makes Perfect: Don't worry if your first attempts aren’t perfect. Carving takes practice, so keep trying, and you’ll improve with each turkey you carve!