Start with one leg. Use your sharp knife to slice through the skin and meat toward the leg joint while gently pulling the leg back. You’ll hear a satisfying “pop” when the thigh bone separates. Be careful not to cut through the joint; you want to keep your slices clean and intact. This first cut is crucial for setting the tone of your carving skills.
Now, gently cut away any extra skin and meat around the joint and remove the leg from the body. Set aside the thigh and drumstick, and repeat this process with the remaining leg. Afterward, you’ll have two delicious pieces ready for serving!
Next, remove the wishbone. This step makes it easier to carve the breast meat later. To find the wishbone, locate the front neck cavity of the bird. Cut away the skin from the opening and feel for the bone. Gently cut along the wishbone and pull it out of the turkey. This little step is a fun tradition!
Find the keelbone, which runs down the center of the carcass, separating the turkey breasts. With your knife, cut down on one side of the keelbone, following the curve to separate the breast meat from the bone. Slice until the entire breast is free, and repeat this with the other breast. Enjoy the satisfaction of removing these beautiful chunks of meat.
Now, gently pull the wings away from the body. Use your knife to cut around the skin and meat, cutting through the joint. Remove the wing and set it aside, repeating this with the other wing.
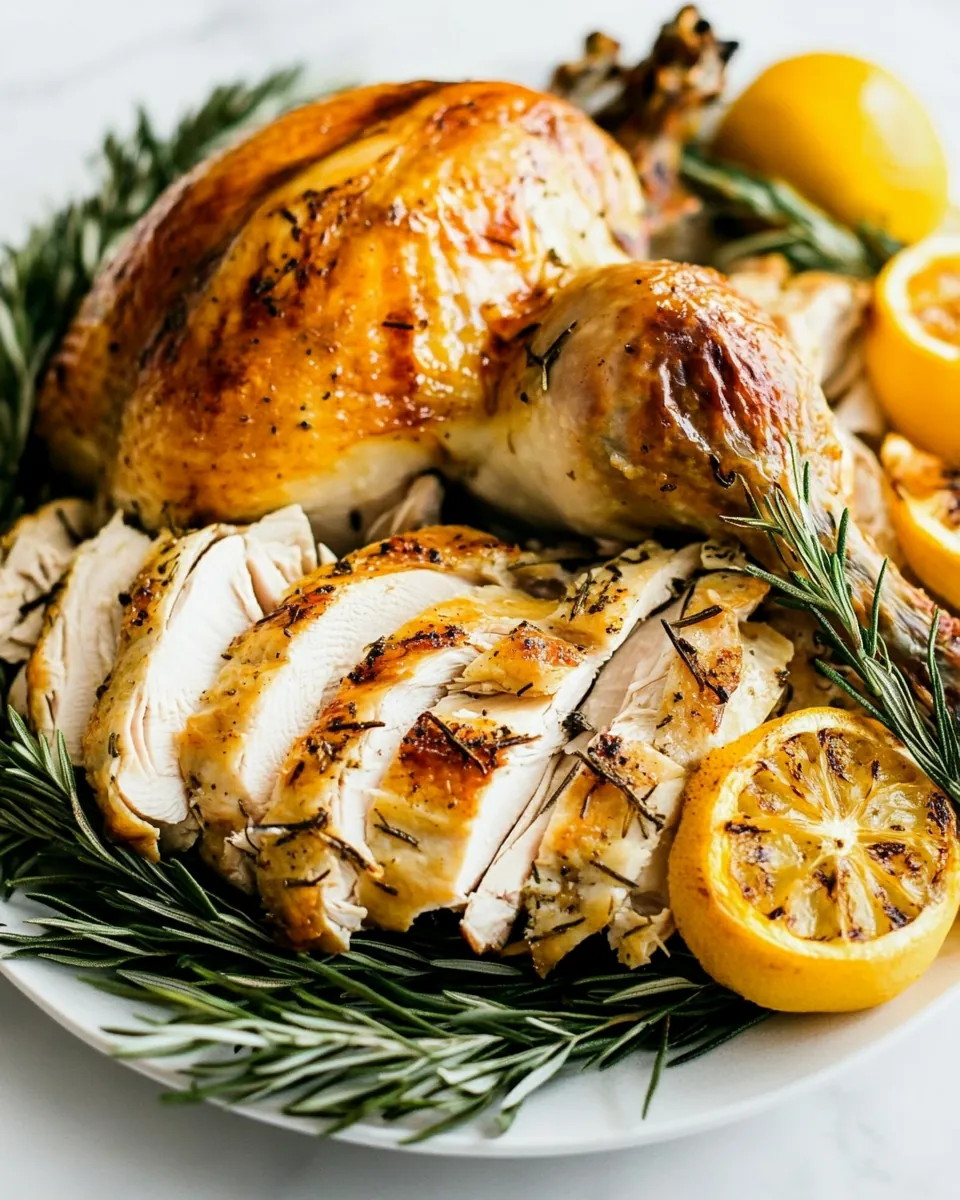
The most important tip for carving turkey meat is to slice against the grain. This means cutting the meat in the opposite direction of the natural muscle fibers. You’ll know you’ve done it right when each piece is tender and easy to chew.
Try your best to preserve the skin! This adds flavor and texture to your turkey slices. Cut carefully so that each slice includes some skin, making your dish even more appealing.
To separate the drumstick from the thigh, place the leg skin side down on your cutting board. Cut right through the natural seam of the joint. This separation is essential for serving easily.
Keep your turkey warm while carving by covering it with aluminum foil. This step ensures that the meat stays warm for your family and guests while you finish carving.
Lastly, save the turkey carcass! You can use it to make homemade broth or freeze it for later use. This not only reduces waste but also gives you a delicious base for soups.