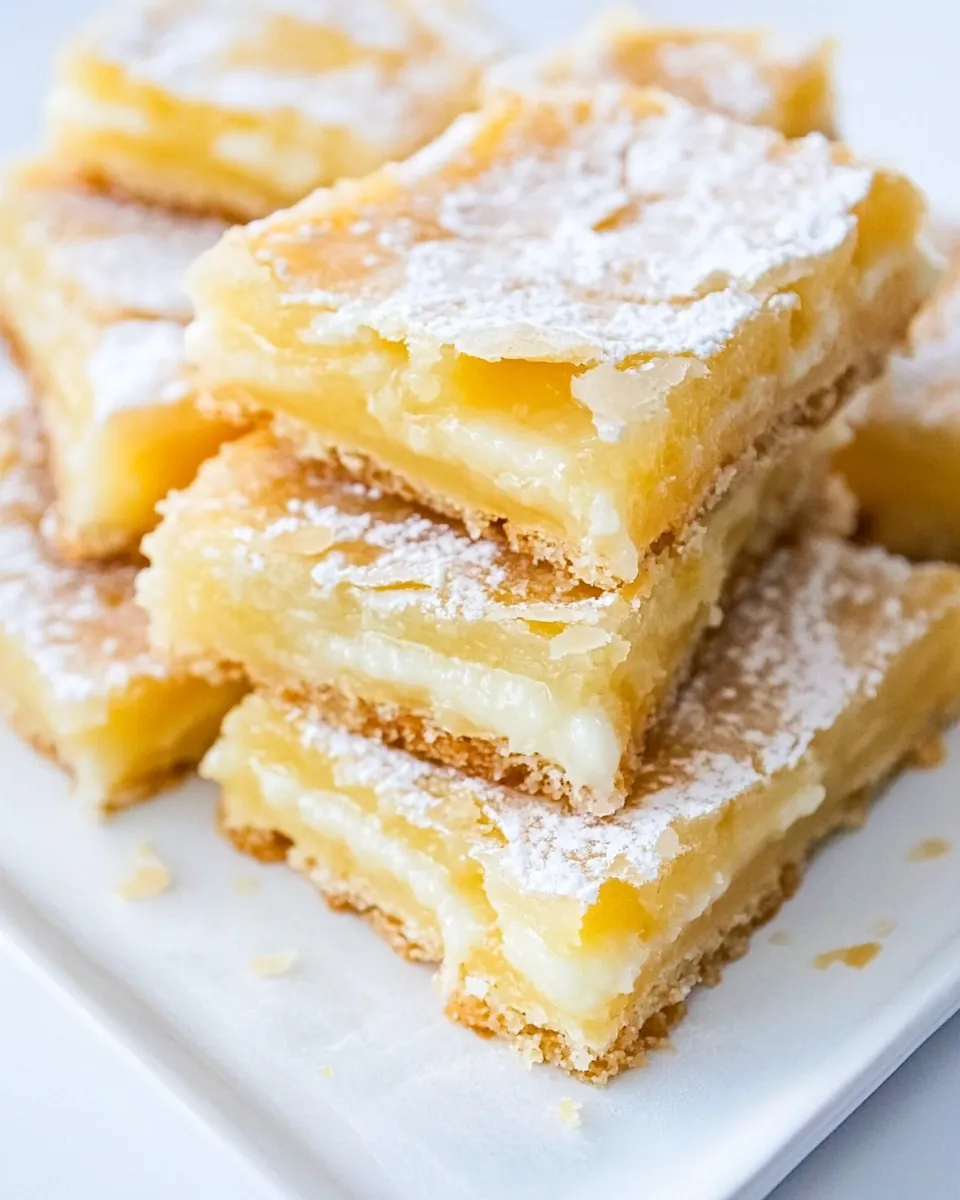
Lemon Bars
The Lemon Bars recipe holds a special place in my heart, reminding me of sunny afternoons spent in my grandmother’s kitchen. She would often whip up a batch, and the moment you walked in, you could smell the zesty aroma of fresh lemons filling the air. It was a treat we all looked forward to, especially during spring when the lemons were at their peak. I can still picture her rolling out the golden crust, so buttery and flaky, and pouring that luscious lemon filling on top. Each bite was a perfect blend of tartness and sweetness, balanced beautifully. These Lemon Bars have become a staple in my own home, and I love sharing them with friends and family. There’s something about the way they brighten up any gathering, whether it’s a casual get-together or a special occasion. With their vibrant flavor, they’re sure to leave a lasting impression on everyone who tries them.
Recipe Snapshot
1 hr 15 mins
25 mins
50 mins
Medium
151 kcal
2 g
Gluten-Free, Low FODMAP
6 g
Oven, Baking Sheet, Blender, Frying Pan, Mixing Bowl
What You’ll Enjoy About This Lemon Bars
Perfect Balance of Flavor
The magic of Lemon Bars lies in their harmonious blend of tart and sweet. The zesty lemon filling is the star, bursting with citrusy goodness that dances on your taste buds. Each bite offers a delightful contrast to the rich, buttery crust, creating an unforgettable flavor experience.
Simple Ingredients
What I love most about this recipe is how simple it is. You’ll find that the ingredients are often staples in your kitchen. The combination of all-purpose flour, butter, and eggs creates a comforting base, while the fresh lemon juice adds that irresistible zing.
Versatile Treat
These Lemon Bars are incredibly versatile. They make for a fantastic dessert at any gathering or can be served as a refreshing snack. They’re perfect for brunch, a picnic, or even just a cozy afternoon at home.
Easy to Make
Don’t let the beautiful presentation fool you; these bars are surprisingly easy to make! With just a few steps, you’ll be able to prepare a delicious treat that looks impressive and tastes even better. It’s a great recipe for both novice and experienced bakers.
Great for Sharing
There’s something truly special about sharing homemade treats. These Lemon Bars are perfect for gatherings, and they always impress. Whether you’re hosting a spring party or just looking to brighten someone’s day, these bars are a sure hit!
Ingredient List for Lemon Bars
In this Lemon Bars recipe, each ingredient plays a crucial role in creating that perfect balance of flavors and textures. The richness of butter complements the bright lemon juice, while the powdered sugar adds sweetness to the filling. Together, they create a delightful dessert that’s both refreshing and fulfilling.
- 2 cups all-purpose flour – A staple ingredient that provides the structure for the crust.
- 1 cup (2 sticks) salted butter, at room temperature – Adds richness and flavor to the crust.
- 1/2 cup powdered sugar – Sweetens the crust while giving it a delicate texture.
- 2 cups granulated white sugar – Balances the tartness of the lemons in the filling.
- 4 large eggs, lightly beaten – Provides structure and helps bind the filling.
- 1/4 cup all-purpose flour – Thickens the lemon filling for a perfect set.
- 1/4 cup freshly squeezed lemon juice – The star of the show, bringing zest and brightness.
- 1 teaspoon baking powder – Helps the filling rise slightly, giving it a fluffy texture.
- 1 cup powdered sugar, sifted – Used for the glaze, adding a sweet finish.
- 2 to 3 tablespoons freshly squeezed lemon juice – Adjusts the glaze to your desired consistency.
Preparation Steps for Lemon Bars
Making Lemon Bars is a simple yet rewarding process that allows you to create a delightful dessert. As you follow these steps, you’ll experience the joy of baking and the incredible aroma that fills your kitchen.
Start by preheating your oven to 350 degrees F. This ensures that your Lemon Bars bake evenly. A properly heated oven is key to achieving the perfect texture.
In a large bowl, combine the crust ingredients. Use an electric mixer to blend until the mixture becomes crumbly. You want a sandy texture that will hold together when pressed.
Press the mixture evenly into the bottom of an ungreased 13×9-inch pan. Make sure it’s well-distributed to create a solid base for your Lemon Bars.
Bake the crust for 20 to 25 minutes or until it’s lightly browned. Keep an eye on it; you want a golden color but not too dark. The crust should be firm to the touch.
While the crust is baking, prepare the filling. In a separate large bowl, combine the filling ingredients using an electric mixer. Mix until smooth and well-blended, ensuring there are no lumps.
Once the crust is done baking, pour the lemon filling over it. Spread it out evenly to cover the entire crust. This will create a lovely layer of flavor.
Bake the entire dish for another 20 to 25 minutes or until the top is light golden brown. You’ll start to see the filling set and slightly puff up.
Let it cool completely after baking. This is important because it allows the filling to set properly, making it easier to cut into bars.
While it cools, prepare the glaze. In a small bowl, combine the powdered sugar with enough lemon juice to achieve your desired glaze consistency. About 2 to 1/2 tablespoons usually does the trick.
Blend the glaze with an electric mixer until smooth. Drizzle it over the cooled Lemon Bars for that perfect finishing touch.
Cut into bars when the glaze is set. The ideal time is when it’s just firm enough to hold its shape but still soft.
Things Worth Knowing
- Cooling time is crucial: Allowing your Lemon Bars to cool completely helps the filling set properly, making it easier to slice.
- Quality of lemons matters: Using fresh, ripe lemons will enhance the flavor of your Lemon Bars significantly.
- Measuring ingredients accurately: The success of your bars relies on accurate measurements, so be sure to use precise amounts.
- Adjusting sweetness: If you prefer a less sweet bar, you can reduce the amount of granulated sugar in the filling.
Recipe Notes about Lemon Bars
When making Lemon Bars, keep these tips in mind to ensure the best results. They can help you achieve that perfect flavor and texture.
- Storage: To store leftovers, keep them in an airtight container in the refrigerator. They can last up to a week.
- Freezing: You can freeze Lemon Bars for up to three months. Make sure to wrap them well to prevent freezer burn.
- Variations: Consider adding a touch of zest for an extra lemony flavor or top with fresh berries before serving.
- Serving suggestion: Pair these bars with a nice cup of tea or coffee for a delightful afternoon treat.
- Cutting tips: For clean cuts, use a sharp knife and wipe it clean between slices.
Accompaniments for Lemon Bars
When it comes to serving Lemon Bars, there are numerous ways to elevate your dessert experience. Here are some great suggestions:
- Tea Pairing: Serve your Lemon Bars with a refreshing cup of herbal tea. The herbal notes complement the citrus beautifully.
- Picnic Delight: These bars are perfect for picnics. Pack them alongside fresh fruit and sandwiches for a delightful outdoor feast.
- Brunch Essential: Add them to your brunch spread. Their bright flavor is a fantastic addition to any table.
- Garnish Options: Consider garnishing with fresh mint leaves or raspberries for a pop of color and flavor.
- Special Occasions: Their cheerful look makes them a great choice for celebrations like birthdays or spring gatherings.
- Storage Tips: For best freshness, always store your Lemon Bars in an airtight container in the fridge.
FAQ
Conclusion
These Lemon Bars are truly a delightful treat that combines the perfect balance of sweetness and tartness. Their bright flavor and lovely texture make them a favorite for any occasion. I encourage you to try making these bars for your next gathering or even just for yourself.
With such simple ingredients and an easy process, there’s no reason not to whip up a batch today. You’ll be glad you did!
Lemon Bars
Ingredients
Equipment
Method
- Preheat oven to 350 degrees F.
- In a large bowl, combine the crust ingredients and use an electric mixer to combine until crumbly. Press the mixture evenly into the bottom of an ungreased 13x9-inch pan. Bake 20 to 25 min., or until lightly browned.
- In a large bowl, combine the filling ingredients using an electric mixer. Pour the filling over the crust. Bake 20 to 25 min., or until the top is light golden brown. Let cool.
- In a small bowl, combine the powdered sugar and enough lemon juice for a desired glaze consistency (probably about 2 1/2 tablespoons). Blend with an electric mixer until smooth. Drizzle over the cooled bars.
- Cut into bars when the glaze is set.
Notes
- Storage: To store leftovers, keep them in an airtight container in the refrigerator. They can last up to a week.
- Freezing: You can freeze Lemon Bars for up to three months. Make sure to wrap them well to prevent freezer burn.
- Variations: Consider adding a touch of zest for an extra lemony flavor or top with fresh berries before serving.
- Serving suggestion: Pair these bars with a nice cup of tea or coffee for a delightful afternoon treat.
- Cutting tips: For clean cuts, use a sharp knife and wipe it clean between slices.