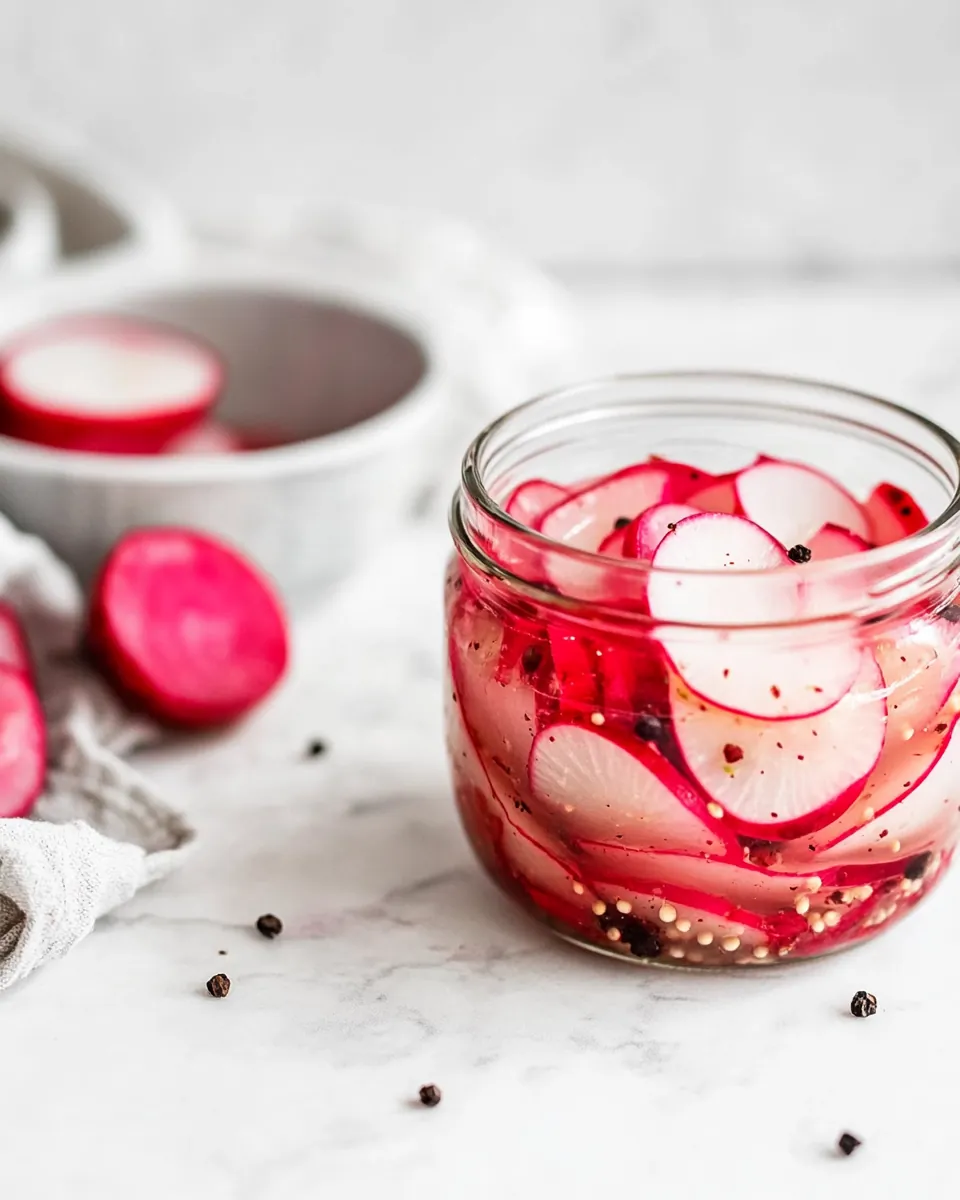
Pickled Radish
There’s something magical about the crunch and tang of Pickled Radish that can elevate any meal. I remember the first time I tried them; they paired perfectly with a simple rice bowl, adding color and flavor that simply made the dish come alive. Making your own pickled radishes at home is a delightful experience – it’s so easy, and the results are incredibly satisfying. The vibrant color, the sharp, zesty bite, and the crispness are all part of the charm. Whether you’re having tacos, salads, or even just snacking on them, Pickled Radish is the ideal companion. It brings a little zing to your palate, transforming ordinary meals into something extraordinary. Plus, knowing that I crafted them from scratch makes each bite even more enjoyable. So let’s dive into this quick and rewarding process of pickling!
Recipe Snapshot
10 mins
5 mins
5 mins
Medium
28 kcal
1 g
Whole30, Vegan, Gluten-Free
0 g
Chef’s Knife, Frying Pan
The Beauty of This Pickled Radish
Flavor Boost
One of the standout features of Pickled Radish is the incredible flavor it adds to any dish. The combination of vinegar, sugar, and salt creates a tangy and sweet profile that complements the natural earthiness of the radish. This balance makes it a perfect condiment for various meals, enhancing even the simplest of dishes.
Health Benefits
Using radishes as a base for pickling is not just delicious, but also a healthy choice. Radishes are low in calories and high in vitamins and minerals. They also offer antioxidants, which are great for boosting your immune system. When you pickle them, you maintain many of these health benefits while adding probiotics from the fermentation process if you allow them to ferment longer.
Customizable Recipe
Another reason to love Pickled Radish is how customizable it is. You can tweak the ingredients based on your preferences. Want it spicier? Add some chili flakes or slices of fresh chili! Prefer a sweeter taste? Increase the sugar. The possibilities are endless, and that’s the beauty of pickling at home. You can create a version of this dish that’s uniquely yours.
Quick and Easy
Don’t be intimidated by the idea of pickling. This recipe is incredibly straightforward and quick to prepare. In just a few minutes, you can have your radishes soaking in a delightful brine. It’s a perfect introduction to pickling for beginners who want to start experimenting with preservation techniques.
Storage and Longevity
Once prepared, Pickled Radish can last in the refrigerator for several weeks. This longevity means you can make a batch ahead of time and always have a flavorful addition ready for your meals. It’s a convenient way to reduce food waste and enjoy fresh flavors all year round.
What Goes Into Pickled Radish
The ingredients in Pickled Radish create a harmonious balance that’s essential for effective pickling. The key players include white vinegar, which provides the tang; water, which dilutes the vinegar; sugar, which adds a hint of sweetness; and salt, which enhances flavor and preservation. Lastly, the radishes themselves are the stars, bringing crunch and freshness to this delightful dish.
- 1 cup white vinegar: This provides the essential tanginess in the pickle brine. It helps to preserve the radishes while infusing them with flavor.
- 1 cup water: Used to dilute the vinegar, ensuring the pickling solution isn’t overly strong. It balances out the acidity.
- 2 tablespoons granulated sugar: This sweetens the brine, balancing the sourness of the vinegar and adding depth to the flavor.
- 1½ teaspoons salt: Vital for enhancing the overall taste and helping with the preservation process.
- ½ teaspoon whole peppercorns (optional): These add a subtle spiciness to the brine, enriching the flavor profile.
- ½ teaspoon mustard seeds (optional): Adds a slight tang and complexity to the pickling mixture.
- 1 bunch of radishes, thinly sliced: The main ingredient, offering crunch and a peppery flavor that’s enhanced by the pickling process.
How to Prepare Pickled Radish
Preparing Pickled Radish is not only simple but also an enjoyable experience. With just a few steps, you’ll have a tangy treat ready to enhance your meals. Let’s walk through the process together, and soon you’ll be savoring the deliciousness of your homemade pickles.
Start by gathering all your ingredients. It’s essential to have everything ready before you start. Combine 1 cup white vinegar, 1 cup water, 2 tablespoons granulated sugar, and 1½ teaspoons salt in a medium saucepan. This mixture will be your brine.
Heat the saucepan over medium heat. Stir occasionally as the mixture warms. You want to dissolve the sugar and salt completely. Look for the moment when the brine starts to bubble slightly, indicating it’s hot but not boiling.
Once dissolved, remove the pan from the heat and add in the optional ingredients: ½ teaspoon whole peppercorns and ½ teaspoon mustard seeds. These will infuse the brine with an extra layer of flavor. Allow the brine to cool slightly for about 5 to 10 minutes.
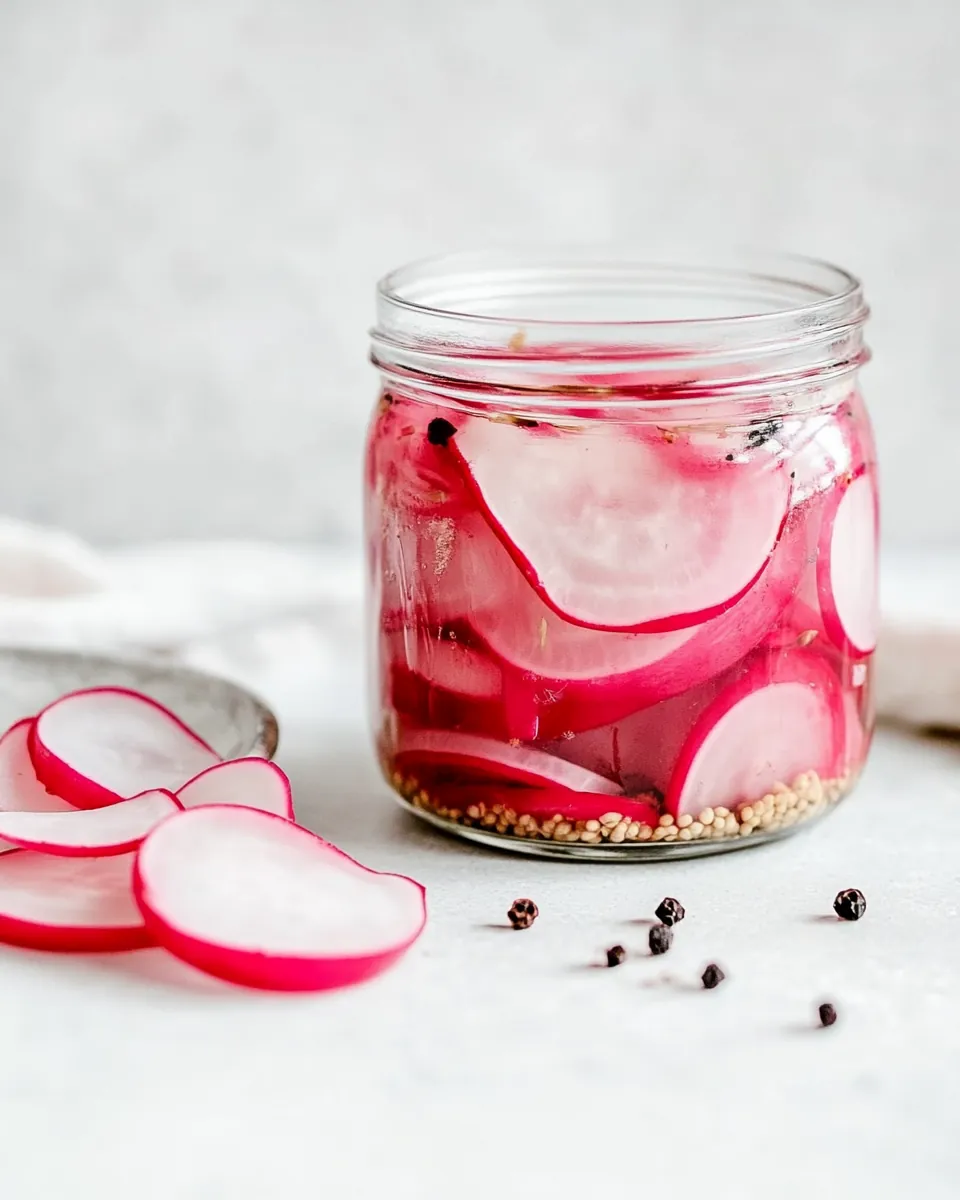
While your brine is cooling, prepare your radishes. Wash them thoroughly and slice them thinly. This cut will ensure they soak up the brine effectively, leading to a more flavorful pickle.
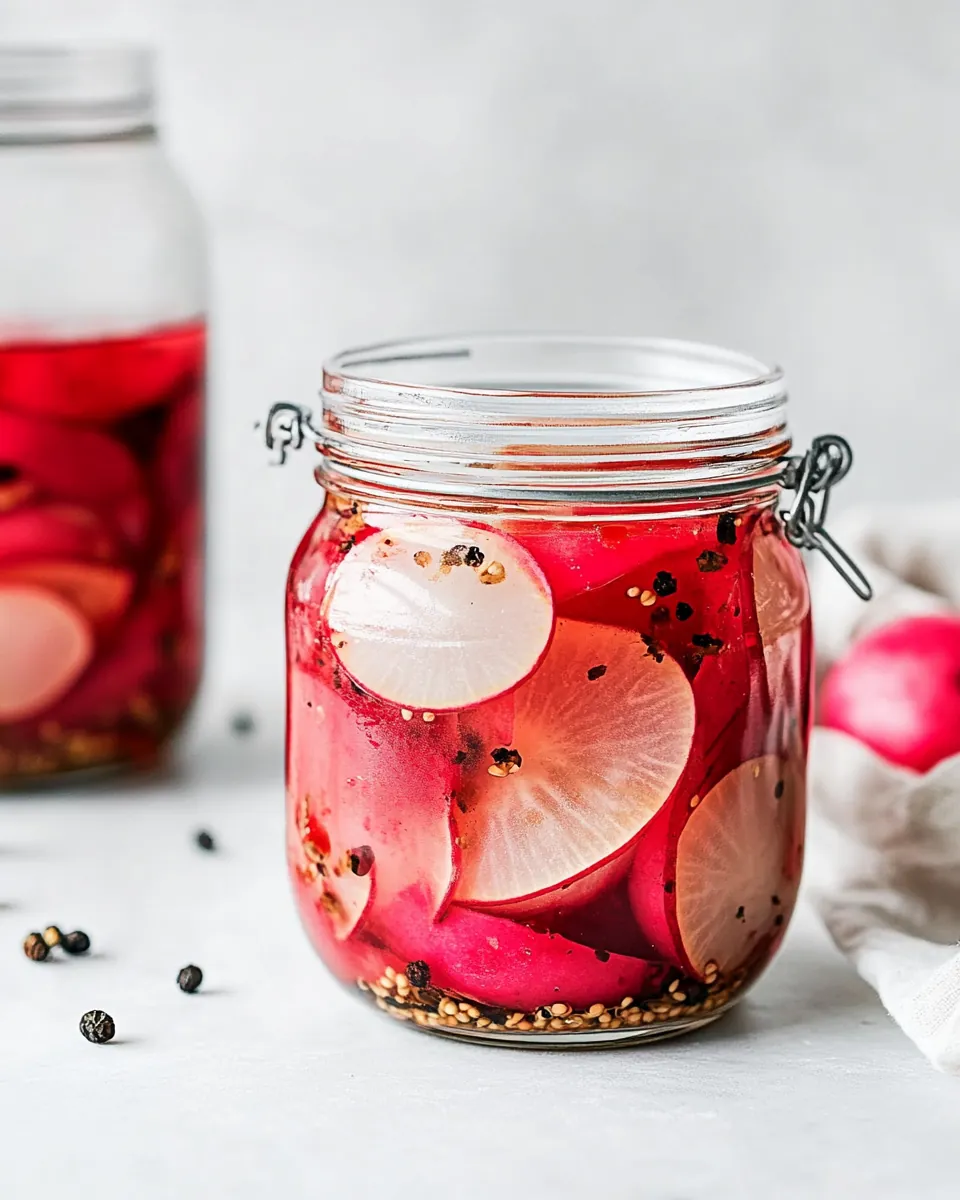
Next, take a clean jar and place the sliced radishes inside. Pack them in tightly but not so much that they’re crushed. You want them to have space to absorb the brine.
Once the brine has cooled to a comfortable temperature, pour it over the radishes. Make sure they are fully submerged. The brine should cover the vegetables entirely to ensure even pickling.
Allow the jar to cool to room temperature. This step is crucial for ensuring the pickles develop the right flavor. Once cooled, cover the jar tightly with a lid.
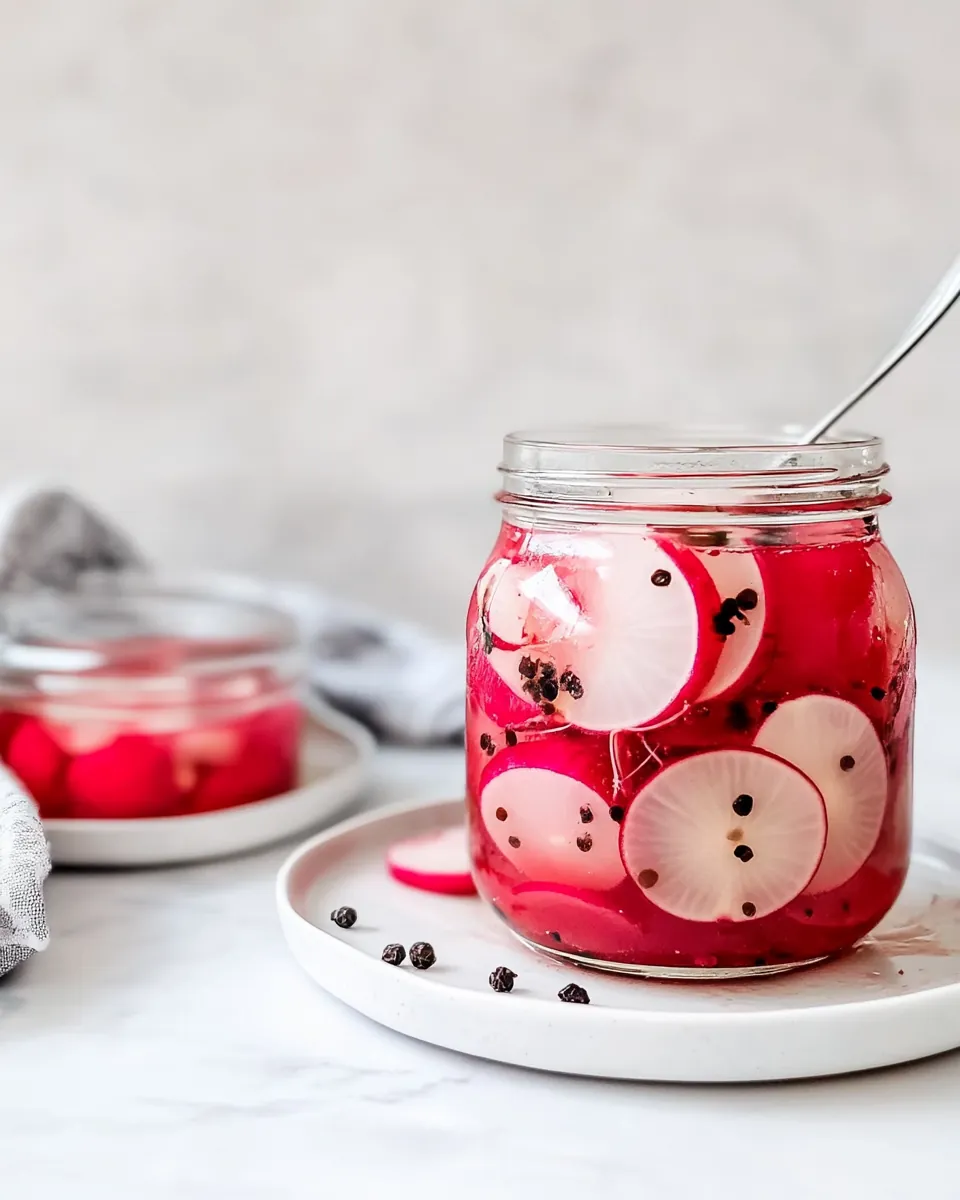
Refrigerate the jar of pickled radishes. They will be ready to eat after about 1 hour but can be left longer for a more intense flavor. The longer they sit, the more flavor they absorb.
Enjoy your homemade Pickled Radish as a side dish, atop salads, or as a spicy snack. They’re sure to impress!
Things Worth Knowing
- Use Fresh Radishes: The crunchiness of fresh radishes makes all the difference. Avoid using old or wilted radishes for pickling.
- Experiment with Spices: Feel free to play around with different spices like garlic, dill, or coriander to create unique flavors.
- Jarring Method: Always use a clean jar to prevent any contamination. Sterilize it beforehand if you plan to store them for longer.
- Brine Temperature: Don’t pour boiling brine directly over the radishes. Let it cool slightly to avoid cooking them.
Make It Your Own
Customization is key when it comes to making Pickled Radish your way. Here are some tips to help you adjust the recipe to your liking:
- Storage: Store your pickled radishes in the refrigerator for up to 2 weeks. Ensure they are submerged in brine to maintain freshness.
- Freezing: Pickled radishes are not ideal for freezing due to the texture changes, but they can last in the fridge for several weeks.
- Pairing: Serve your pickled radishes with heavy dishes like tacos or fried rice to cut through the richness.
- Spice It Up: Want a kick? Add sliced jalapeños or red pepper flakes to your brine for extra heat.
- Sweet Variations: Increase the sugar for a sweeter pickle. You can also try alternative sweeteners like honey or agave.
- Use Other Vegetables: Don’t limit yourself to radishes. This brining method works well with cucumbers, carrots, or even onions!
Accompaniments for Pickled Radish
There are countless ways to enjoy your Pickled Radish. Here are some suggestions for serving them:
- Tacos: Add pickled radishes to your tacos for a refreshing crunch that complements the savory flavors.
- Salads: Toss them into green salads or grain bowls for an added layer of flavor.
- Sandwiches: Use them in sandwiches or wraps for a zesty punch that cuts through richer ingredients.
- Rice Dishes: Pair them with rice dishes; their acidity balances the starch beautifully.
- Picnics: They make a great addition to picnic spreads, offering a crunchy, tangy contrast to meat dishes.
- Holiday Dinners: Serve alongside holiday meals as a palate cleanser between rich dishes.
FAQ
Conclusion
The special blend of flavors in Pickled Radish makes it a must-try for anyone looking to enhance their meals. It’s an easy and rewarding recipe that guarantees a burst of flavor with every bite. I encourage you to give it a try—you’ll be amazed at how simple it is to create this zesty treat at home!
Pickled Radish
Ingredients
Equipment
Method
- Start by gathering all your ingredients. It’s essential to have everything ready before you start. Combine 1 cup white vinegar, 1 cup water, 2 tablespoons granulated sugar, and 1½ teaspoons salt in a medium saucepan. This mixture will be your brine.
- Heat the saucepan over medium heat. Stir occasionally as the mixture warms. You want to dissolve the sugar and salt completely. Look for the moment when the brine starts to bubble slightly, indicating it's hot but not boiling.
- Once dissolved, remove the pan from the heat and add in the optional ingredients: ½ teaspoon whole peppercorns and ½ teaspoon mustard seeds. These will infuse the brine with an extra layer of flavor. Allow the brine to cool slightly for about 5 to 10 minutes.
- While your brine is cooling, prepare your radishes. Wash them thoroughly and slice them thinly. This cut will ensure they soak up the brine effectively, leading to a more flavorful pickle.
- Next, take a clean jar and place the sliced radishes inside. Pack them in tightly but not so much that they’re crushed. You want them to have space to absorb the brine.
- Once the brine has cooled to a comfortable temperature, pour it over the radishes. Make sure they are fully submerged. The brine should cover the vegetables entirely to ensure even pickling.
- Allow the jar to cool to room temperature. This step is crucial for ensuring the pickles develop the right flavor. Once cooled, cover the jar tightly with a lid.
- Refrigerate the jar of pickled radishes. They will be ready to eat after about 1 hour but can be left longer for a more intense flavor. The longer they sit, the more flavor they absorb.
- Enjoy your homemade Pickled Radish as a side dish, atop salads, or as a spicy snack. They’re sure to impress!
Notes
- Tip 1: Store your pickled radishes in the refrigerator for up to 2 weeks. Ensure they are submerged in brine to maintain freshness.
- Tip 2: Pickled radishes are not ideal for freezing due to the texture changes, but they can last in the fridge for several weeks.
- Tip 3: Serve your pickled radishes with heavy dishes like tacos or fried rice to cut through the richness.
- Tip 4: Want a kick? Add sliced jalapeños or red pepper flakes to your brine for extra heat.
- Tip 5: Increase the sugar for a sweeter pickle. You can also try alternative sweeteners like honey or agave.
- Tip 6: Don’t limit yourself to radishes. This brining method works well with cucumbers, carrots, or even onions!