Start by gathering all your ingredients. It’s essential to have everything ready before you start. Combine 1 cup white vinegar, 1 cup water, 2 tablespoons granulated sugar, and 1½ teaspoons salt in a medium saucepan. This mixture will be your brine.
Heat the saucepan over medium heat. Stir occasionally as the mixture warms. You want to dissolve the sugar and salt completely. Look for the moment when the brine starts to bubble slightly, indicating it's hot but not boiling.
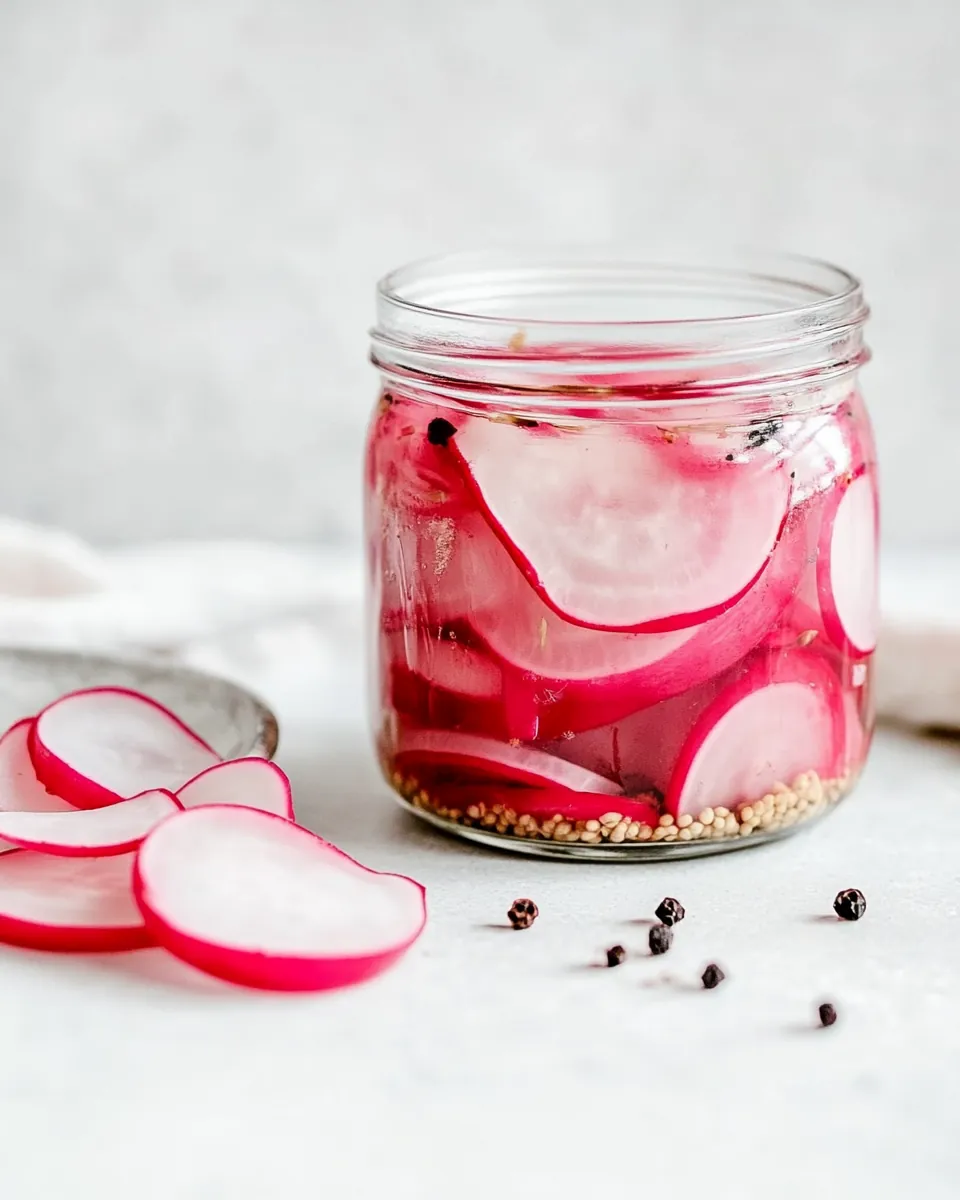
Once dissolved, remove the pan from the heat and add in the optional ingredients: ½ teaspoon whole peppercorns and ½ teaspoon mustard seeds. These will infuse the brine with an extra layer of flavor. Allow the brine to cool slightly for about 5 to 10 minutes.
While your brine is cooling, prepare your radishes. Wash them thoroughly and slice them thinly. This cut will ensure they soak up the brine effectively, leading to a more flavorful pickle.
Next, take a clean jar and place the sliced radishes inside. Pack them in tightly but not so much that they’re crushed. You want them to have space to absorb the brine.
Once the brine has cooled to a comfortable temperature, pour it over the radishes. Make sure they are fully submerged. The brine should cover the vegetables entirely to ensure even pickling.
Allow the jar to cool to room temperature. This step is crucial for ensuring the pickles develop the right flavor. Once cooled, cover the jar tightly with a lid.
Refrigerate the jar of pickled radishes. They will be ready to eat after about 1 hour but can be left longer for a more intense flavor. The longer they sit, the more flavor they absorb.
Enjoy your homemade Pickled Radish as a side dish, atop salads, or as a spicy snack. They’re sure to impress!