Ingredients
Equipment
Method
- In a large mixing bowl, combine the milk and white chocolate pudding mix. Use a whisk or electric mixer to beat the mixture until it is smooth and well blended. Look for a creamy consistency that’s free of lumps, which will ensure a silky texture for your dip.
- Add the granulated sugar and vanilla extract to the pudding mixture. Mix until fully combined, making sure everything is well incorporated to achieve an even sweetness throughout the dip.
- Reserve ¼ cup of the pudding mixture for later use. This reserved portion will be used for a decorative topping, giving your dip a beautiful swirl effect.
- Stir in the orange food coloring until the desired shade is achieved. You can adjust the amount based on how vibrant you want your dip to appear. A rich orange reminiscent of fall is ideal!
- Gently fold the thawed whipped topping into the pudding mixture. Be careful not to deflate the whipped cream; the goal is to maintain that fluffy texture that gives the dip its lightness.
- Transfer the mixture to your serving dish, spreading it evenly to create a smooth surface. This step is important for ensuring an even distribution of flavors.
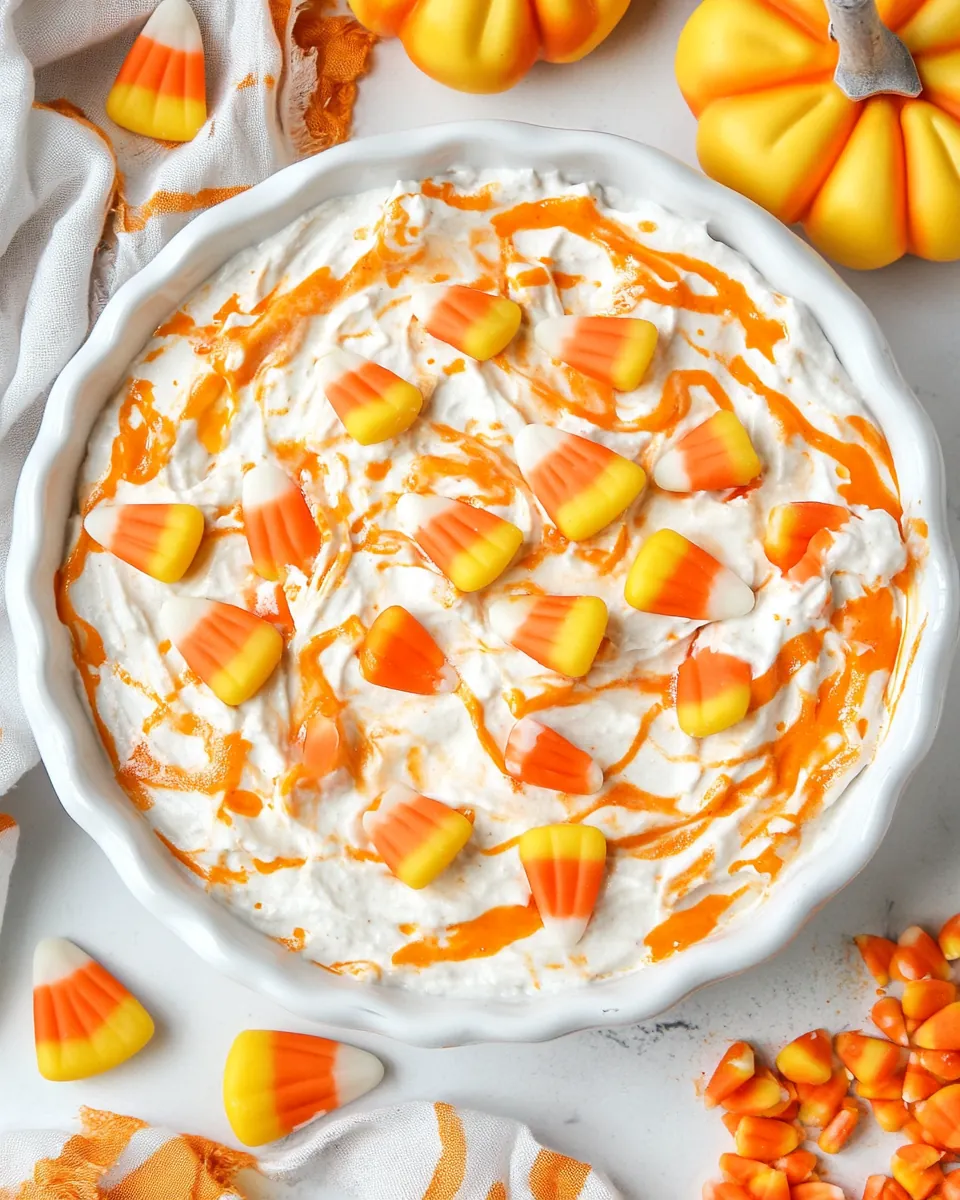
- Dollop the reserved pudding on top of the dip. Use a toothpick to swirl it gently into the dip for a decorative effect. This little detail enhances the visual appeal and adds a touch of elegance.
- Garnish with candy corn and sprinkles if desired. The final touch not only makes it festive but adds delightful sweetness and crunch.
- Serve immediately with your choice of cookies, Nilla wafers, graham crackers, or sliced fruit. If you prefer, you can refrigerate it until you’re ready to serve—just remember to cover it to prevent it from drying out.
Notes
Store any leftovers in an airtight container in the refrigerator. Enjoy within three to five days for the best taste.