Unroll a 2 foot sheet of plastic wrap or saran wrap. This will serve as a barrier for the foam core, preventing the donut holes from directly touching it. Don’t worry about perfection; just cover the foam core.
Place the wrapped foam core onto a serving platter or cake stand of your choice. To ensure stability, I recommend taping down the foam core securely with tape underneath it.
Take a toothpick and insert it about ¾-inch above the base of the foam core, pushing it in halfway. This will hold your donut holes in place.
Press a donut hole onto the toothpick, making sure it fits snugly. Repeat this process around the perimeter of the foam core, creating a ring of sweetness.
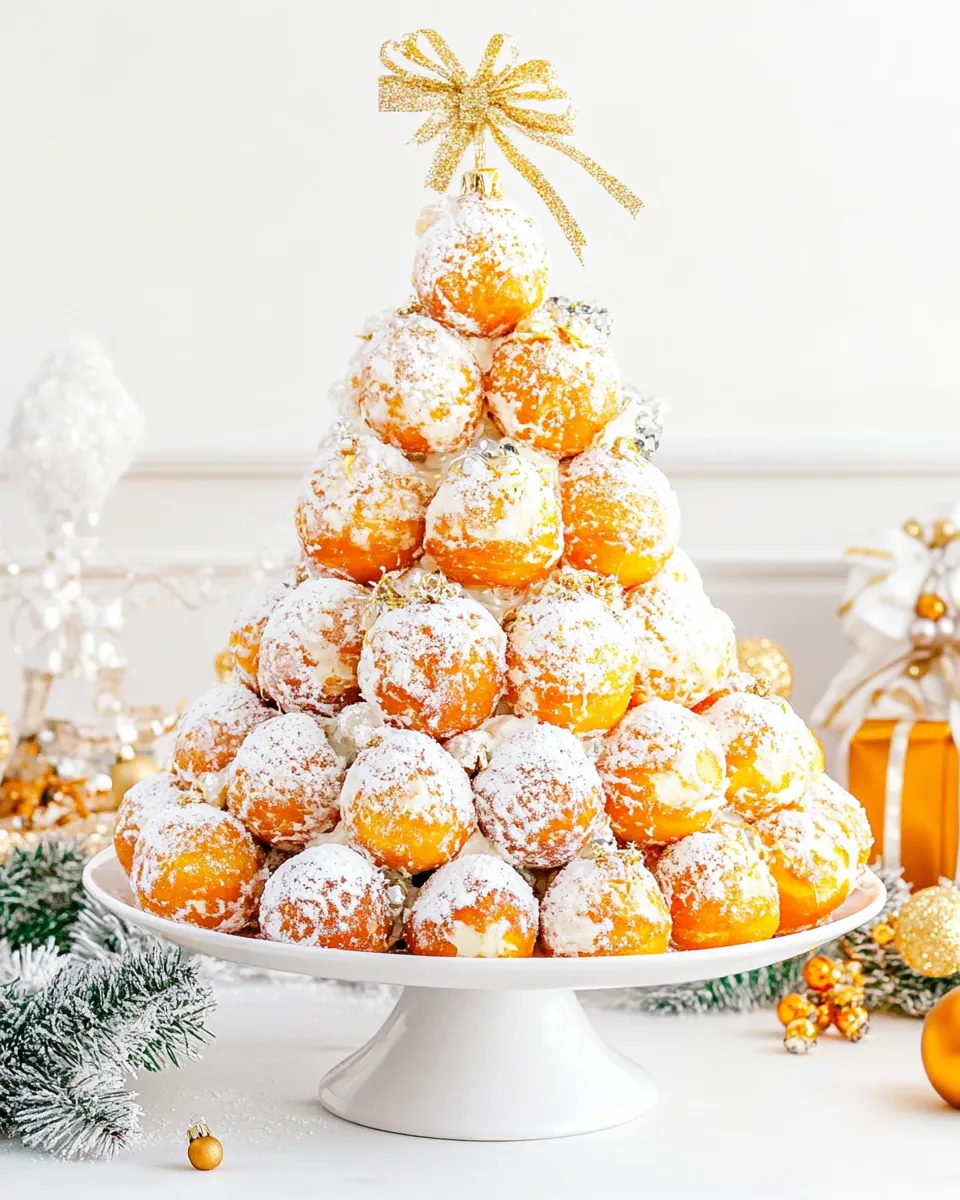
Continue adding donut holes in a circular pattern as you move up the foam core. This layering effect will help build the height of your tree.
Once you reach the top, ensure the entire foam core is covered with donut holes. If there are any gaps, you can fill them in with additional donut holes.
For added creativity, insert about 12 toothpicks partially into the foam core to hold mini marshmallows. This will create a whimsical look reminiscent of ornaments.
Add a mini marshmallow to each of these toothpicks. This not only enhances the visual appeal but also adds a delightful taste contrast.
Optionally, tuck small segments of fresh rosemary into the tree. This step is great for those who enjoy the aromatic touch of rosemary. However, if you prefer a pure sweet flavor, feel free to skip this.
Using a small sifter or fine mesh sieve, evenly dust the entire tree with confectioners’ sugar until it resembles a snowy wonderland.
Serve your Donut Hole Christmas Tree immediately! Keep in mind that donut holes tend to lose their freshness quickly, so it's best enjoyed within 3 to 4 hours.
If you have leftovers, place them in an airtight container to preserve their softness for a little while longer.