Ingredients
Equipment
Method
- Start by patting the chicken dry on all sides with paper towels. You want the skin to be as dry as possible before seasoning it. This step is crucial because moisture can lead to a soggy skin, which we definitely want to avoid.
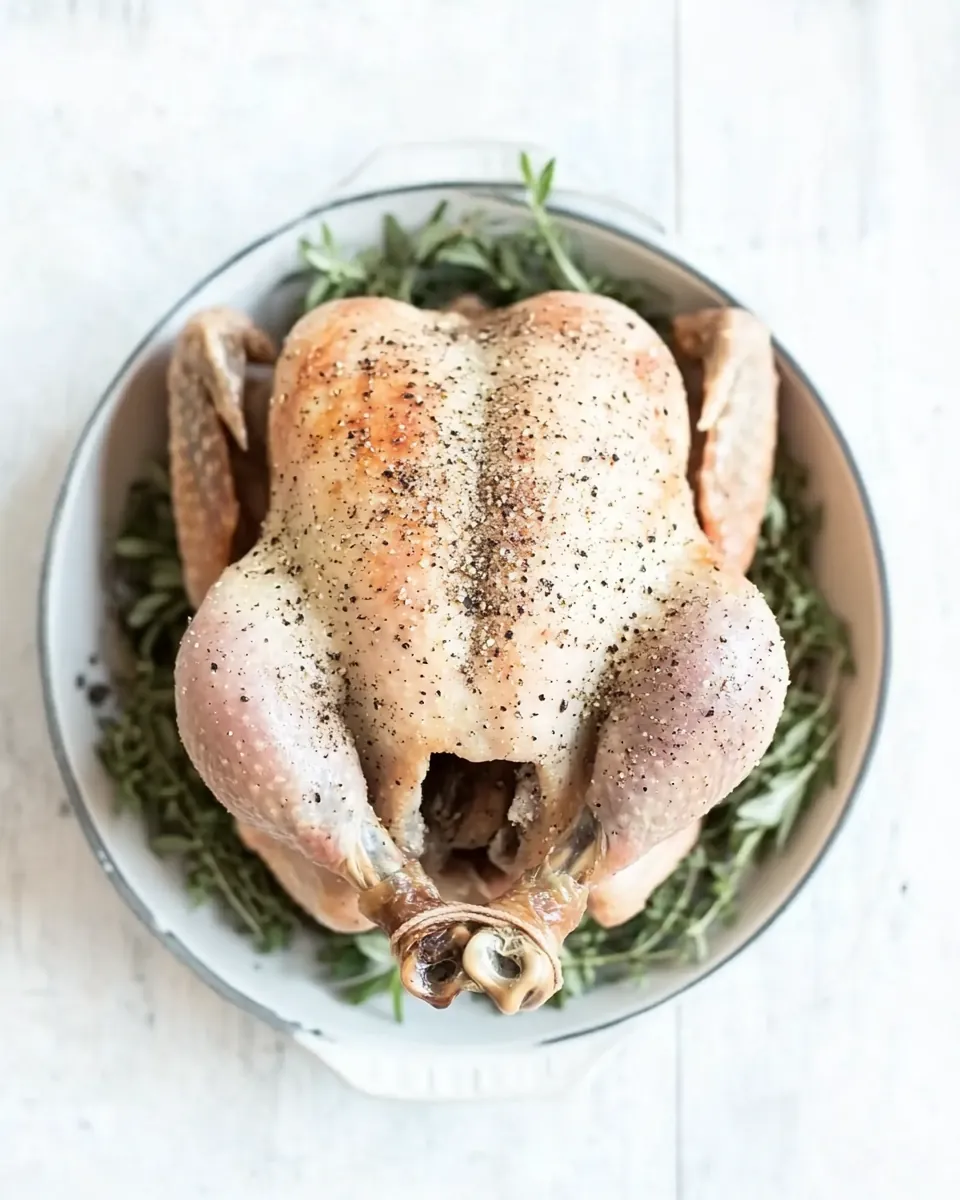
- Next, place the chicken on a rack over a sheet tray or plate. This allows the air to circulate around the bird, ensuring even drying. Now, generously season all sides and the inside cavity of the chicken with the salt and pepper. Don’t be shy – a good coating is key!
- Feel free to rub the seasoning into the skin and cavity to ensure it's well-distributed. This is where the magic begins! The salt will start to draw out moisture and create its brine.
- Now comes the waiting game. Put the chicken on the rack in the fridge, uncovered, for at least 4 hours, but ideally 24 hours. This step is vital for allowing the flavors to meld and for the skin to dry out.
- Once the chicken has been dry brined, remove it from the fridge. At this point, you can choose your cooking method: roast, sear, grill, or even smoke it. Each method will yield delicious results.
Notes
- Tip 1: One of the most important lessons I’ve learned from dry brining poultry is not to rush the process. After massaging the seasonings into the meat, I leave the chicken to dry brine for a minimum of 4 hours or a maximum of 24 hours. This gives the salt and pepper plenty of time to work their way into the meat and deliver the most flavorful, succulent bird.
- Tip 2: The amount of salt you use will depend on the weight of the chicken. I always aim for about 1 teaspoon of kosher salt per pound of chicken. This keeps the balance of flavors just right, whether you’re brining a whole bird or individual pieces.
- Tip 3: If the chicken skin is rubbery after cooking, this means it likely wasn’t dry going into the oven. Always pat the raw chicken dry with paper towels before seasoning, and keep the chicken uncovered and on a wire rack set over a sheet tray while brining to help the air circulate.
- Tip 4: Rinsing washes away the flavor and risks spreading bacteria around your sink.
- Tip 5: The seasoned chicken can be left in the fridge to brine for up to 24 hours before cooking.
- Tip 6: After cooking, let the chicken cool to room temperature, then store it in an airtight container in the fridge for up to 4 days or in the freezer for up to 3 months.
- Tip 7: Add the leftover chicken to a baking dish with a splash of water or broth, cover it with foil, and bake at 350ºF for 20 to 30 minutes or until it’s warmed through.