Preheat your oven to 180° C/356° F, fan assisted. It's important to have your oven ready so that the bread bakes evenly and achieves that beautiful golden color we all love.
In a mixing bowl, combine granulated sugar, full fat milk, and active dry yeast. Mix these ingredients with a hand whisk and set aside for 5 minutes. This step is crucial as it allows the yeast to activate, ensuring your bread will rise beautifully.
After 5 minutes, add all-purpose flour, butter, egg yolks, salt, ground cinnamon, and ground cloves to the mixture. Beat on medium speed using the whisk attachment until you create a smooth dough. You should see the dough pulling away from the sides of the bowl, which indicates it's ready.
Transfer your dough to a bowl that has been brushed with extra virgin olive oil. Make sure to cover the bowl with cling film and set it aside in a warm place for 45 minutes to rise. The dough should double in size, becoming light and fluffy.
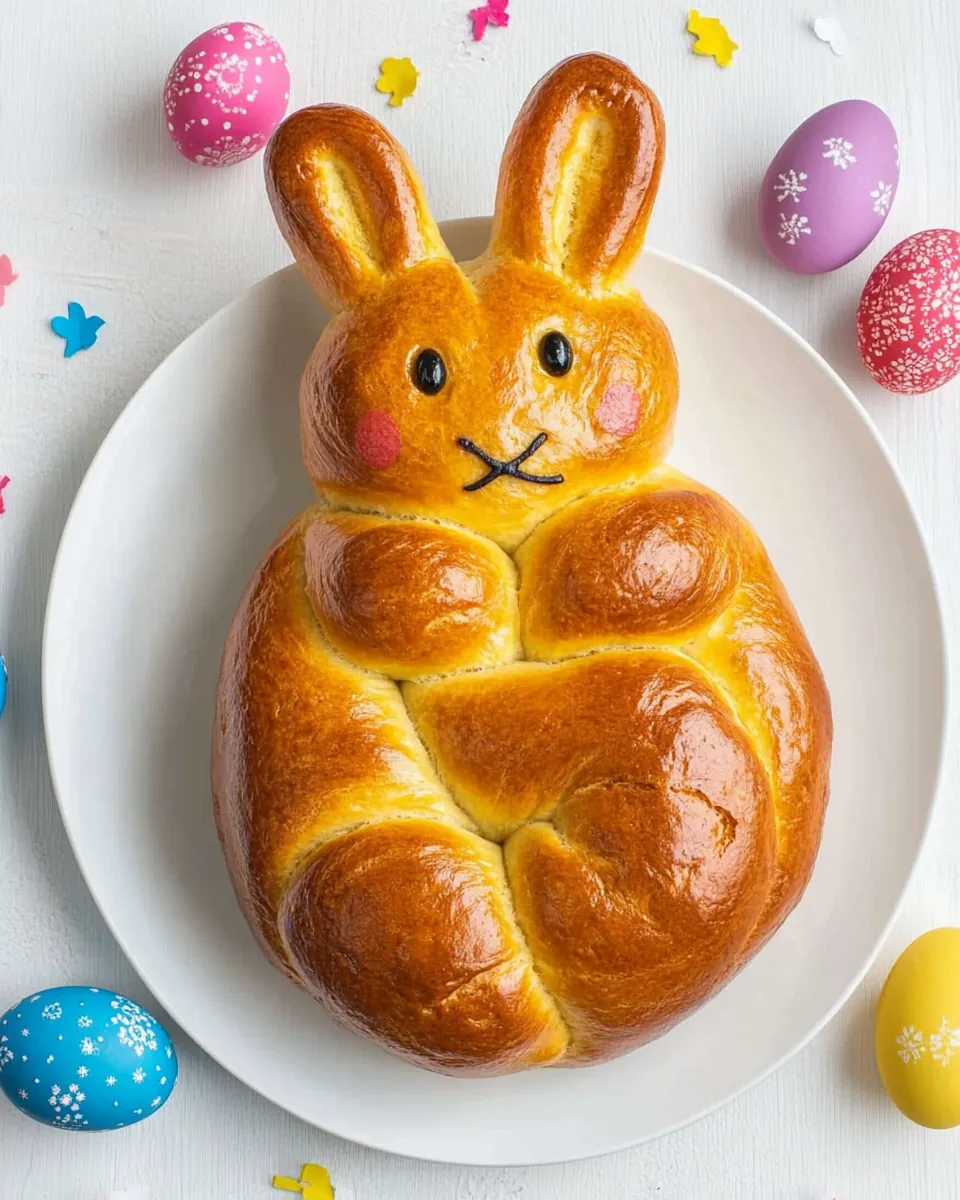
Once the dough has risen, it’s time to shape the Easter bunny. Divide the dough into 8 pieces: one large piece for the body, one smaller piece for the head, and six even smaller pieces for the hands, feet, and ears. This is where the fun begins! Shape each piece into round balls, making sure they’re well-formed.
Place the large ball of dough into a baking pan as the body. Next, position the smaller ball on top as the head. Arrange four smaller balls around the sides of the body to create the hands and legs, and shape the last two small balls into bunny ears, placing them on top of the head. This step is where your bunnies come to life!
To give your bunnies some personality, use raisins for eyes and an almond for the mouth. Repeat this process for each bunny you’ve shaped; the more bunnies, the more smiles!
Brush the dough with the egg wash you prepared earlier. This will give your bunnies a beautiful golden finish as they bake.
Finally, bake your bunny bread in the preheated oven for 15 to 20 minutes. Keep an eye on them; they should turn a lovely golden brown. Once they’re out of the oven, let them cool slightly before serving. The aroma will be irresistible!