Go Back
Green Goddess Cheese Ball

Green Goddess Cheese Ball

Indulge in the creamy richness of the Green Goddess Cheese Ball, where fresh herbs meet delightful cheeses. Perfect for any gathering, this easy-to-make dish will have your guests coming back for more. Try it tonight!
Prep Time 15 minutes
Total Time 15 minutes
Servings: 8 servings
Course: Appetizers
Cuisine: American
Calories: 120

Ingredients
  

  • 2 blocks cream cheese 8-ounce, softened
  • 2 cups white cheddar cheese finely grated
  • 2 tablespoons parmesan cheese finely grated
  • 1/2 cup fresh parsley chopped
  • 1/4 cup fresh basil chopped
  • 2 tablespoons fresh oregano chopped
  • 1/2 teaspoon garlic powder
  • 1/4 teaspoon salt
  • 1/4 teaspoon pepper
  • 2 tablespoons pecans chopped
  • 1 whole pecan for topping
  • 3 tablespoons chives chopped

Equipment

  • Food Processor
  • Grater
  • Blender
  • Chef's Knife
  • Mixing Bowl

Method
 

  1. Start by placing the cream cheese in the bowl of your food processor. Blend it until creamy, ensuring there are no lumps. This will be the base of your Green Goddess Cheese Ball, so take your time to get it nice and smooth.
  2. Next, add in the white cheddar cheese and parmesan cheese. Pulse them together until they are fully incorporated. You want to see a beautiful, creamy blend that combines all those cheesy flavors.
  3. Now, toss together the chopped parsley, basil, and oregano with the chives. Set aside about 2 tablespoons of this mixture to coat the cheese ball later.
  4. Add the majority of the herb mixture into the food processor. Along with that, include the garlic powder, salt, and pepper. Blend until everything is combined and you can see the herbs throughout the cheese mixture. The color should be a lovely green hue.
  5. Using a spatula, scoop out the mixture from the food processor. You can place it onto a piece of plastic wrap for easier shaping. Wrap it up tightly, forming it into a ball or a tree shape, depending on your preference.
  6. Chill the wrapped cheese ball in the refrigerator for 30 minutes. This helps it firm up, making it easier to handle and shape.
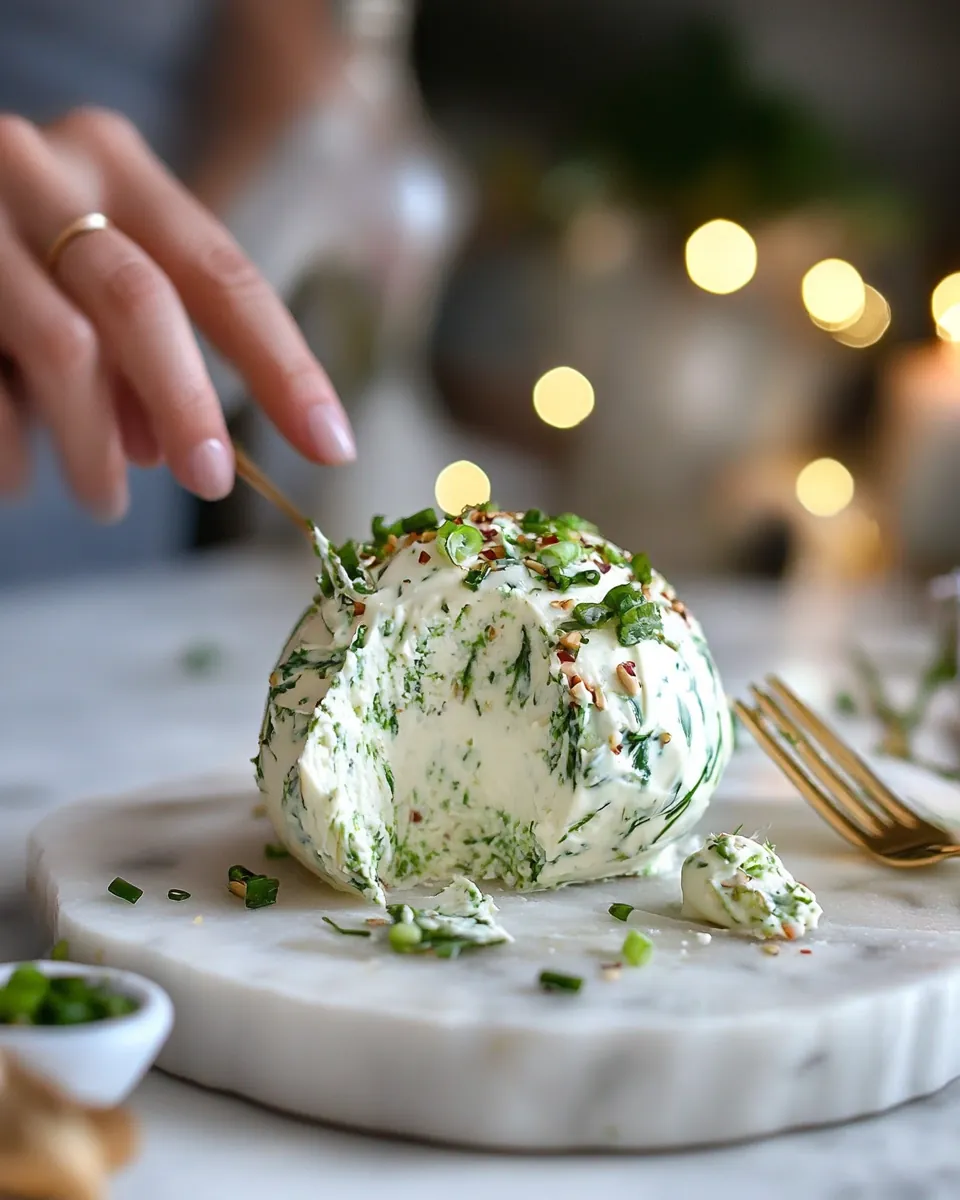
  7. After the chilling time, unwrap the cheese ball. Roll it in the reserved herb and pecans mixture to coat the outside. This adds flavor and a bit of crunch.
  8. If you’ve made the cheese ball a few days in advance, you can place it back in the wrap depending on how long you plan to keep it. Otherwise, transfer it to a serving plate.
  9. Before serving, place a whole pecan on top for decoration. It makes the cheese ball look even more inviting!
  10. Finally, serve the Green Goddess Cheese Ball with an assortment of crackers, pretzels, pita chips, or fresh veggies. Enjoy the compliments!

Notes

  • Storage: Store leftovers in an airtight container in the fridge for up to three days. This keeps it fresh and ready to enjoy anytime.
  • Freezing: You can freeze the cheese ball for up to a month. Just wrap it tightly to prevent freezer burn and thaw in the fridge before serving.
  • Pairing: This cheese ball pairs beautifully with a variety of accompaniments. Try it with fresh baguette slices, vegetable sticks, or even apple slices for a refreshing twist.
  • Variations: Feel free to experiment with different cheeses or herbs to make it your own. Add a hint of spice with chili flakes or mix in some roasted garlic for a unique flavor.
  • Presentation: For a stunning display, serve on a wooden board with assorted crackers, nuts, and fruits surrounding the cheese ball.