Four days before you plan to roast the turkey, begin by mixing the herbs and olive oil in a small bowl. This mixture will serve as a marinade that penetrates the meat, enhancing the flavor.
Remove the neck and giblets from the turkey and reserve them for stock, if desired. Loosening the skin around the shoulders and cavity of the turkey allows the herb rub to seep into the meat.
Carefully slide your hands underneath the skin to loosen it from the breast, thighs, and drumsticks. This step is crucial; it ensures the herb and oil mixture can reach the meat directly.
Combine the olive oil and herbs, then rub this mixture generously on the meat beneath the skin. Pat the skin back into place gently, ensuring that the rub remains in contact with the turkey.
Next, rub the kosher salt both inside the cavity and on the skin. This step is vital for flavoring the turkey. It will draw moisture out and help create a juicy bird.
Tuck the wing tips behind the neck and tie the legs together with kitchen twine for tidiness. This helps the turkey cook evenly.
Put the turkey in a large food-safe plastic bag (like a turkey-size roasting bag) and secure it tightly. To ensure thorough brining, place the bag inside a second bag and tie it securely.
For days 1 to 3, place the turkey on a rimmed baking sheet in the refrigerator, turning it over every day to help distribute the brine.
On day 4, take the turkey out of the bags and pat it dry with paper towels. This step is essential for achieving a crispy skin later on.
Transfer the turkey to a large roasting pan and refrigerate it unwrapped overnight to let it air-dry. This will help achieve a beautiful golden skin.
The next day, let the turkey temper on the counter for about 1 to 3 hours before roasting. This will help it cook evenly.
Preheat the oven to 350°F in convection roast setting. Position a rack in the bottom third of the oven for optimal heat circulation.
If using a probe, insert the thermometer into the thickest part of the thigh, ensuring it doesn’t touch the bone. Set the temperature to 170°F.
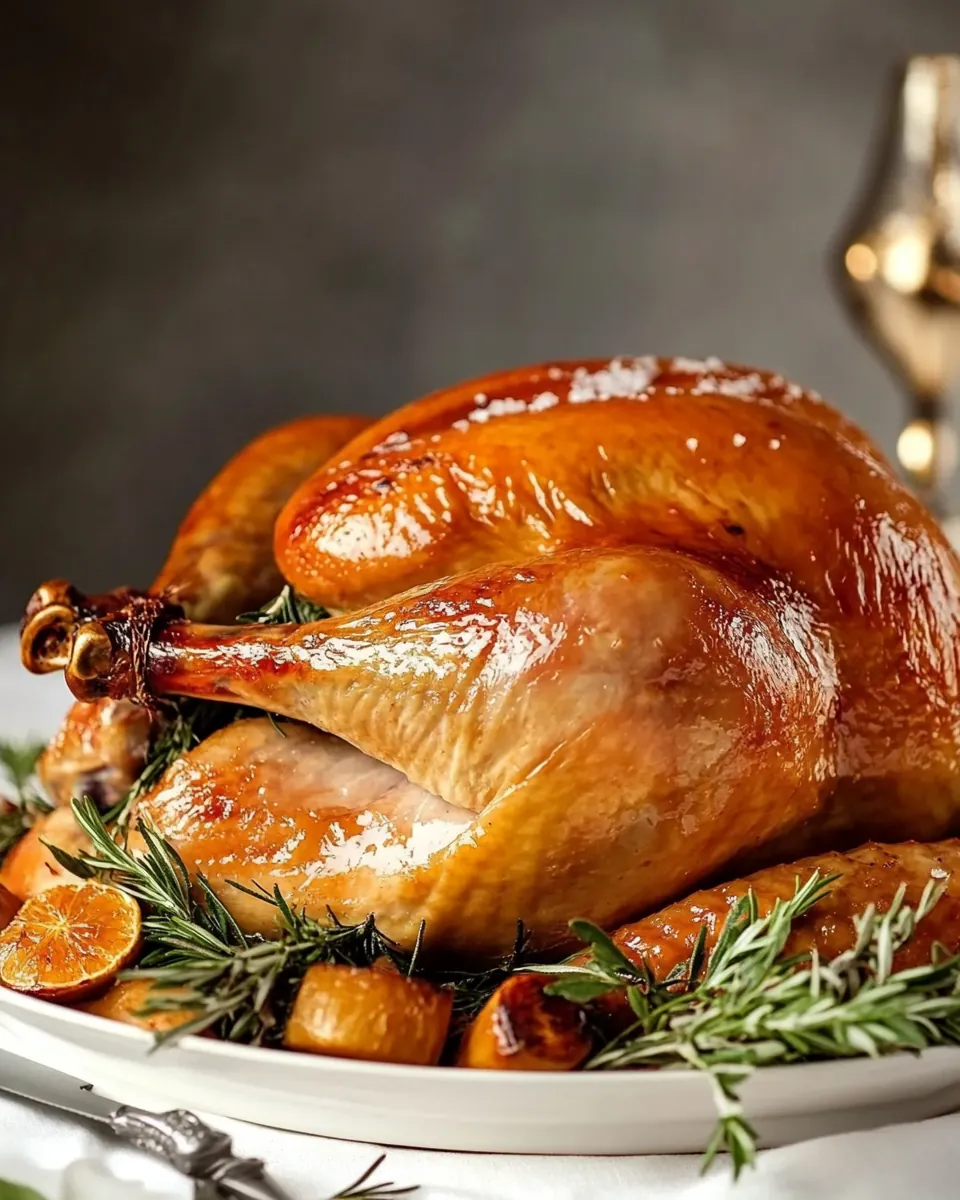
Roast the turkey until the temperature registers 170°F in the thickest part of the thigh, which will take about 1 to 2 hours, depending on the size of your turkey. Let it rest for 30 minutes before carving to allow the juices to settle back into the meat.
To achieve a perfect roast, after one hour, reduce the oven temperature to 325°F and continue to roast until the temperature reaches 170°F.
Once done, let the turkey rest for another 30 minutes before carving, allowing for the juices to redistribute and giving you a beautifully moist turkey.