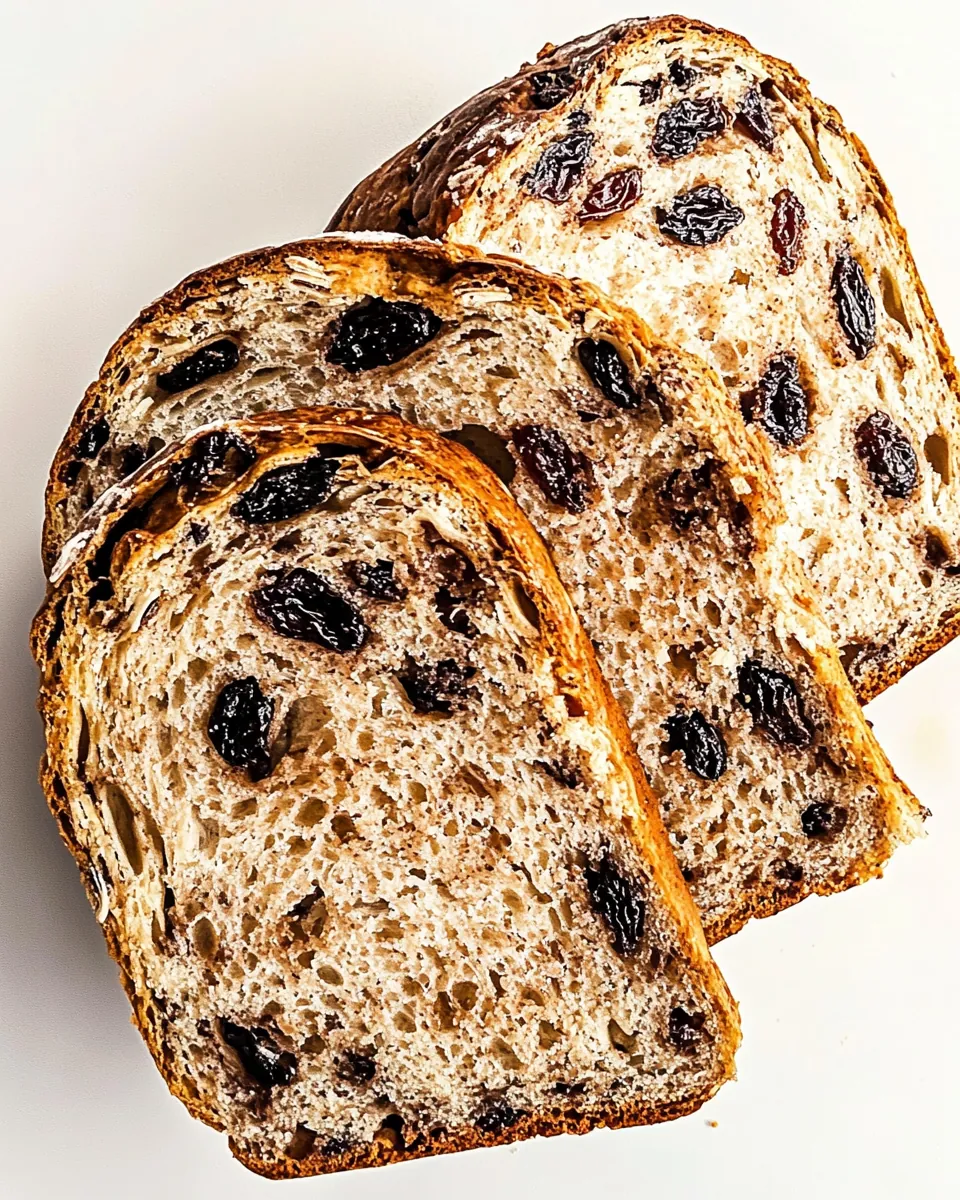
In a big bowl, mix together the flour, salt, yeast, cinnamon, and raisins. Use a whisk to ensure everything is evenly combined. This mix will form the base of your dough, so it’s important to get it right from the beginning.
Slowly pour the lukewarm water into the bowl. Using a spatula or a wooden spoon, gently mix the ingredients until they are well incorporated. The dough will be sticky and shaggy, which is perfectly normal! You don’t have to activate the yeast beforehand as it will do its magic during the rising process.
Cover the bowl tightly with plastic wrap and let it sit at room temperature for 12 to 18 hours. The longer you let it rise, the better the flavor will develop. This is where the magic happens!
After the rising time is up, preheat your oven to 450°F. Place your cast iron pot in the oven as it heats up. The pot needs to be extremely hot to create a beautiful crust.
Once the oven is preheated, carefully remove the pot using oven mitts. Remove the lid and set it aside. Be cautious as it will be very hot!
Flour your hands generously and sprinkle some flour over the dough. Gently remove the dough from the bowl and place it on a well-floured work surface. Flatten the dough slightly and sprinkle the brown sugar over it.
Fold the dough over itself a few times to mix in the brown sugar. Form the dough into a ball, using more flour if necessary to prevent sticking. This shaping step is crucial for achieving that round loaf shape.
Place the dough ball onto a piece of parchment paper. The parchment will make it easier to transfer the dough into the hot pot.
Using the parchment paper, lift the ball of dough and drop it into the hot cast iron pot. Cover it with the lid and place it back in the oven.
Bake for 30 minutes with the lid on. This steam creates a lovely crust. After 30 minutes, carefully remove the lid and bake for an additional 15 to 20 minutes, or until the bread is golden brown. You’ll know it’s done when it has a beautiful color and sounds hollow when tapped.
Finally, remove the bread from the pot; it should fall out easily. Let it cool completely on a wire rack before slicing. Slicing too soon will result in a gummy texture, so patience is key!