Ingredients
Equipment
Method
- Preheat your oven to 350°F. Grab a 9-inch pie dish and spray it generously with cooking spray to prevent sticking; set it aside.
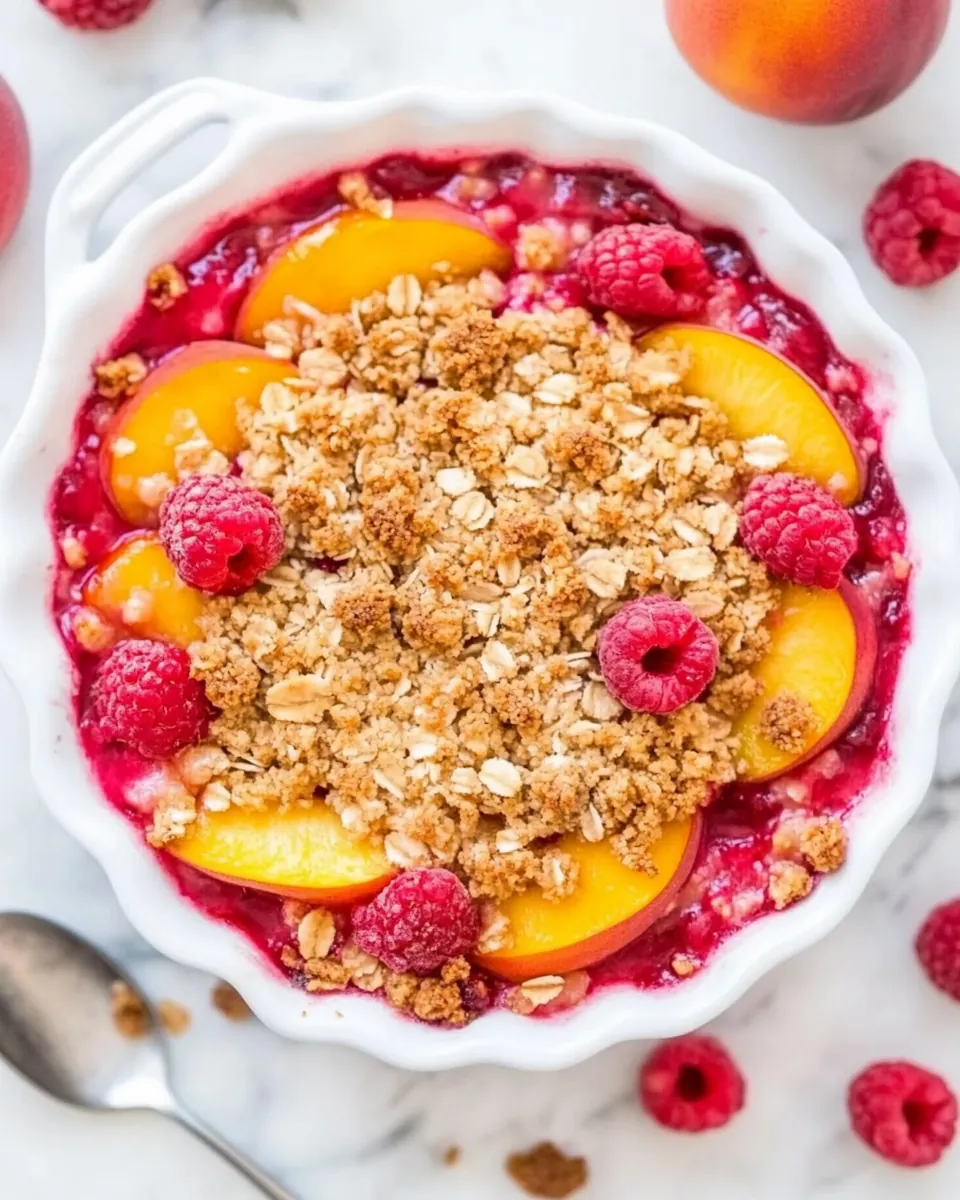
- In a large bowl, combine the peaches, raspberries, granulated sugar, and cornstarch. Gently toss everything together until no white traces remain visible; this ensures the sugar and cornstarch evenly coat the fruit.
- In another large bowl, combine the unsalted butter, brown sugar, oats, flour, cinnamon, and optional salt. Using two forks or your hands (I find my hands work best), cut the cold butter into the dry ingredients. You want to achieve small pea-sized clumps and some sandy bits for that perfect crumble texture.
- Give the fruit mixture another gentle stir, then turn it out into your prepared pie dish. Make sure to scrape out all the juices that collected in the mixing bowl; that liquid will enhance the flavor.
- Evenly sprinkle the crumble topping you made over the fruit layer. It may seem like a lot, but as the crisp bakes, it will seep down into the fruit making it just right.
- Place the pie dish on a cookie sheet — this is a safety measure in case there’s an overflow in the oven. Bake for about 45 to 48 minutes, but start checking at around 35 minutes. You’ll want to see bubbling around the edges of the dish and a lightly golden-brown topping.
- Once baked, remove the pie dish from the oven and let it cool for at least 20 minutes on a wire rack. For the best flavor and texture, I prefer to let the crisp sit for a few hours or even overnight before serving. However, it can be enjoyed warm!
- When it comes time to serve, you can optionally top it with whipped cream, whipped topping, or ice cream to take it to the next level.
Notes
Tip 1: Store leftovers in an airtight container in the refrigerator for up to three days. Reheat in the oven for a few minutes to regain that crispy topping.
Tip 2: You can freeze unbaked crisp for up to three months. Just be sure to wrap it tightly to prevent freezer burn.
Tip 3: This crisp pairs beautifully with a scoop of vanilla ice cream or a dollop of whipped cream.
Tip 4: For a gluten-free version, substitute all-purpose flour with almond flour or a gluten-free blend.
Tip 5: Serve it warm with toppings of your choice for a comforting dessert that feels homemade.