Ingredients
Equipment
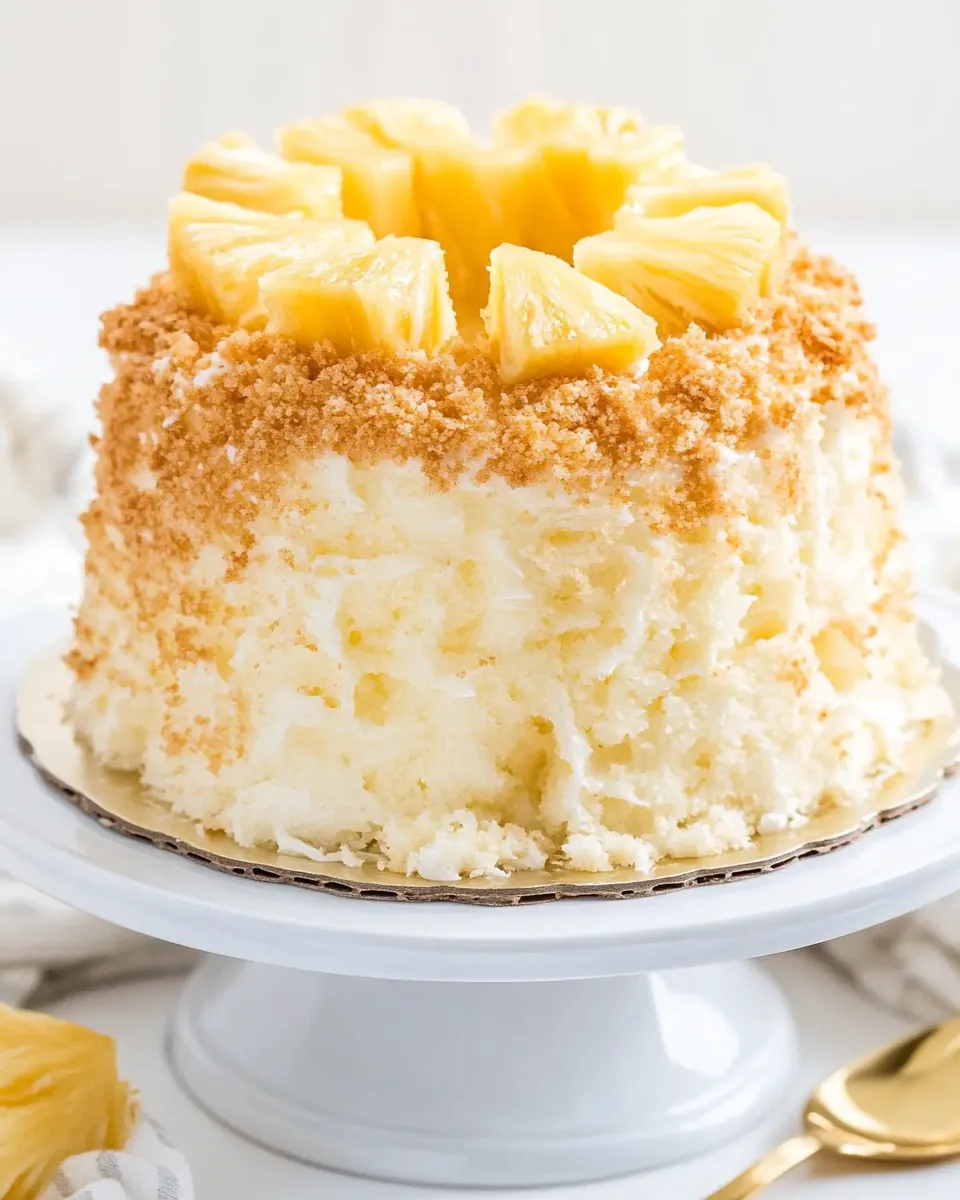
Method
- Preheat your oven to 350°F. It’s essential to start with a properly heated oven, as this helps the cake rise beautifully. You want to create a warm environment for the angel food cake mix to achieve that fluffy texture.
- Generously spray a 9×13 baking dish with nonstick cooking spray and set it aside. This is crucial because it prevents the cake from sticking, ensuring a clean release once baked.
- Add the angel food cake mix to a medium-sized mixing bowl. This should be done carefully to avoid any lumps in your batter. The fine texture of the mix is what helps create the cake’s airy quality.
- Stir in the un-drained crushed pineapple and the vanilla extract. Mixing these ingredients together will create a foamy batter. Be sure to mix until all the cake batter is completely incorporated—this is key to achieving that light, fluffy texture.
- Pour the cake batter into the prepared baking dish. Spread it evenly to ensure that it bakes uniformly. The batter will be somewhat foamy, which is perfectly normal.
- Bake for 20 to 25 minutes. Check for doneness by inserting a toothpick into the center; it should come out clean. The cake should be lightly golden on top. Keep an eye on it, as baking times may vary slightly depending on your oven.
- Allow the cake to cool completely in the baking dish. This step is crucial, as cooling helps set the structure of the cake. It will also make it easier to slice later.
- Once the cake has cooled, prepare the Cool Whip. You can use a disposable piping bag or a quart-size Ziploc bag with the corner snipped off. This allows for easy decorating of each slice.
- Squeeze a generous dollop of Cool Whip in the center of each cake slice—aim for about 1½ tablespoons per slice. This creamy layer adds richness and balances the sweetness perfectly.
- Top each Cool Whip swirl with a maraschino cherry. This final touch not only completes the look but also adds a delightful burst of flavor.
Notes
To store leftovers, keep the cake in an airtight container in the refrigerator. It will last for up to three days. It’s best enjoyed fresh but can be kept for a little while.
You can freeze the cake for up to two months. Just make sure to wrap it tightly in plastic wrap and foil.
This cake is perfect for summer gatherings. Try serving it with a side of fresh fruit or a scoop of ice cream for a delightful treat.
Feel free to adjust the toppings to your liking; you can use whipped cream or yogurt instead of Cool Whip.
For an added twist, try incorporating different fruits or syrups to give it your flair.