Preheat your oven to 400°F (200°C). Prepare two baking sheets by lining them with parchment paper to prevent sticking and ensure even baking.
In a large mixing bowl, combine 2 ¾ cups of all-purpose flour, 1 tablespoon of baking powder, 1 teaspoon of cinnamon, 1 teaspoon of pumpkin pie spice, and ¾ teaspoon of salt. Make sure they are well mixed to evenly distribute the leavening agent and spices.
Grate the ½ cup of frozen butter using a box grater. Add the grated butter to the flour mixture. Using a pastry cutter or a fork, cut the butter into the flour mixture until it resembles coarse crumbs. The pieces of butter should be about the size of peas, which will help make your scones flaky.
If you wish to add any other ingredients like chocolate chips or nuts, now is the time to do so. This is a great moment to customize your scones!
In a separate bowl, whisk together ⅔ cup of canned pumpkin, 2 large eggs, ½ cup of brown sugar, and 1 teaspoon of vanilla until smooth. This mixture will add moisture and flavor to your scones.
Pour the pumpkin mixture over the flour mixture and stir gently until everything is just combined. Be careful not to overmix; you want the dough to remain somewhat sticky.
Transfer the dough onto a lightly floured work surface. Knead it gently a couple of times until it comes together. Avoid over-kneading, as this can make the scones tough.
Form the dough into two disks, each about ¾-inch thick. Cut each disk into 8 equal smaller scones, or you can choose to form one large disk for larger scones.
Place the cut scones onto the prepared baking sheets, ensuring they are spaced at least 2 inches apart. Brush the tops of the scones with a bit of milk and sprinkle some sugar on top for added sweetness and crunch.
If you plan to add a glaze later, you can skip the sugar sprinkle. Bake the scones in the oven for 20 to 25 minutes, or until a toothpick inserted into the center comes out clean and the tops are lightly golden brown.
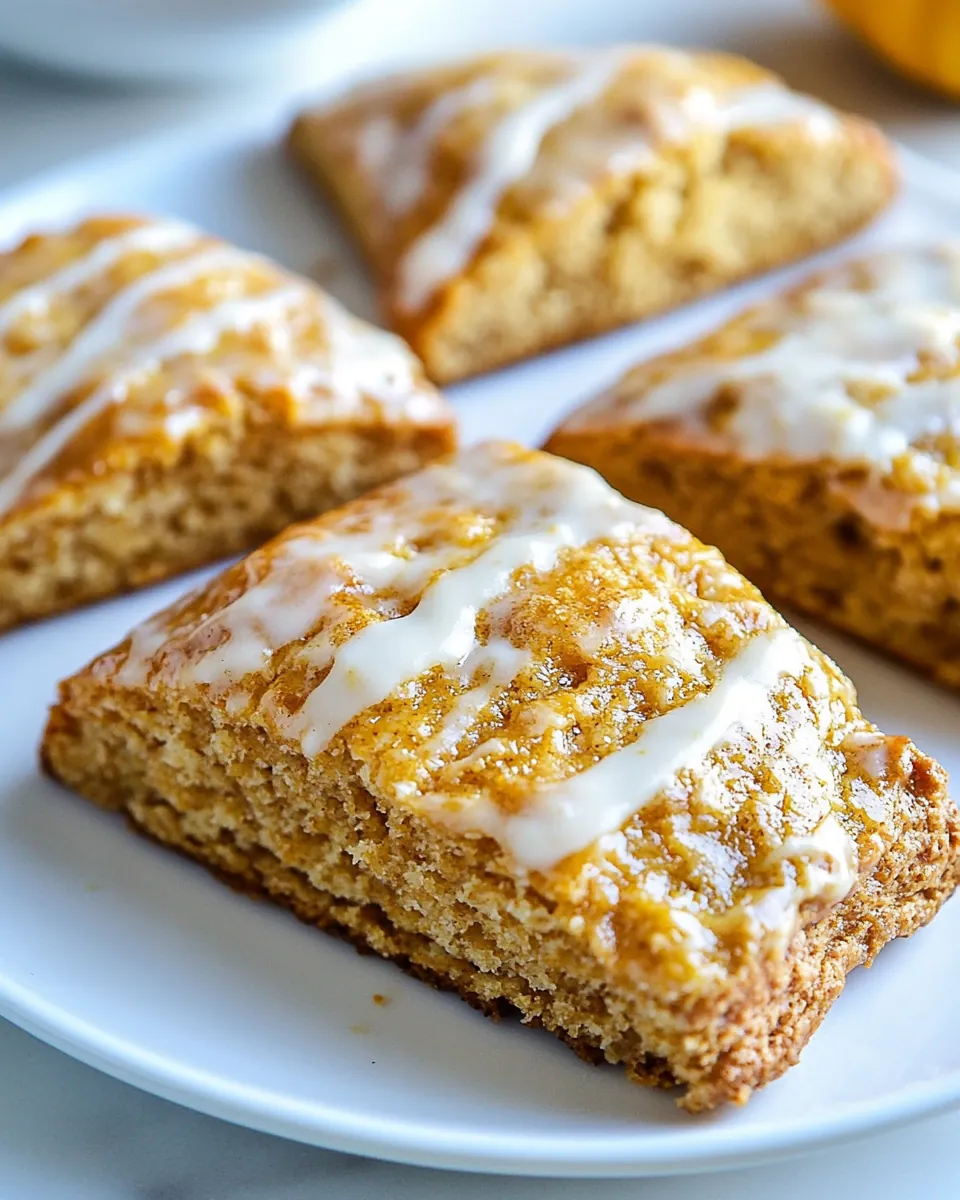
While the scones are baking, prepare the glaze. In a bowl, whisk together the ingredients for each glaze until smooth. Once the scones are out of the oven and cooled slightly, drizzle the glaze over the warm scones.