Preheat your oven to 400 degrees F. Make sure the oven is hot enough to bake the cakes evenly. It's essential for achieving that perfect lava effect.
Grease two 4-inch ramekins with cooking spray and set aside. This step is crucial to ensure that your cakes come out effortlessly.
Fill a small saucepan with a few inches of water. Nestle a heatproof bowl atop the saucepan and turn the heat to medium-high. This creates a double boiler which is great for melting chocolate.
To the bowl, add the chocolate and butter. Stir occasionally, allowing the mixture to melt completely and combine into a smooth consistency. You should see it turn glossy and rich.
Once melted, remove from heat and set aside to cool slightly. This step prevents the eggs from cooking when combined.
Meanwhile, in a medium bowl, whisk together the almond flour, powdered sugar, baking cocoa, and a pinch of salt. This mixture will provide the cake's structure and flavor.
Next, add the egg yolks, eggs, and red food coloring to the dry ingredients. Whisk everything together until fully combined and smooth.
Pour in the warm chocolate and butter mixture. Stir gently until the batter is homogeneous and beautifully rich. This is where it all comes together!
Divide the batter between the prepared ramekins. Fill them to about three-quarters full to allow space for the lava to form.
Place the ramekins on a baking sheet and transfer them to the oven. Bake for 15 minutes, rotating them at the 7-minute mark to ensure even baking. Look for the edges to be set while the center remains slightly jiggly.
Once baked, remove them from the oven and let them cool for a couple of minutes. This brief resting period will help the cakes stabilize.
Using a stand-up mixer with the whisk attachment or a bowl with an electric hand-mixer, prepare the whipped cream. Add the sour cream and powdered sugar, beating until smooth.
Pour in the heavy cream and whip until medium peaks form, about 2 minutes. This light and airy cream will perfectly complement the cakes.
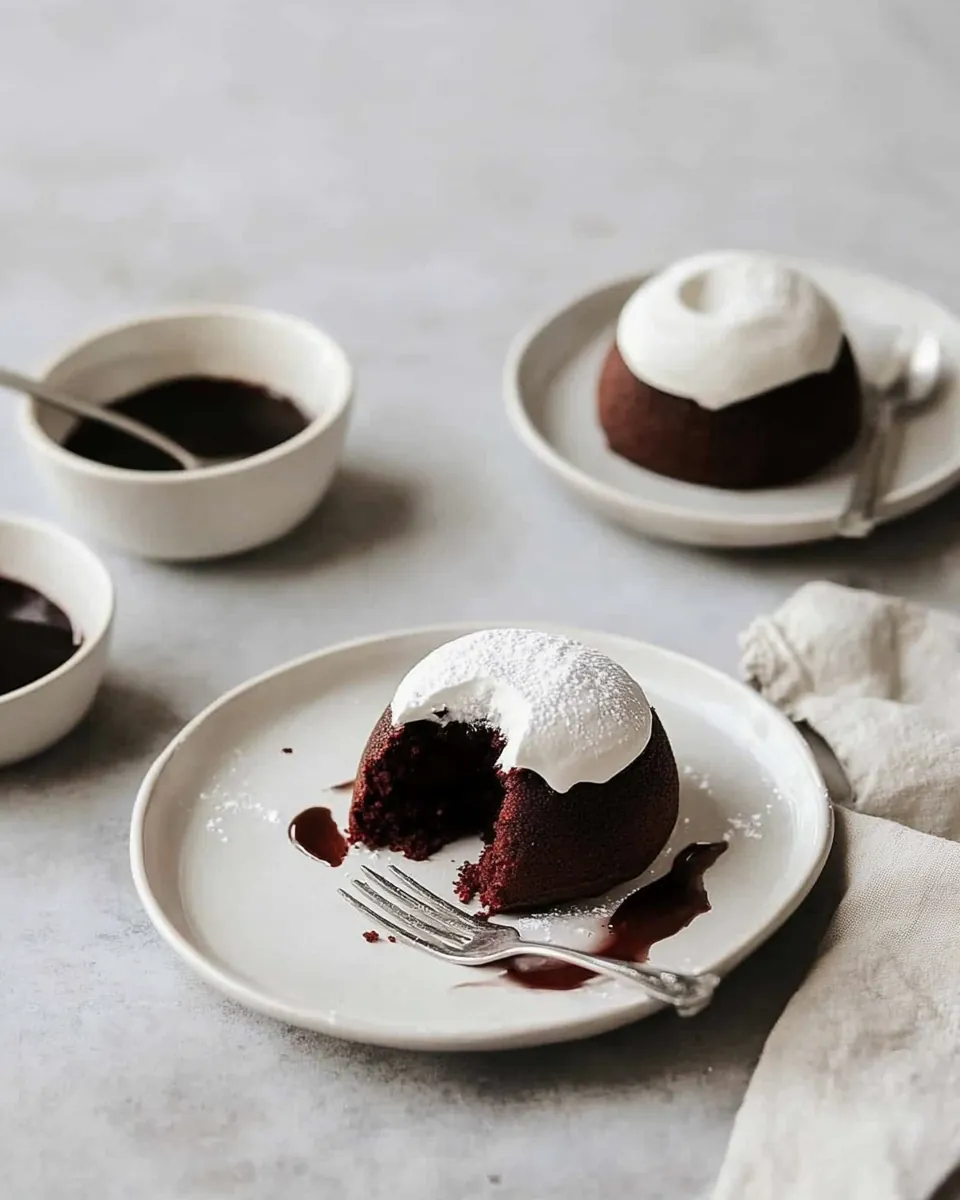
To serve, run a sharp knife alongside the outside of the lava cakes and invert them onto serving plates. Top with a generous scoop of whipped cream and a sprinkling of flaky sea salt for that extra flair.