Preheat your oven to 350°F. This is an important first step to ensure your bars bake evenly. While the oven is heating, line an 8-by-8-inch baking pan with aluminum foil and spray it with cooking spray to prevent sticking. I like to let the foil hang over the edges to make it easier to lift the bars out later.
In a large, microwave-safe bowl, melt the butter for about 1 minute on high power. Keep an eye on it to avoid overheating. Once it’s melted, let it cool briefly before moving on to the next step.
Now, it’s time to add the egg. Wait a moment for the butter to cool down slightly so you don’t scramble the egg. Add the egg, peanut butter, brown sugar, and vanilla to the bowl. Whisk everything together until the mixture is smooth and creamy.
Next, add in the flour and salt. Stir until just combined. Be careful not to overmix! The texture should be slightly lumpy.
Now comes the fun part! Stir in the chocolate chips. I usually reserve a couple of tablespoons to sprinkle on top later. This ensures that each bite has that delicious chocolatey goodness.
Turn the batter out into the prepared pan. Use a spatula to smooth the top lightly. This helps create an even surface for baking.
Evenly sprinkle the reserved chocolate chips over the top. Gently press them down with your fingertips or spatula, ensuring they stick to the batter.
Bake for about 20 to 22 minutes. You’ll know they’re done when a toothpick inserted in the center comes out clean or with a few moist crumbs. It’s essential not to overbake, as they will firm up as they cool.
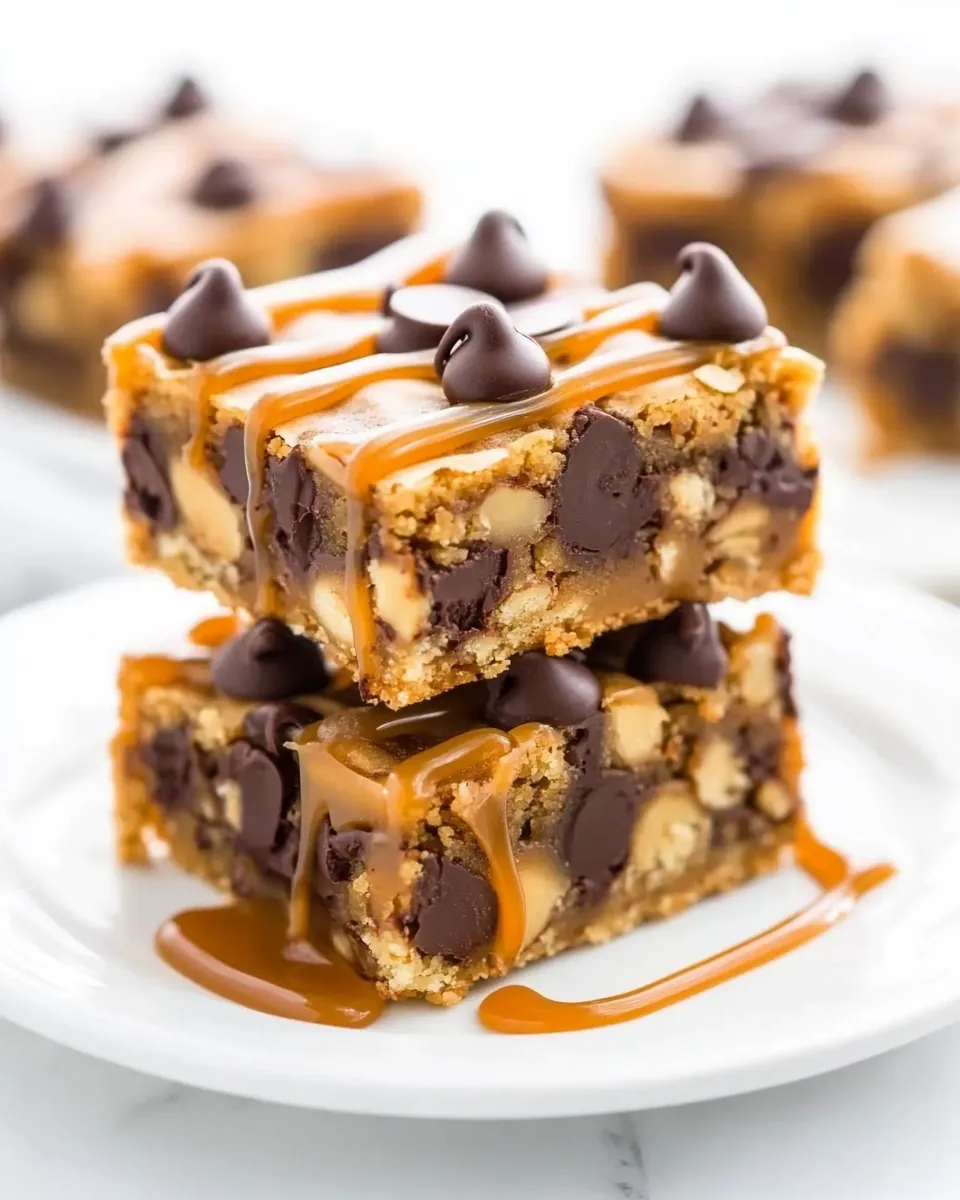
Once baked, allow the bars to cool in the pan for at least 1 hour. This step is crucial because it gives the bars time to set. After cooling, drizzle with salted caramel before slicing into generous squares.
These bars can be stored in an airtight container at room temperature for up to a week, or they can be frozen for up to 6 months. They’re great for meal prep!