Begin by combining heavy cream, coarsely ground coffee beans, whole cardamom pods, salt, and cinnamon in a saucepan over medium heat. Stir the mixture gently as it warms up to help release the flavors of the spices and coffee. You'll know it's ready when you see small bubbles forming at the edges.
Once the mixture reaches a gentle boil, turn off the heat and allow it to steep for about 20 minutes. This resting period is crucial as it lets the flavors intensify and blend beautifully.
After steeping, strain the cream mixture through a fine-mesh sieve into another saucepan to remove the coffee grounds and spices. This step is essential to ensure a smooth texture in your ice cream.
Next, place the saucepan back on medium heat. While the cream heats, whisk together the sweetened condensed milk, egg yolks, and vanilla bean paste in a large bowl. Whisk vigorously until the mixture is well combined and smooth.
Gradually whisk in the heated cream, starting with just a few drops to temper the eggs. This gradual process helps prevent the eggs from curdling. Keep whisking until the mixture is fully combined.
Once combined, cover the bowl with plastic wrap, pressing it directly against the surface of the custard to prevent a skin from forming. Refrigerate for at least 4 hours, or even overnight for best results.
When the custard is chilled, transfer it to your ice cream maker. Churn according to the manufacturer’s instructions. If you're using a kitchen aid mixer, this process typically takes about 20 to 25 minutes.
Once you have a soft-serve consistency, transfer the ice cream to a freezer-safe container. Make sure to spread it evenly and press down to remove any air pockets.
Cover the container and freeze for at least 6 hours, until the ice cream is firm and ready to be served. The longer it freezes, the better the texture will be.
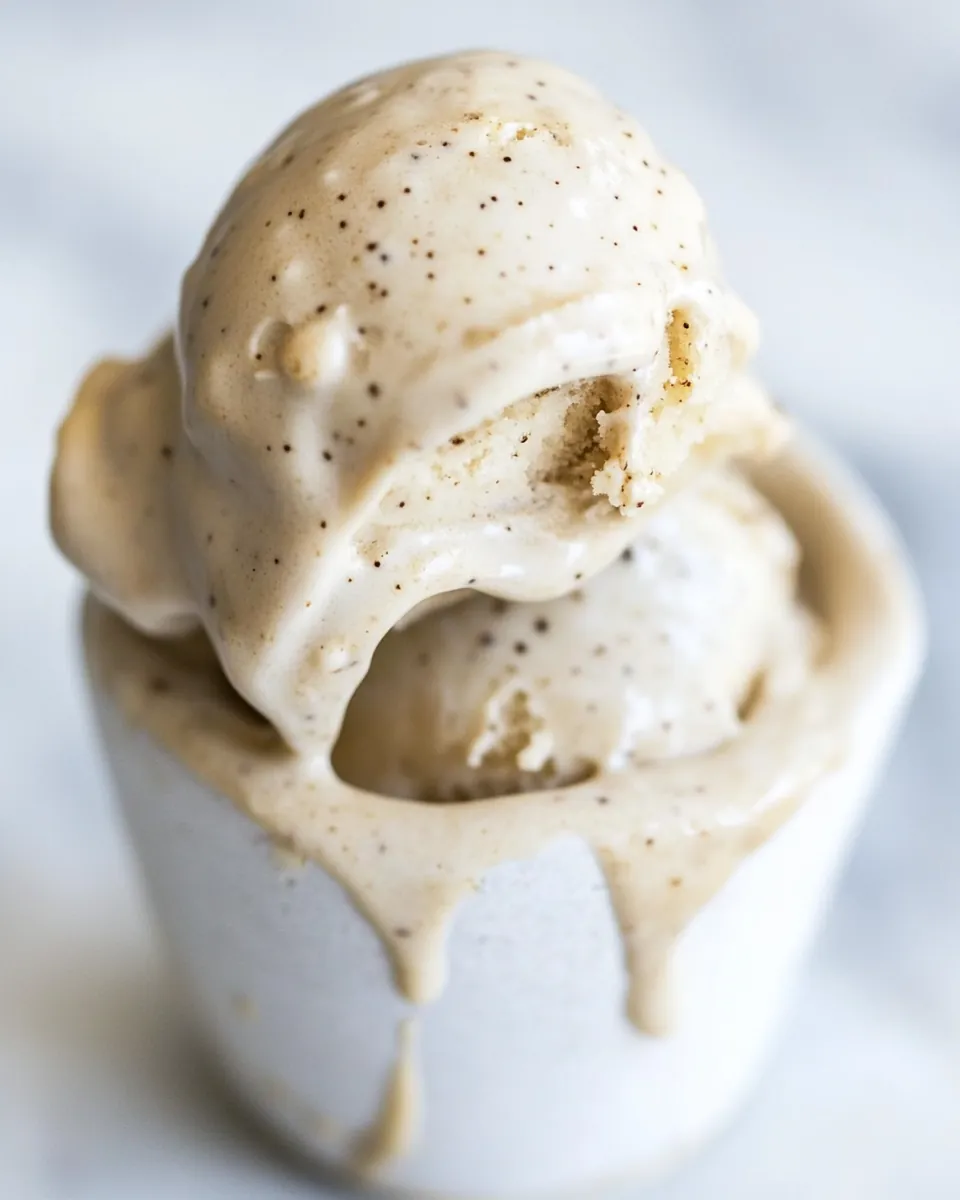
When ready to enjoy, scoop out your Vietnamese Iced Coffee Ice Cream and serve it in bowls or cones. You can even dress it up with your favorite toppings or enjoy it plain.